How to add multiple-choice questions in Microsoft Forms (2026)
Summarize with
Data is only as good as the question that captures it.
As a person who has spent years optimizing digital workflows and building complex data architectures in the Microsoft 365 ecosystem, I have seen how a single poorly structured question can ruin an entire dataset. While Microsoft Forms' multiple-choice options are the industry standard for consistency, most creators barely tap into their analytical power.
I will demonstrate exactly how to add multiple choice in Microsoft Forms while sharing strategic insights to ensure your data is boardroom-ready. We will cover technical setup, advanced optimization for better analysis, and a powerful alternative for when your project requires more than the standard Microsoft toolkit.
Quick Guide: Adding MCQs
1. Open your Form: Start a new Form or Quiz.
2. Add Field: Click + Add new and select Choice.
3. Input Options: Type your question and answer choices.
4. Finalize: Toggle Required or Multiple answers as needed.
Step-by-step: adding multiple-choice questions in Microsoft Forms
Successfully implementing a multiple-choice form on MS requires more than just adding a list of answers. It requires a strategic approach to design and data collection. Follow this expert-vetted process to build your form:
1. Pick your starting point
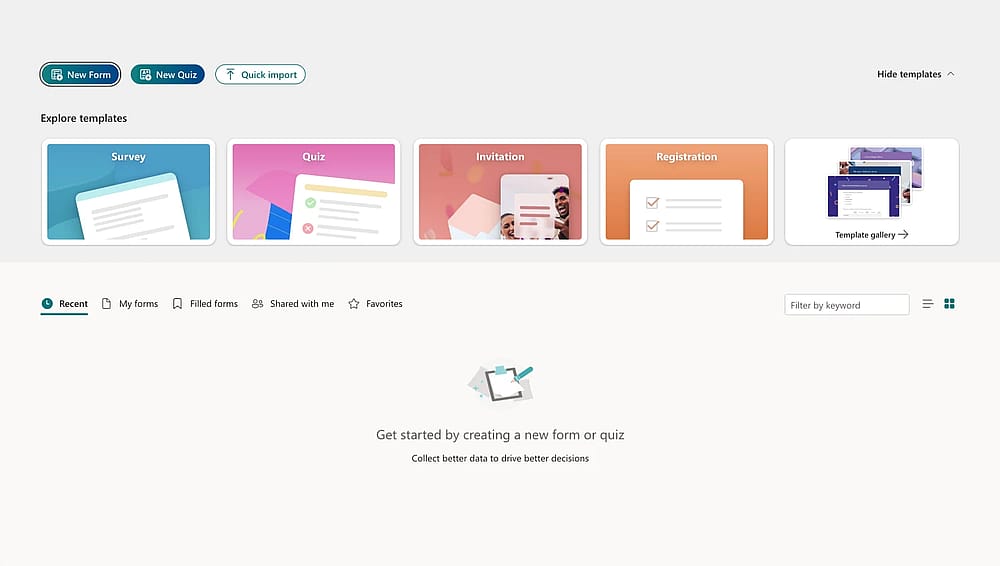
Choose a way to start
Before you learn how to add multiple choice in Microsoft Forms, you must decide between a Blank Form (best for surveys/feedback) or a Blank Quiz (best for assessments with correct answers). While templates are available, starting from scratch gives you total control over the data architecture, ensuring your final analysis isn't cluttered with unnecessary metadata.
💡 Expert tip: In my experience, Microsoft Forms templates often include hidden branching logic that can confuse your respondents. If you use one, always check the "Branching" settings under the three-dot menu to ensure your flow is clean before adding new questions.
2. Build and tweak your questions
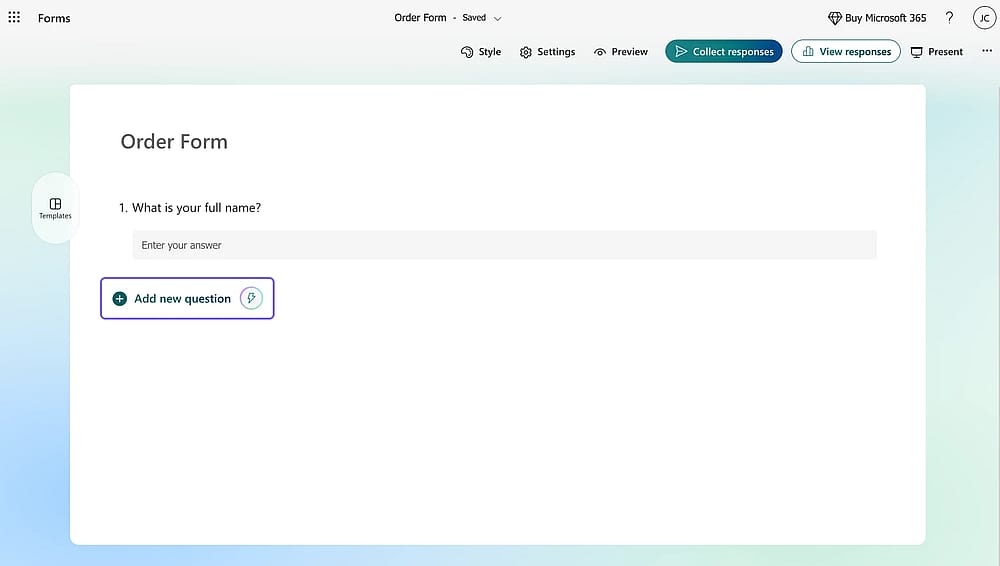
Click “Choice”
Once your base is ready, click Add New and select Choice. This is where you define your data points. To edit an existing question, simply click into the text field.
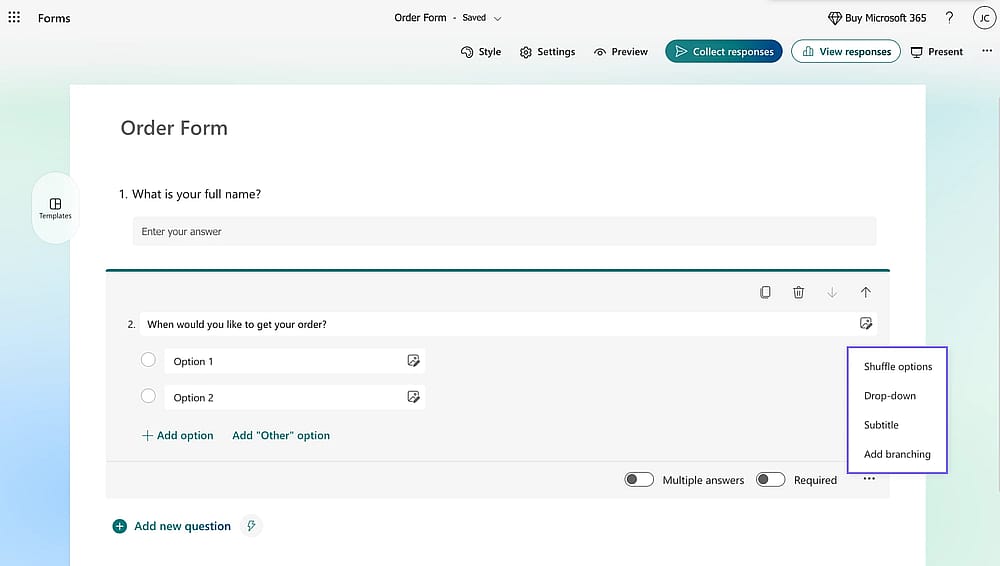
Customize question settings
For a professional-grade form, look beyond the text box. By clicking the three vertical dots (More settings), you can enable Shuffle options to prevent bias or add a Subtitle to provide necessary context without cluttering the main question.
💡 Pro-level insight: I often see creators enable "Multiple Answers" without considering the data export. If you allow multiple selections, your Excel export will bundle all choices into one cell, which is harder to pivot. If you need clean data, stick to single-choice unless absolutely necessary.
3. Make it look good and lock the settings
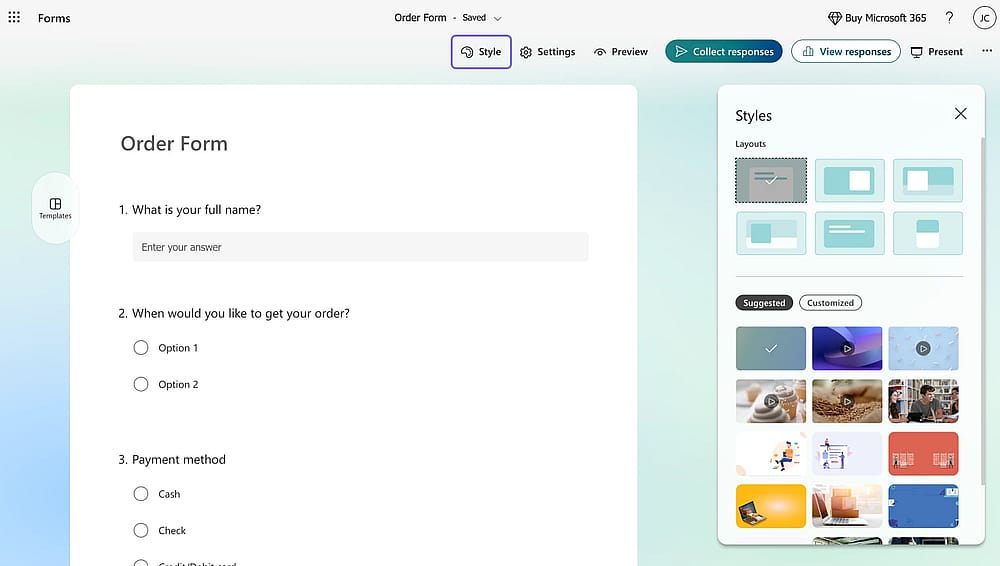
Change the style
After the questions are set, use the Style (palette) icon to align the form with your brand’s visual identity. However, the real work happens in the Settings (three dots near the top right). Here, you control the "Trust" factor of your form: toggle who can respond, set start/end dates, and enable the "One response per person" rule to ensure your dataset remains untainted by duplicate entries.
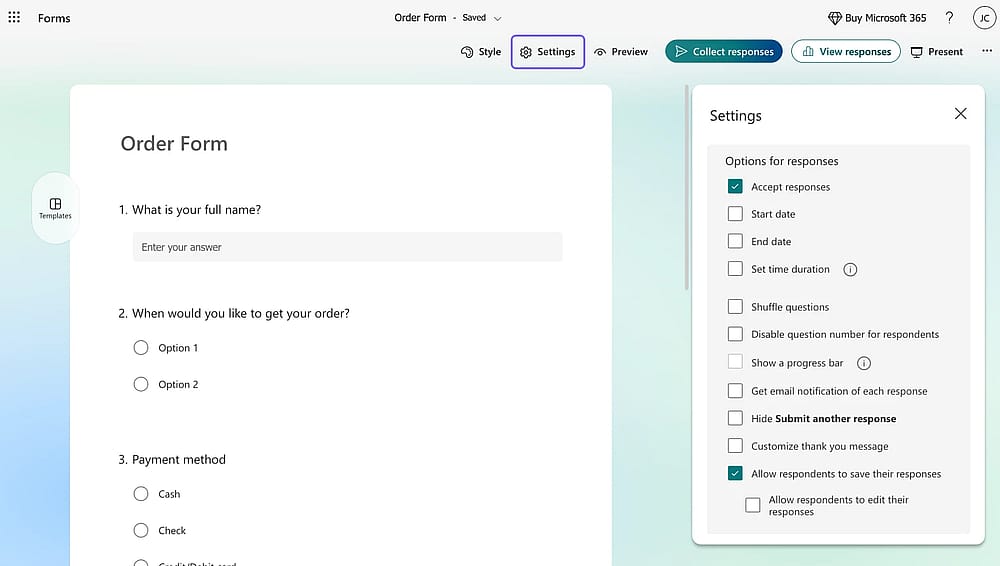
Change the settings
💡 Personal experience: I never launch a form without using the Preview tool on both Desktop and Mobile views. You’ll be surprised how an image that looks great on a PC can completely hide the "Submit" button on a smartphone.
4. Send it out and see what you found
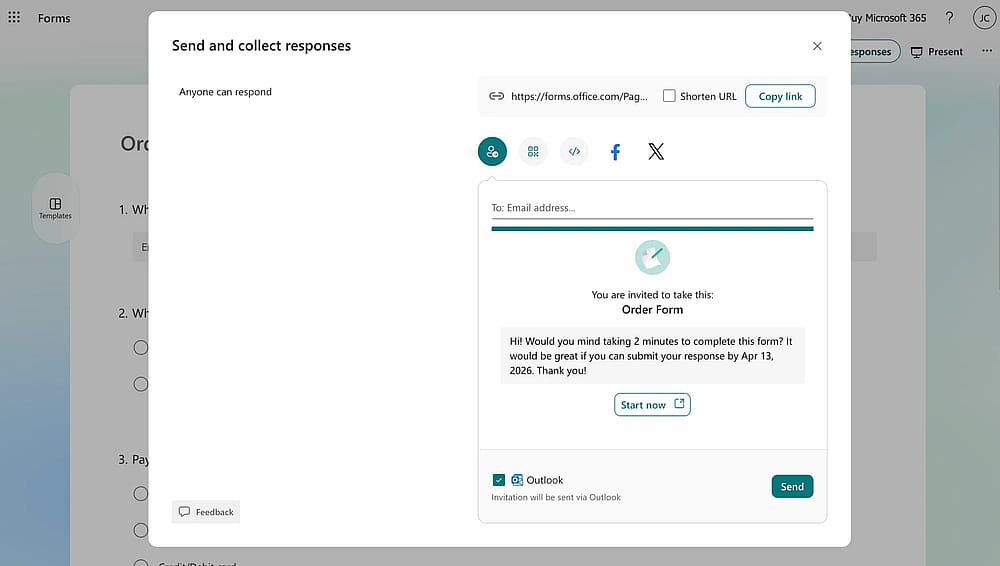
Start collecting responses
To begin collecting data, click Collect Responses. This section provides the technical shortcuts needed for modern distribution, such as QR codes for physical signage or direct links for email campaigns.
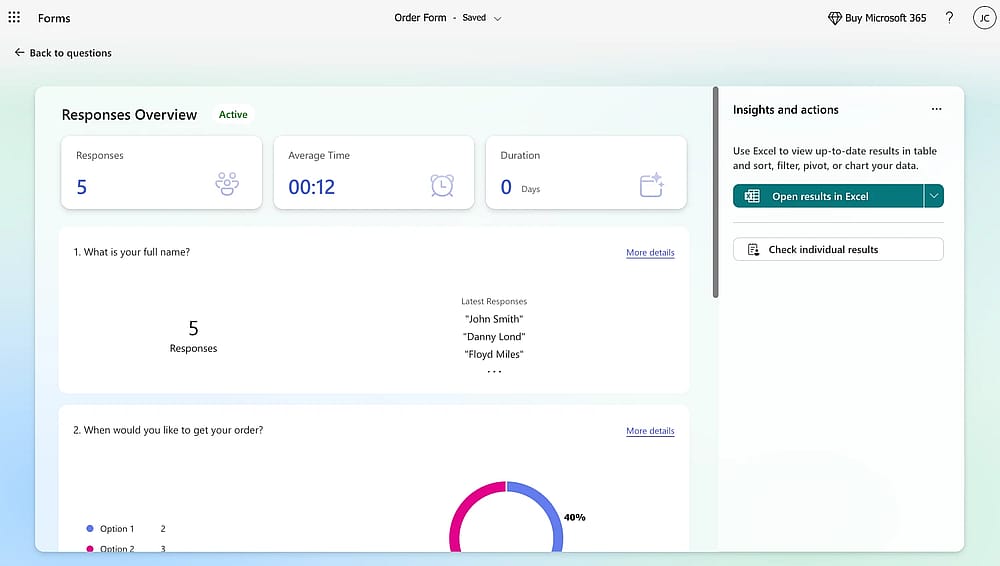
Check your responses
Once responses start rolling in, the Responses tab provides real-time visualization. For a deeper dive, use the Open in Excel feature to run advanced analytics; this is where your well-structured multiple-choice questions truly pay off, as they provide the cleanest data for pivot tables and reporting.
💡 Expert tip: If you are using a "Form for Excel" (created via OneDrive or SharePoint), your data syncs in real-time. I always recommend this for business projects so you don't have to manually download a new spreadsheet every time someone hits "Submit."
Pro-level Microsoft Forms hacks
Once you know how to create multiple-choice questions in Microsoft Forms, these expert tweaks will ensure your data stays "boardroom-ready."
1. Smart setup & AI
Don’t type lists manually. Copy a list from Excel and paste it into "Option 1", Microsoft will auto-create individual answer choices for you. When choosing from different question types, the "Choice" field is the most versatile. Use the "Add question" button to quickly build your survey, and look for "Suggested Results"; if you type "Monday," the AI will offer to auto-fill the rest of the week instantly.
2. Layout & Logic
Use Radio Buttons for 2–5 multiple choice answers to keep them visible. For 6+ options, switch to a Drop-down to save mobile screen space. If a question requires more than one response, toggle the "Select multiple" switch to allow respondents to check several boxes. Always include an "Other" option to prevent users from giving fake answers when their real choice isn't listed.
💡Expert tip: People often click the first thing they see. Click the three dots (...) and select "Shuffle options" to randomize the list for every user, ensuring your data is honest and unbiased.
3. Custom paths
Use Branching (skip logic) to send users down different paths. If a respondent selects "No," you can skip them past irrelevant questions straight to the "Submit" button.
💡Personal experience: In my experience, using branching to hide irrelevant questions can increase your completion rate. Respecting your respondent's time is the best way to get quality data.
A flexible alternative: forms.app
While Microsoft Forms is excellent for basic internal tasks, it can feel restrictive if you need advanced design control or complex data features. If you find yourself hitting a wall with customization or specialized question types, forms.app is a powerful alternative that fills those gaps.
Why switch from Microsoft Forms?
- Advanced customization: Unlike the rigid themes in Microsoft, forms.app allows for custom CSS and much deeper visual branding.
- More question types: You get access to specialized fields like digital signatures, payment collection, and product selections that aren't native to Microsoft.
- Better logic: The conditional logic in forms.app is more robust, allowing for complex "if/then" scenarios that go beyond simple branching.
How to add multiple-choice in forms.app
Adding a question is just as fast, but with more options at your fingertips:
- Select your field: Choose Multiple Selection or Selection Matrix.
- Input your options: Type your answer choices directly into the fields. You can also use the "Generate options with AI" feature.
- Toggle advanced settings: From the side menu, you can instantly turn on "Add comment field" for specific answers or limit how many choices a user can select.
- Publish: Hit the "Save" button and your form is ready to share via link, QR code, or website embed.
Whether you're looking for a cleaner mobile experience or more professional design options, exploring a dedicated builder can often save you the "workarounds" required in more basic tools.
Conclusion
Mastering how to add multiple choice in Microsoft Forms is the first step toward high-integrity data collection. By using branching, shuffling, and mobile-optimized layouts, you transform simple surveys into professional tools. Whether you use Microsoft 365 or a specialized builder like forms.app, prioritizing respondent experience is the key to capturing clear, actionable insights.
Frequently asked questions (FAQs)
In the standard version of Microsoft Forms, you cannot set a specific limit (e.g., "pick exactly 3"). It is an all-or-nothing toggle. If you need a strict limit, you'll need to use a specialized tool like forms.app or add a Subtitle explicitly stating the requirement to the user.
Yes. Hover over the question block, and you will see Up and Down arrows in the top right corner. You can also click and drag the question to a new position. If you have Branching enabled, be sure to re-check your logic paths after moving questions, as the "Go to" destinations may need updating.
Contributors
Researched & written by
forms.app, your free form builder
- Unlimited responses
- Unlimited questions
- Unlimited team members