How to print Microsoft Forms responses: 2026 expert guide
Summarize with
Data is only as useful as your ability to share it.
Whether you need physical records for a compliance audit or hard copies for a stakeholder meeting, a messy printout simply won't cut it.
We’ve logged dozens of hours testing every native setting within the platform to master the nuances of how to print a form without losing formatting or data. We didn't just skim the documentation; we ran multiple test batches across different browsers to find the most reliable workflows.
In this guide, we provide a verified walkthrough for printing both individual results and summary reports, along with professional fixes for the common layout glitches we encountered during our hands-on research.
TL;DR
1. For individual results: Go to the Responses tab, click View results, select the specific respondent, and click the three dots (...) to select Print response.
2. For a data summary: Open the Responses tab, click the three dots (...) next to the Excel icon, and choose Print summary to generate a high quality report as a pdf file.
Why you might need to print a Microsoft Form
Whether you are navigating technical limitations or professional requirements, knowing how to print a form is a vital skill for several high-stakes scenarios:
- Offline data collection: Essential for field research or events where Wi-Fi is unreliable.
- Accessibility & Inclusion: Reaching participants who lack internet access or the hardware to print documents themselves.
- Compliance & Record keeping: Creating high quality physical backups for legal archives or secure audits.
- Collaborative review: Sharing blank templates for manual printing and copying, allowing stakeholders to provide handwritten annotations.
- Versatile file types: Converting digital responses into standard file types (like PDF) to ensure seamless document printing across different devices.
- Professional output: Preparing clean layouts that are ready for professional printing services when large-scale distribution is required.
How to print Microsoft Forms responses (step-by-step)
During our testing, we discovered that people often struggle because there isn't just one way to print results. Depending on whether you need a bird’s-eye view or a deep dive into a single person's answers, you’ll need to use different workflows. Here are the three verified methods to print forms online data effectively:
Option A: Print a summary of all responses
This is the best choice for stakeholder meetings where you need visual charts and graphs.
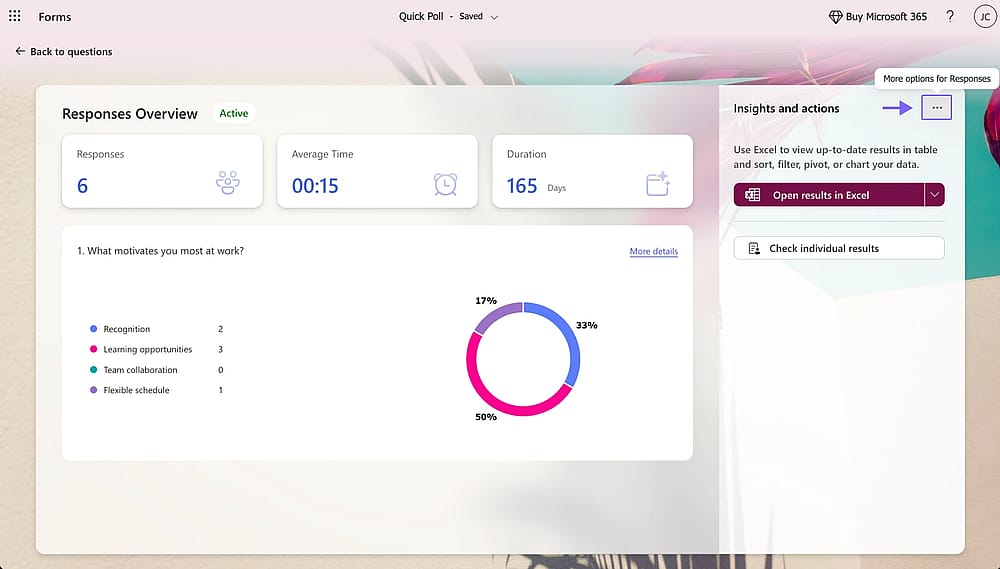
- Navigate to the Responses tab in your form.
- Select the More options (three dots) icon next to "Open in Excel."
Click more options
- Click Print summary.
Print the summary
Expert tip: This generates a high quality visual report. Because digital printing can sometimes struggle with complex web charts, always check the print preview to ensure the legends are visible before sending it to the printer.
Option B: Print individual responses
Use this when you need a physical record for one specific person.

Click the button
- Go to the View results.
- Navigate to the specific respondent you need.
- Click the More options (...) icon and select Print response.
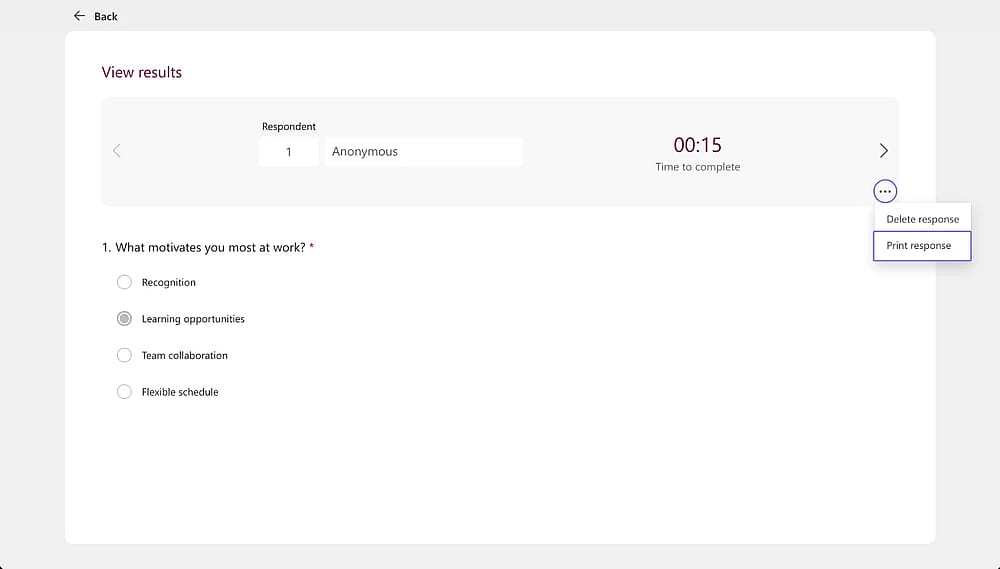
Print the speicif response you need
Expert tip: To save time, you can enable the setting to let Microsoft Forms send copy of responses. This allows respondents to manage their own file types, reducing the administrative burden on you to print documents for every individual.
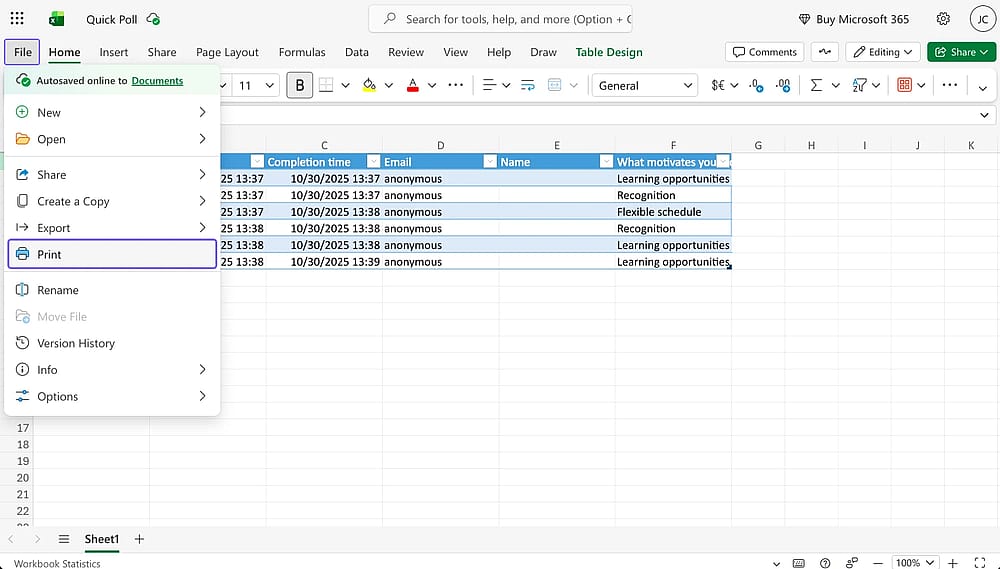
Option C: Export to Excel for batch printing
If you need to print a form's entire database in a condensed table format, Excel is the most efficient route.
- On the Responses tab, click Open in Excel.
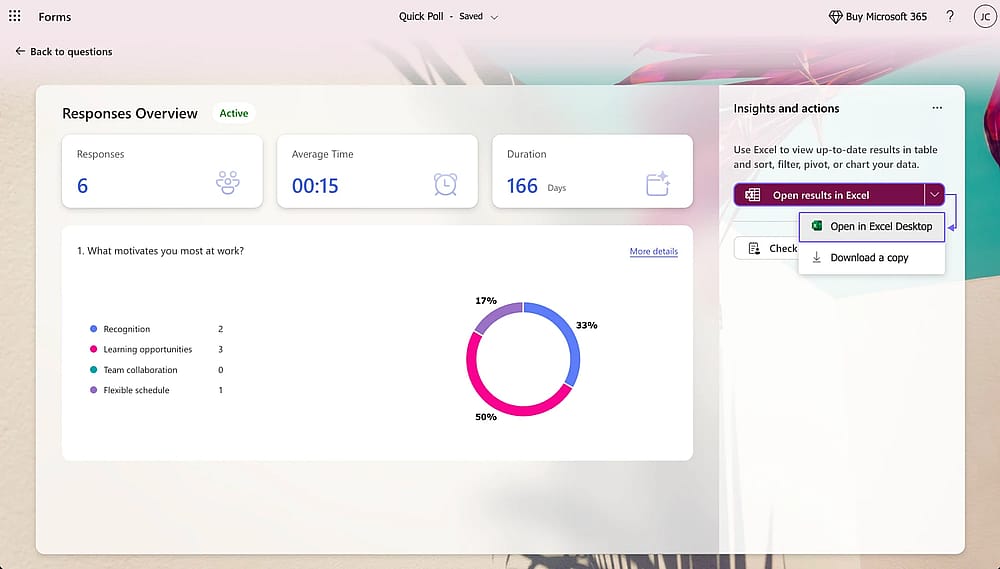
Click “Open in Excel”
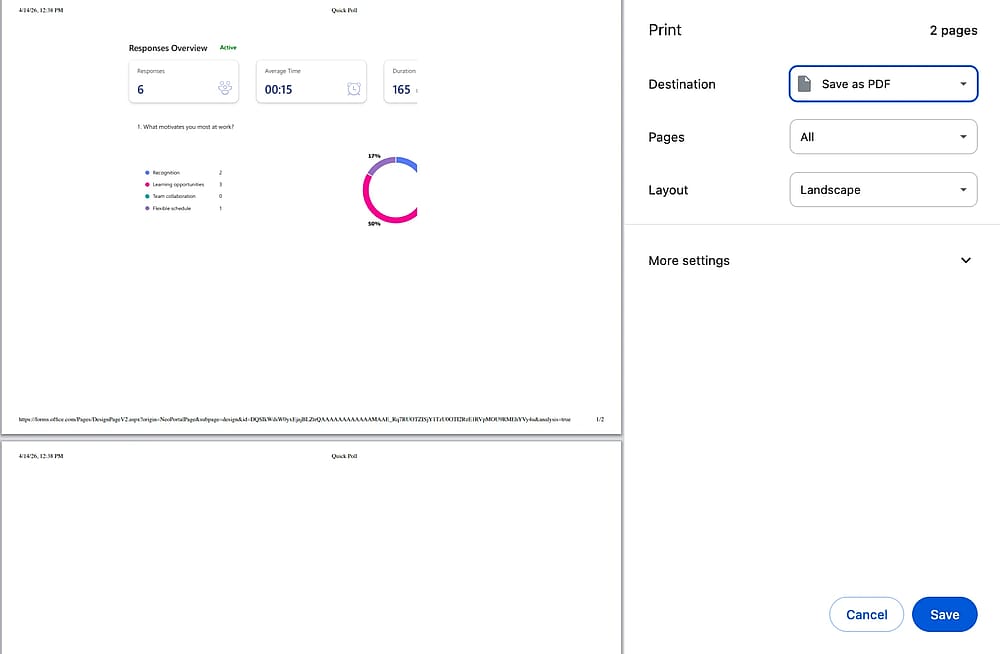
- Format your columns to ensure text isn't cut off and set the orientation to "Landscape."
- Print directly or save as a PDF for external use.
Click “Print
Expert tip: If you are dealing with thousands of responses and require professional finishing services (like binding or heavy-duty stapling), saving your Excel data as a PDF is the best way to get fast turnaround times from professional printing services.
By understanding these three options, you can choose the best way to handle printing and copying based on the volume and purpose of your data.
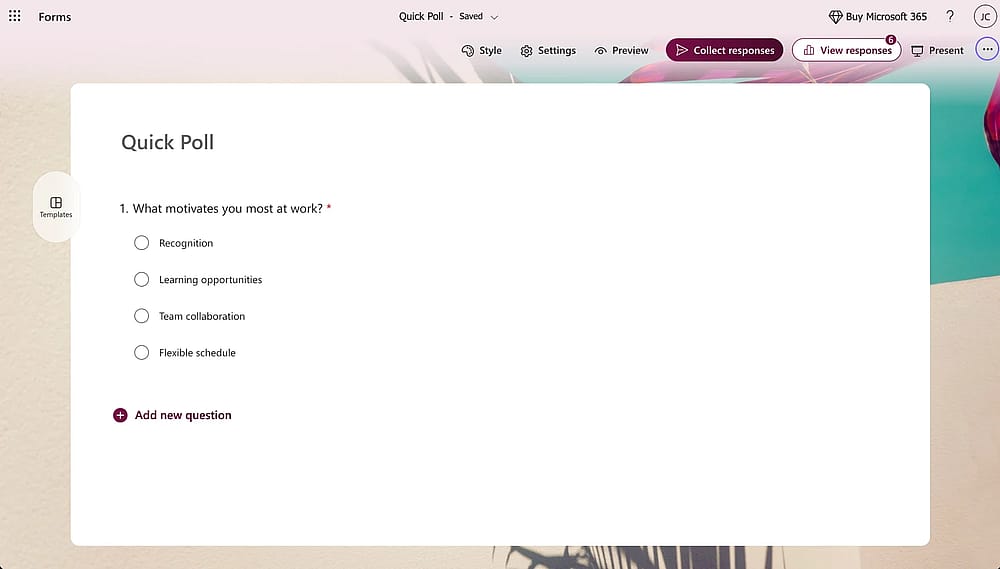
How to print a blank Microsoft Form (step-by-step)
If you need to distribute a hard copy for manual completion, knowing how to print a form that looks professional is essential. After testing various browsers, we found that using the built-in print forms online feature is the most reliable way to maintain your question formatting without messy screenshots.
1. Open your form: Log into Microsoft Forms and select the specific form you wish to print.
2. Access settings: Navigate to the top-right corner of the screen and click on the ellipsis (…) icon, labeled as "More form settings."
Click “More settings”
3. Initiate printing: From the dropdown menu, select Print Form.
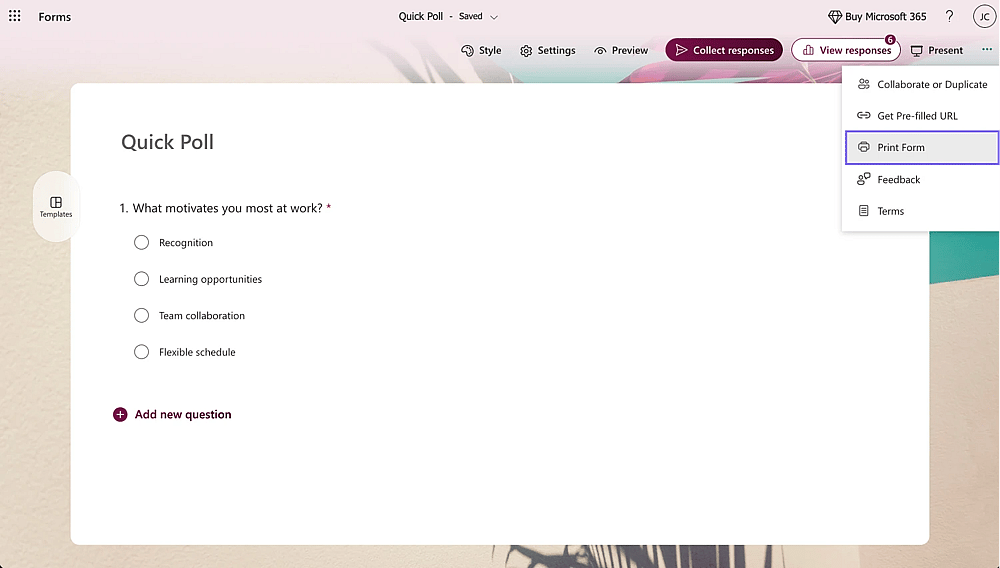
Click “Print form”
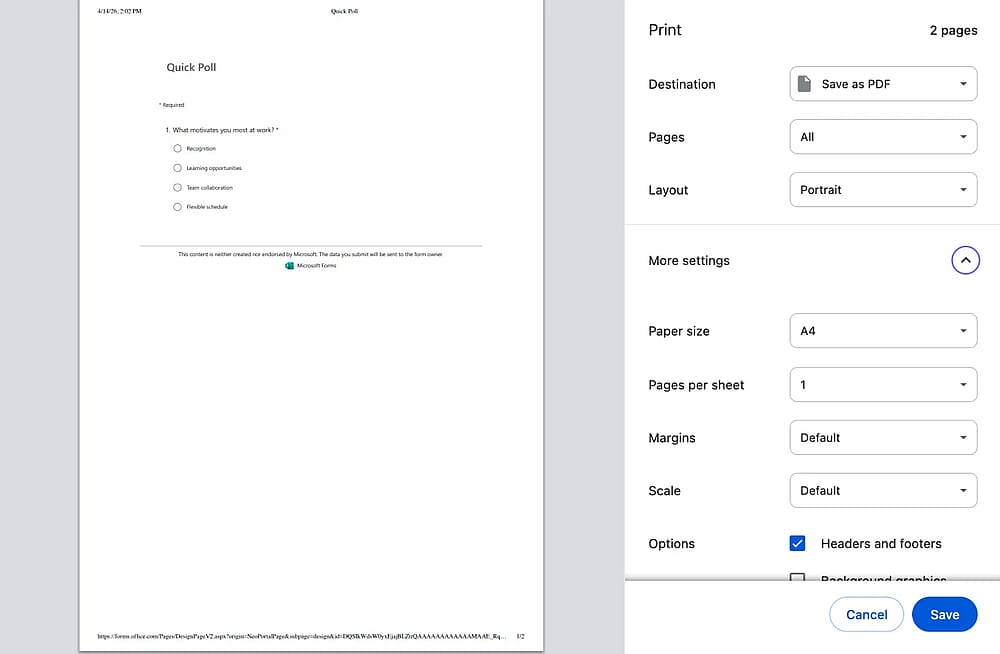
Expert tip: Keep in mind that interactive elements like "Submit" buttons, progress bars, or drop-down animations are stripped away during this step to ensure a clean paper layout.
4. Configure the print dialog: Your browser’s system print dialog will appear. Here, you can select your physical hardware for document printing or choose "Save as PDF" to create digital file types for later use.
Click “More settings”
Expert tip: If you want users to have their own records, you can also toggle the microsoft forms send copy of responses setting in the main options, but for physical distribution, this manual print step is your best bet.
5. Refine the layout: Before printing, adjust the margins, scale, and page size.
Expert tip: Microsoft Forms preserves your section breaks. If you want specific questions to stay together on a single page, ensure you’ve added "Sections" in the editor before reaching this stage.
6. Execute the print: Once the preview looks correct, click Print.
Expert tip: If you plan on mass-producing these via professional printing services, always save as a PDF first. This "locks" the formatting, ensuring your printing and copying results stay consistent across any commercial machine.
By following this workflow, you can reliably print documents that maintain the integrity of your original digital design.
A better alternative
While Microsoft Forms is a solid tool for basic data collection, our testing highlighted specific limitations, particularly the lack of control over headers, branding, and page-specific layouts when you print documents. If the native formatting constraints or the requirement for a Microsoft 365 subscription are becoming a bottleneck for your workflow, forms.app offers a more robust alternative for those who prioritize high quality printed outputs.
Many users switch to forms.app because it treats the digital and physical versions of a form with equal importance. Here is how it addresses the common pain points we've discussed:
- Clean, print-friendly layouts: Unlike many builders that struggle with web-to-paper conversion
- PDF customization: You have granular control over the final file types. You can customize the font sizes, margins, and branding before you print forms online, which is a significant step up from the "what you see is what you get" limitation of other platforms.
- No subscription barriers: You can create, share, and print professional forms without being locked into a specific corporate ecosystem, making it easier to work with external printing services.
- Professional finishing: The platform's ability to export high-resolution files means you get better results when using professional finishing services or high-volume printing and copying machines.
Conclusion
Whether you need to collect data in the field or maintain physical archives for a meeting, knowing how to print a form correctly ensures your data is always accessible. While Microsoft Forms provides the basic tools to generate a pdf file or a hard copy of your results, the key to a professional output lies in choosing the right export method, be it a visual summary or a detailed Excel table.
By following our tested workflows, you can navigate common layout glitches and ensure your high quality printouts are ready for any professional setting or archival requirement.
Frequently asked questions (FAQs)
If the print option is missing, it is usually because you are in the "Design" view as an owner but haven't clicked the ellipsis (…) in the top-right corner. Also, ensure you aren't trying to print from the mobile app, as the full print forms online settings are best accessed via a desktop browser like Edge or Chrome.
Yes. When you follow the steps to print an individual or summary response, simply change your printer destination in the print dialog to "Save as PDF." This creates a high-quality pdf file that preserves your charts and text, making it easy to send to professional printing services.
If your form is long, the default settings might cut off questions at the bottom of the page. To fix this, adjust the "Scale" setting in your browser's print menu to a custom percentage (like 90%) and set the margins to "Minimum." This ensures a high quality output that is ready for high-volume digital printing.
Contributors
Researched & written by
forms.app, your free form builder
- Unlimited responses
- Unlimited questions
- Unlimited team members