Surveys are a great way to collect and store information. Online surveys are even greater. It gives you the convenience of compiling various data types to hold an event, find a result, or even prove a point.
To conduct a survey may seem easy and simple, and, much to your surprise, it really is! However, there are many features that you can make use of to make your surveys more accurate and relevant. Let’s look at how to conduct a survey and which main features to use.
What is an online survey?
An online survey is a data collection method through which information is compiled with the help of different types of questions and parameters. These surveys can be created for many reasons, to choose a place to visit for your group, to get an idea about the opinions of your employees, or even to measure and improve your customer experience.
Advantages of conducting online surveys
The Internet makes a lot of things faster, including surveys! In this case, online surveys are not only faster but broader! You can get more respondents who are just a few clicks away from you. Online surveys are environmentally accessible and require almost no manpower and resources, not to mention the useful key features they offer to easily customize the survey according to your requirements.
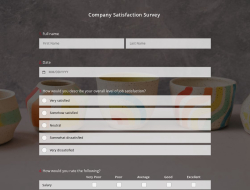
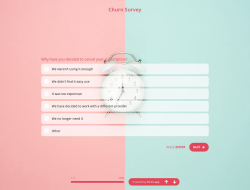
If you are considering creating an online survey, free survey templates are available for you at forms.app!
5 features you can use to improve your surveys
There are many features that can make a survey more spectacular or to the point, but we compiled 5 key features which may help you obtain clearer and free-of-error results in accordance with your time or optional constraints. You will clearly notice the difference compared to the other surveys you previously created without paying attention to these features.
1 - Welcome and Thank-You pages
A welcome page greets your respondent warmly and informs them about the survey, while a thank-you page expresses your gratitude to them for their participation and creates a warm atmosphere. This perfect feature is at your disposal at forms.app.
How to add Welcome and Thank-You pages to your surveys
1 - Go to settings
2 - Enable Thank-you page
3 - Customize your thank-you page
4 - Preview how your form looks by clicking the eye button
5 - Save and share your form
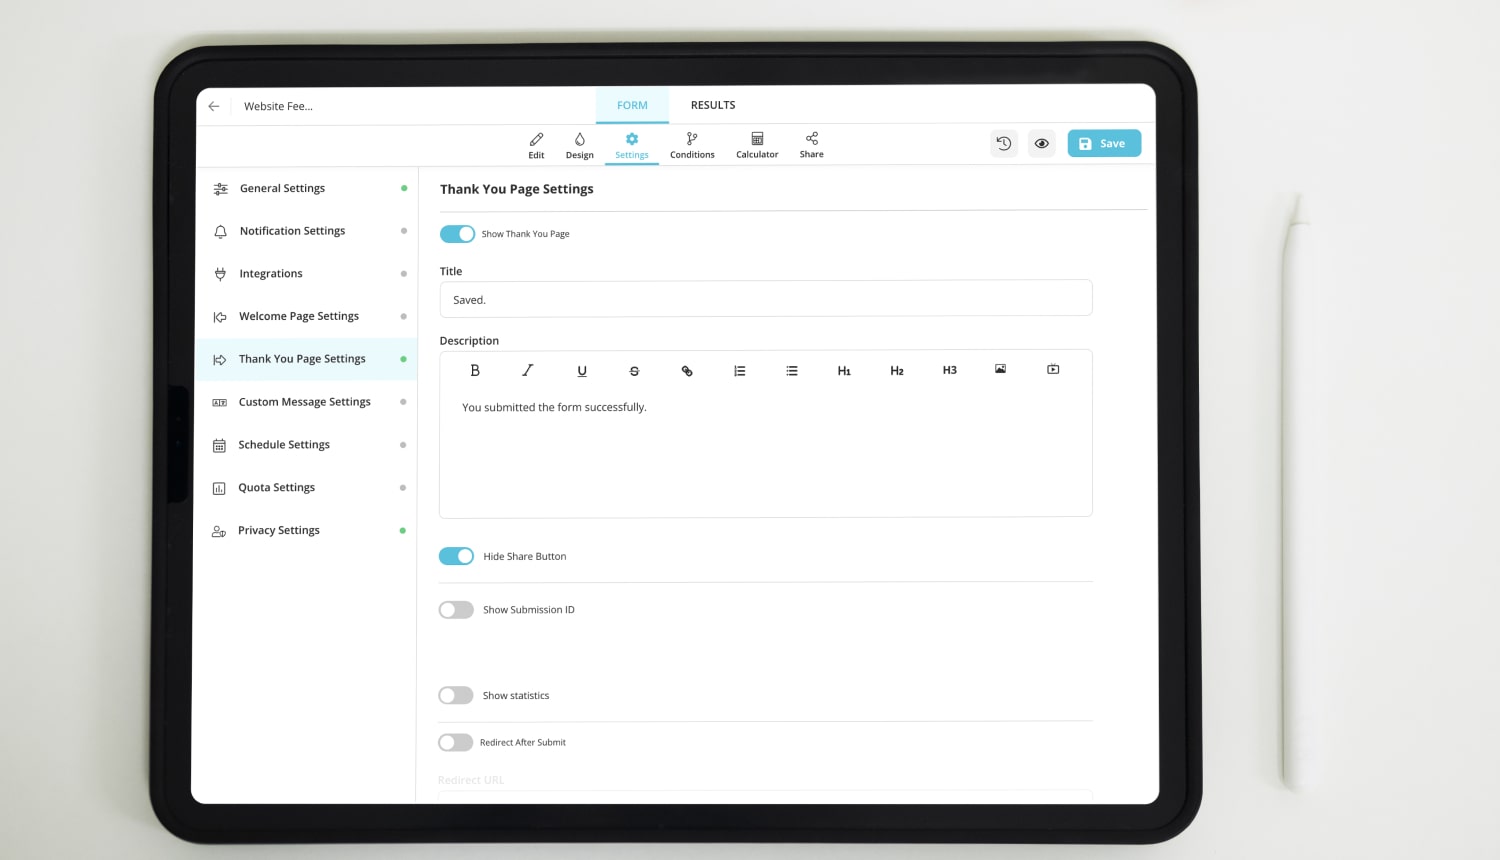
Creating a Thank-You page for your surveys
2 - Conditional logic
You may not want your respondents to see the questions as irrelevant to them, or you may want to categorize certain results or certain groups of people participating in the survey. Conditional logic helps you just do that; all you need to do is select the condition and choose which options will be further shown or hidden.
How to assign conditions to questions
1 - Go to Conditions
2 - Select your condition.
3 - Select the results of this condition.
4 - Save and share your form.
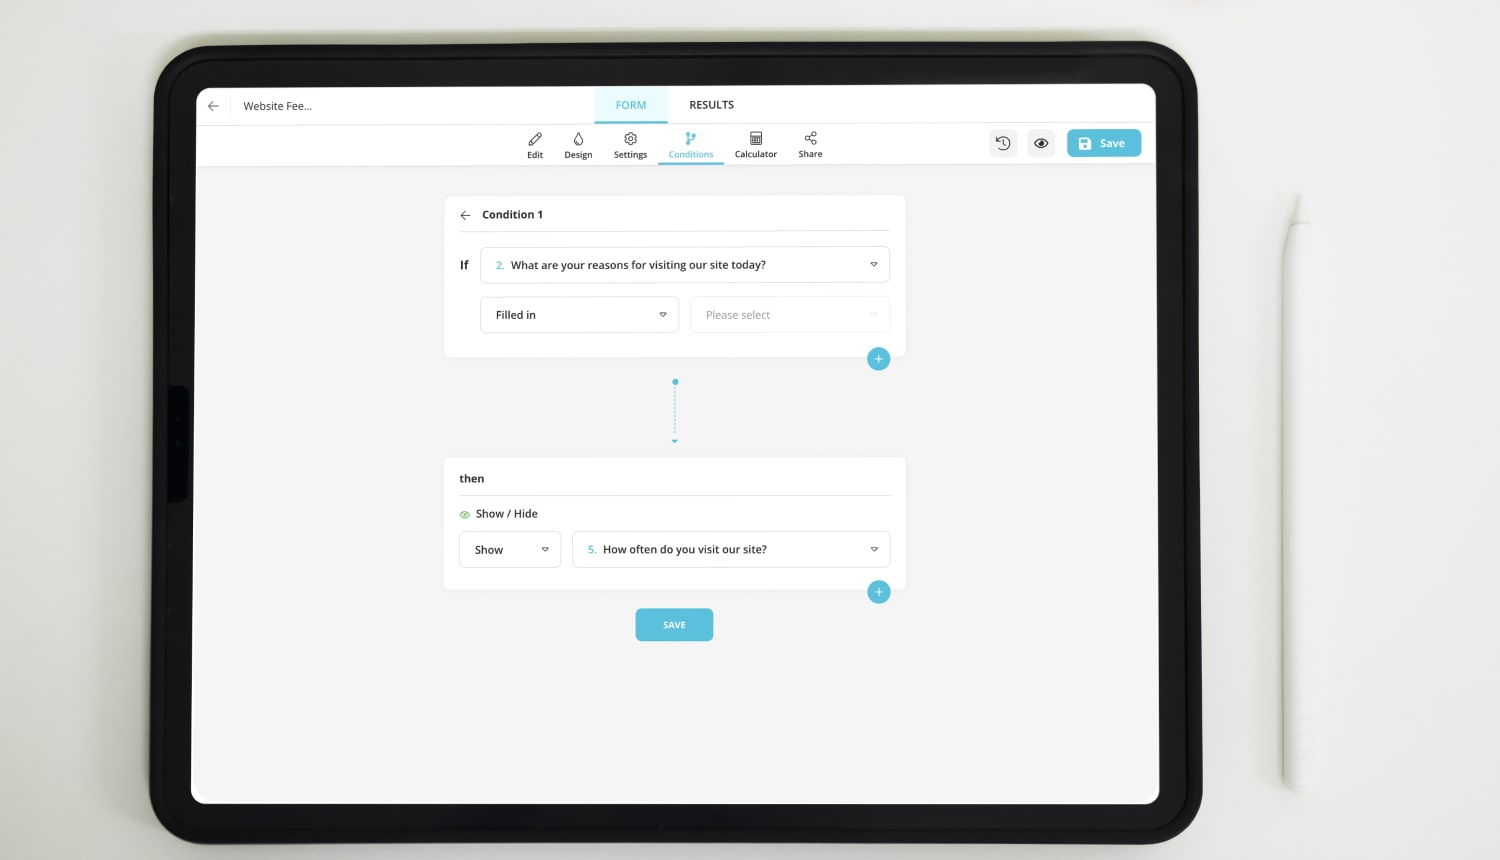
Adding conditions to your survey questions
3 - Calculator
Sometimes, it may be necessary to pick a winner or grade your respondents when conducting your survey. One of the many advantages of online surveys. You can calculate the points automatically with the “Calculator” feature. All you need to do is assign points to the answers, and the calculator will do the rest for you.
What is even better about calculator is that you can customize the content of the thank-you (ending) message in accordance with the score obtained by the respondents. You can place a positive note for a good result, and a negative note note for a bad result at the end.
How to automatically calculate scores on forms.app
1 - Go to Calculator
2 - Assign points to the options.
3 - Click “Calculator Options”
4 - Customize your thank-you notes.
5 - Save and share your form.
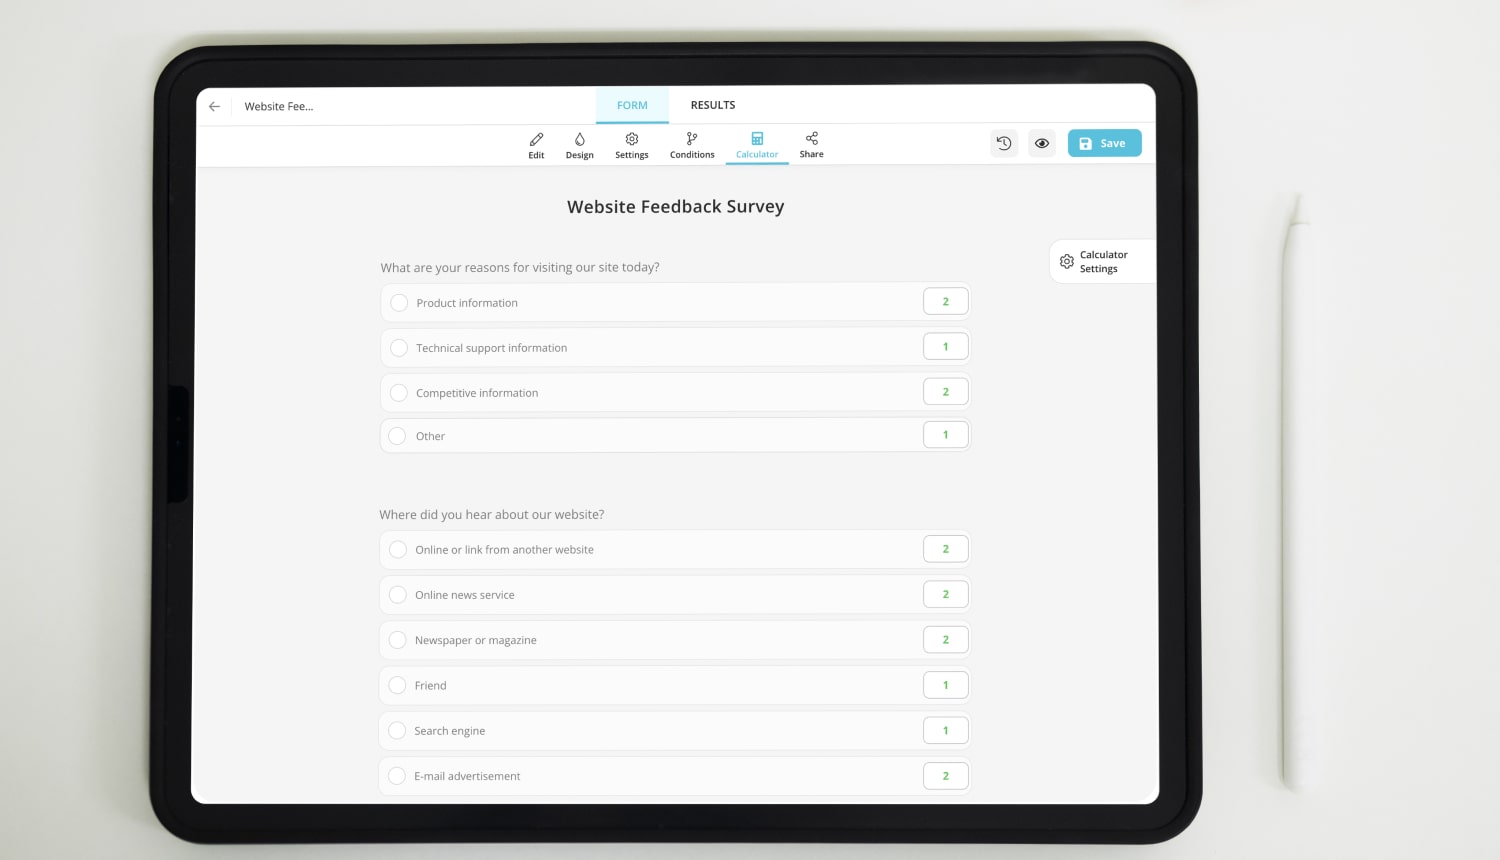
Adding scores to options
4 - Schedule and location settings
This is a feature where you can let your respondents know when the survey will start, and by using this feature, you can also unpublish your survey once you collect the data you need. Why should they still be available when the time is up, right?
You can also choose, who will be able to see your form/content. You can either make it a public form, or limit the range of your respondents, or even make it private, enabling it for you only.
In the privacy settings, you can select the location, in which the form will be available, as a country or as a radius.
How to adjust location and publishing settings
1 - Go to settings
2 - Choose “Schedule Settings”
3 - Set a date and time for publishing/unpublishing your survey.
4 - Add descriptions for these occasions (optional).
5 - Go to “Privacy Settings”
6 - Make your form “public” or “limited”
7 - Choose a specific location
8 - Save and share your form.
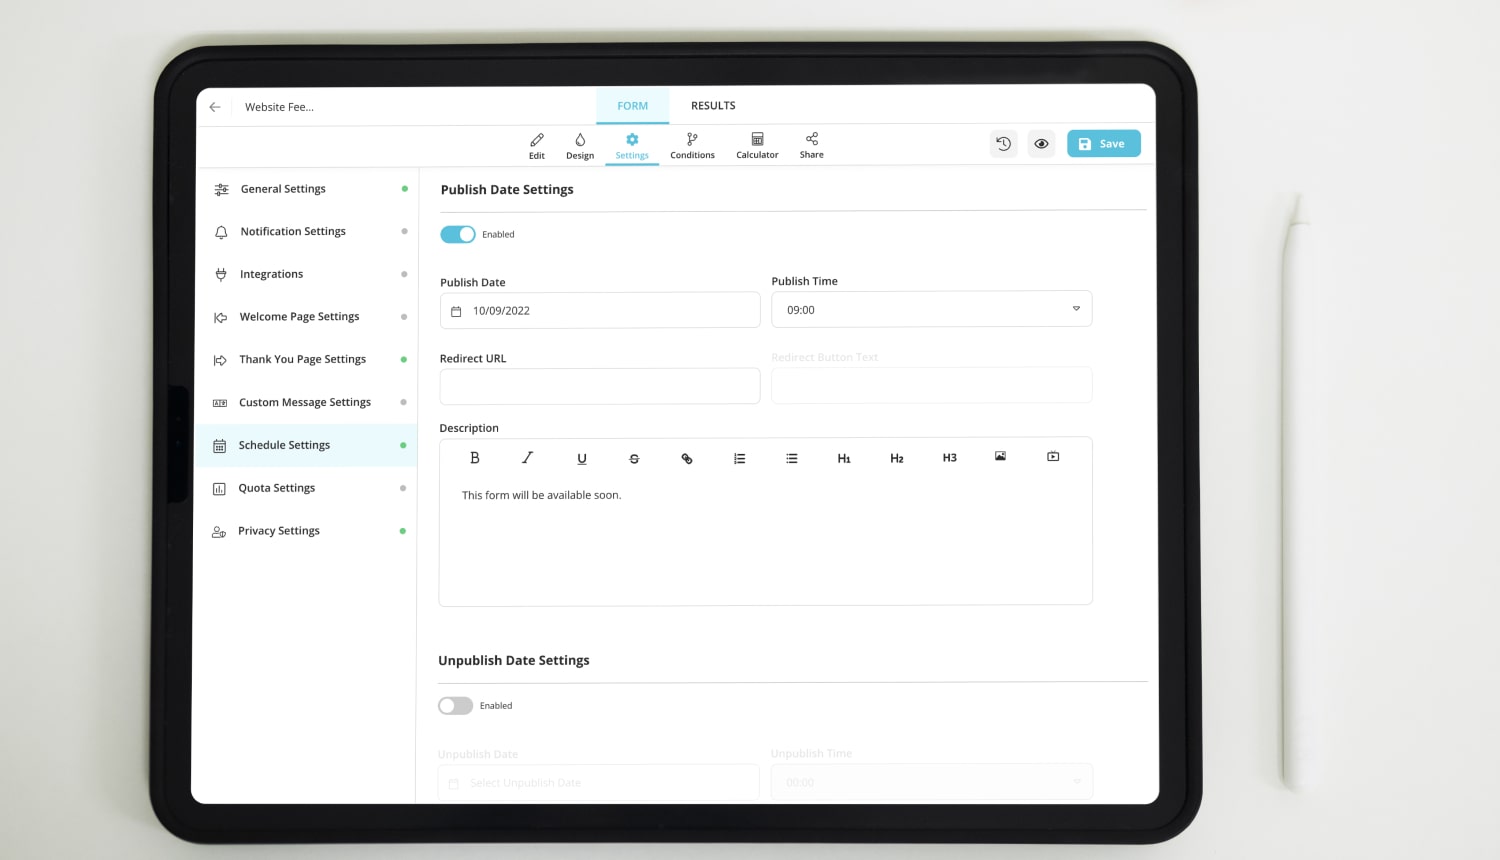
Setting time and location limit for your surveys
5 - Third-party integrations
If you are working on different platforms, why not connect them? Get all the help you can get! By third-party integrations, you can directly connect the surveys or results of these surveys to platforms like Mailchimp, discord, etc. Or you may choose to automatically sync your results with those on your spreadsheets on Google Sheets!
How to integrate your surveys with third-party applications
1 - Go to settings
2 - Choose “Integrations”
3 - Choose the third-party integration you wish. (You may need to be logged in to your respective accounts)
4 - Save
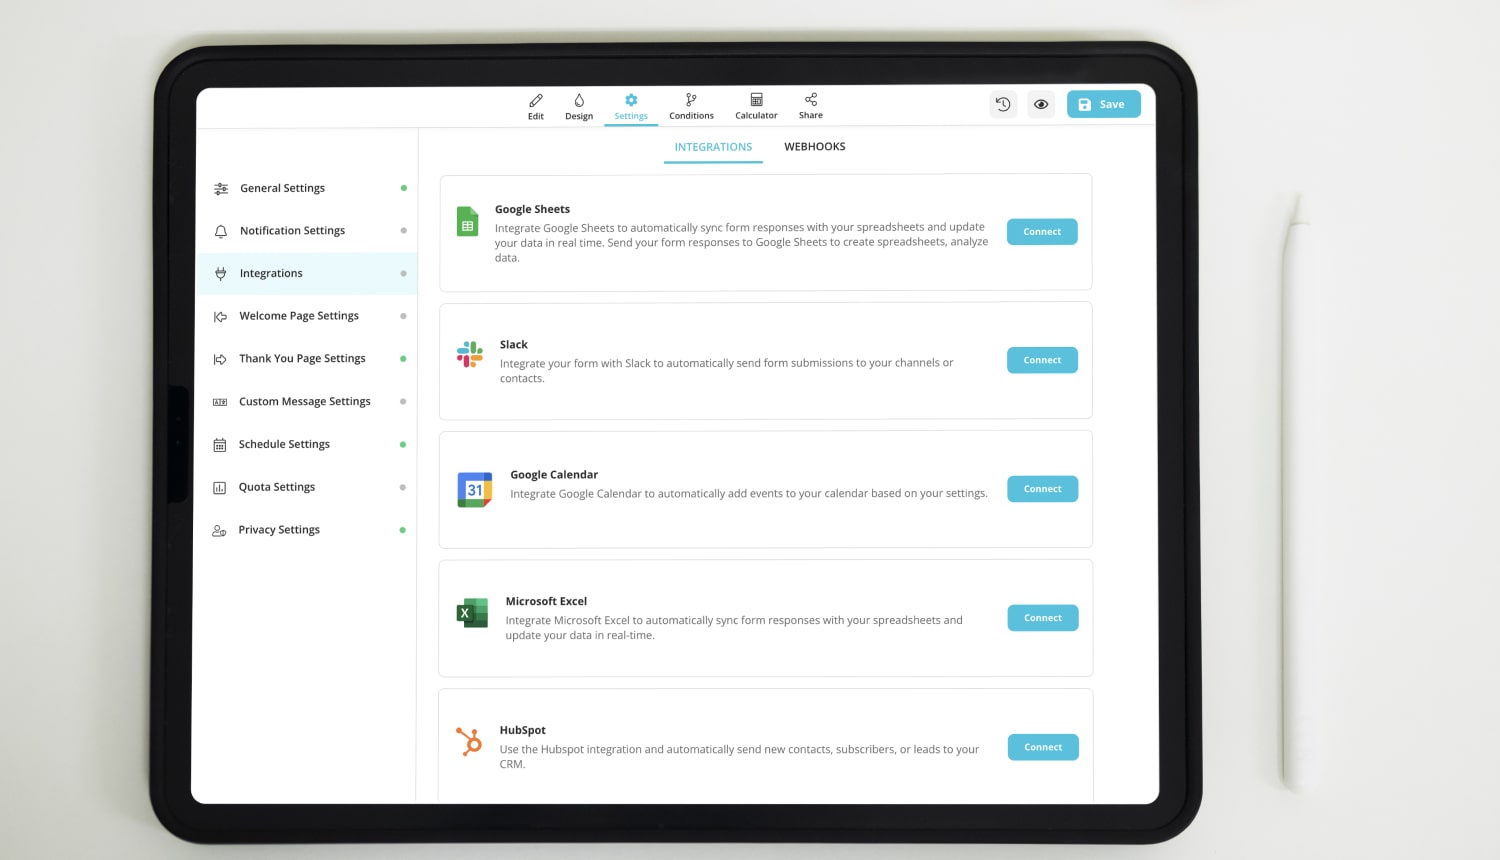
Integrating your surveys and forms with other web applications
Free survey templates for great results
In the free survey templates in forms.app, you can enjoy all of the said key features with a very easy-to-use interface and create a very rich and spectacular survey. And you do not need to start from scratch! Choose from many well-designed templates and simply click edit to suit your online survey to your needs.
Conclusion
In conclusion, surveys are fine instruments for compiling and collecting data properly and quickly. And why not use online surveys to make it even more proper and quicker? To make things better, there are many features that can enrich your surveys in specific ways.
Adding welcome/thank-you pages, conditional logic, the calculator, schedule and location settings, and third-party integrations are some of these important key features which you can add to your online surveys to make them more useful and spectacular. forms.app offers you these features and more in already-designed templates with a very simple interface. If you want to make a difference with your online surveys, you are at the right place.
Fatih is a content writer at forms.app and a translator specializing in many text domains, including medical, legal, and technical. He loves studying foreign languages. Fatih especially likes to create content about program management, organizational models, and planning tools.

