6 Ways to embed a Typeform form on your website
Summarize with
Forms are among the most effective methods for companies to collect feedback and access the necessary data. By creating forms, you can communicate effectively with your customers and employees and improve your services. Placing forms directly on your website makes it much easier for your target audience to contact you. This allows users to fill out your form without leaving your website, increasing conversion rates.
Integrating your forms into your website offers participants a more practical data collection experience. In this article, we will discuss 6 ways to integrate the forms you created on Typeform into your website. You will also find answers to frequently asked questions and discover a better alternative for creating and integrating forms into your website. Now, let’s move on to our article:
5 Reasons to embed a form in your website
Integrating forms into your website can increase participation more than other sharing methods. Having your form at a point on your website that attracts the attention of your target audience will encourage them to take action. Thus, your click-through rates will increase, and you can reach more consumers. Furthermore, the primary advantages of integrating forms into your website are as follows:
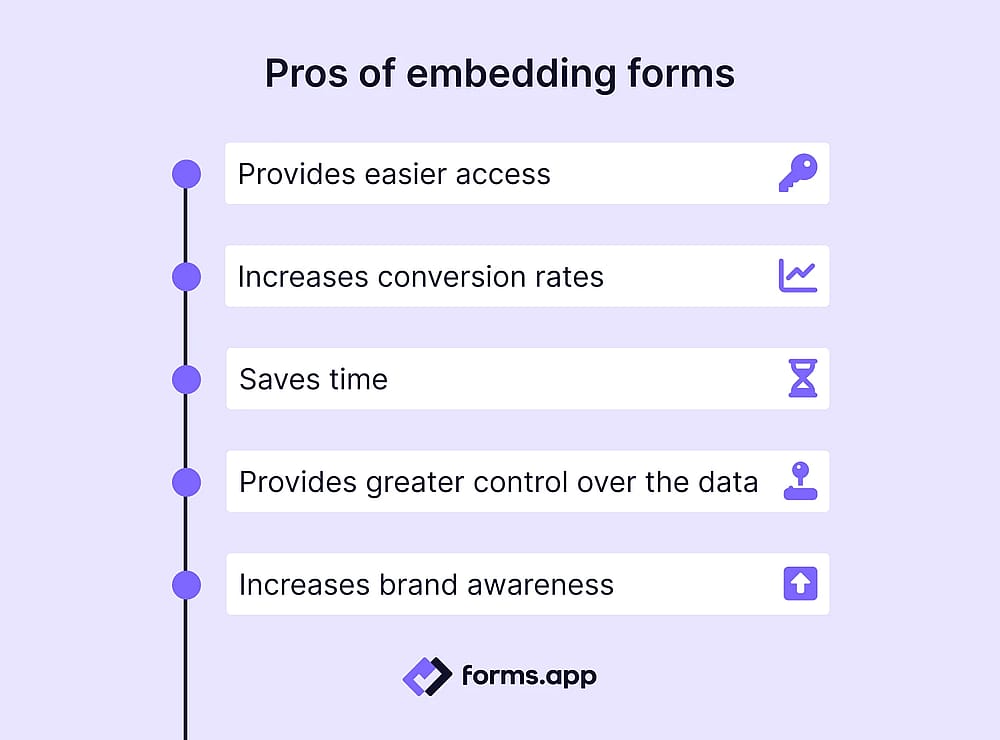
Advantages of embedding forms in your website
🔑 Provides easier access: Integrating your form into your website allows visitors to participate without redirecting them to an extra link. Thus, your customer satisfaction and click-through rates will increase.
📈 Increases conversion rates: The forms you place on your website will be more engaging. Consumers will be more inclined to participate in the forms they encounter immediately after their transaction on your website.
⏳ Saves time: Integrating your forms into your website saves time for both you and the participants. The process speeds up because it will not require additional platforms like other sharing methods.
🕹️ Provides greater control over the data: By integrating your forms into your website, you ensure that data is collected directly under your control. This increases the security of personal data and prevents data loss.
⬆️ Increases brand awareness: Delivering your forms directly to your target audience through your website will provide a more professional appearance. Adding your company's logo to your form and choosing compatible themes and colours is also beneficial.
How to embed your Typeform form into a website
You can create forms in Typeform, embed them in your website, and start collecting responses without redirecting respondents to a different link. Therefore, you can increase the number of participants and determine the necessary strategies for your company with the feedback you will receive. Here are the steps to teach you how to embed your Typeform in your website:
Step 1: Log in and create your form
Create a new Typeform account or log in to your existing account. Once logged in, click on + Create a new form, then build your form from scratch or choose one of the templates provided.
Step 2: Make the necessary customizations to the questions and theme
You can choose from different question types and add them to your form by clicking on the + Add content tab in the upper left corner. Once you finish customizing the questions, answer options, and theme in the Design section, you can share it.
Step 3: Select one of the embedding options
To integrate your form into your website, first click the Publish button and then go to the Share tab. After clicking the Share tab, select Embed in a web page on the left side. Then, choose one of the 6 different embedding options. For more information about embedding options, see the points below:
- Standard embed: With this embedding option, you can upload your form directly to your website. Standard mode allows you to change the width and height of your form on your website. So you can place your form in a way that best suits the design of your website.
- Full-page embed: With this embedding option, your visitors can view your form in full screen. In this way, you can enable your target audience to fill out your longer and detailed forms without distraction.
- Popup embed: The popup embedding option allows your form to open when participants click on the button on the screen. In this way, you can present your form without changing the appearance of your website. You can also customize elements such as the pop-up size and button text.
- Slider embed: The slider embedding option enables that when the button you add with it is clicked, your form opens by sliding on the right or left side of your website. It is a great way to present your form in a remarkable way for your visitors.
- Popover embed: With the popover embed option, participants can access your form with a popover button. Instead of the button, you can upload a special icon suitable for your website's theme or change the button's color.
- Side tab embed: When you embed your form into your website with the side tab option, it will appear as a fixed tab on the right side. When your participant clicks on the tab, it will appear on the side of your website. As with the popover option, you can upload a new icon or customize the button.
Step 4: Get your embed code
After selecting one of the embedding options above, click Start embedding. Then, copy the code on the screen, paste it into the web page code editor, and save it. Thus, you can present your forms to your target audience through your website.
Try a better alternative: forms.app
Using forms.app's 6 different embedding options, you can add the forms you have created to your website and increase your engagement. You can also use a WordPress plugin to add your forms to your website and take advantage of the many customisation options. Now take a look at the embedding options in forms.app one by one and learn how to embed forms on your website:
1. Standard embedding option: The standard embedding option is the most preferred option, and your forms are shared with participants directly on your website. Remember to customize the width, height, and background transparency of your form before you start collecting data with this option.
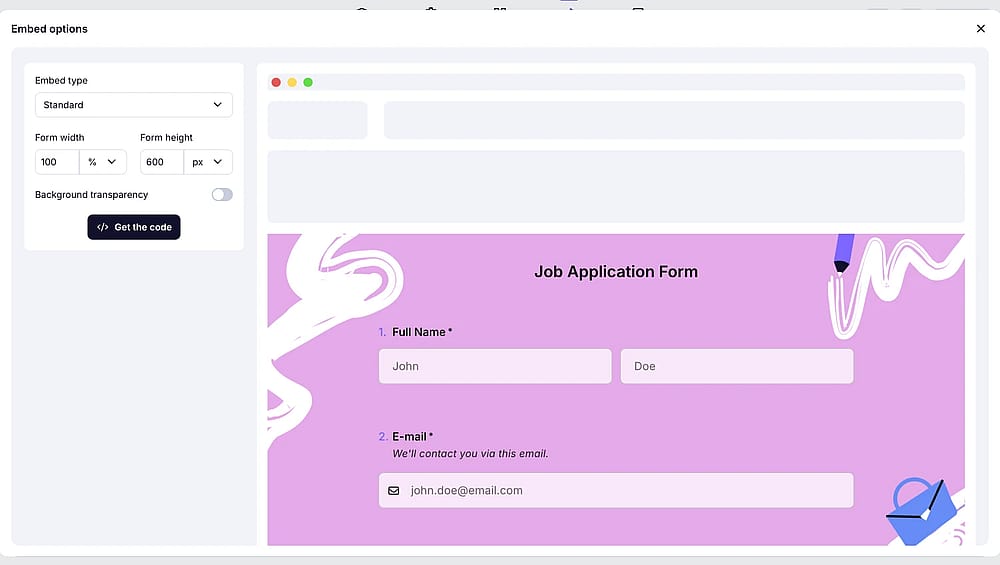
Choose the standard embedding option
2. Fullscreen embedding option: This embedding option allows you to place your form created with forms.app on your website in full screen. You can modify your form by adjusting the background transparency.
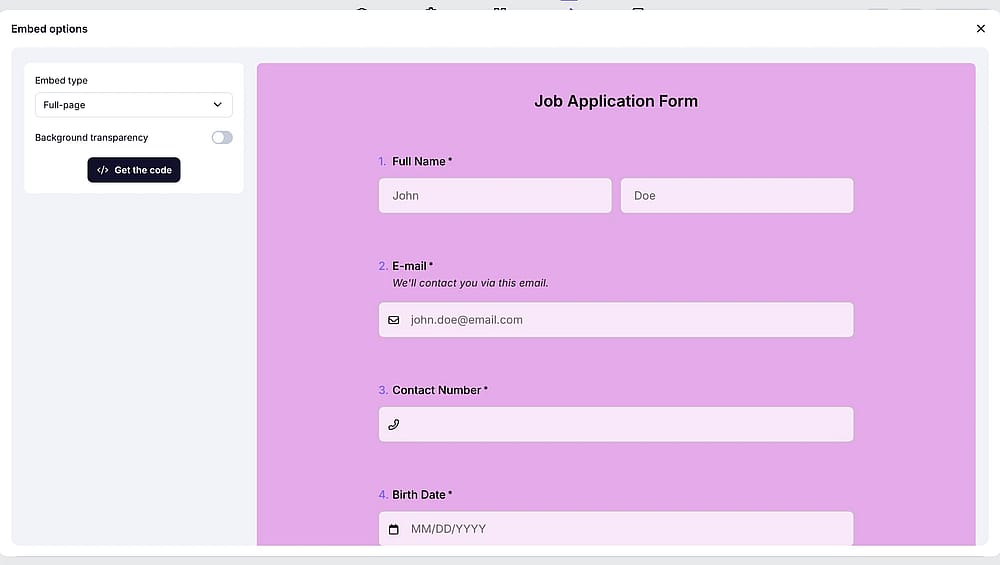
Choose the fullscreen embedding option
3. Chatbox layout embedding option: The Chatbox layout option allows you to present your form to your target audience as a box in a corner of your website. With the customisation options, you can align your form on the right or left side, change the button colour, and enable the auto-open option.
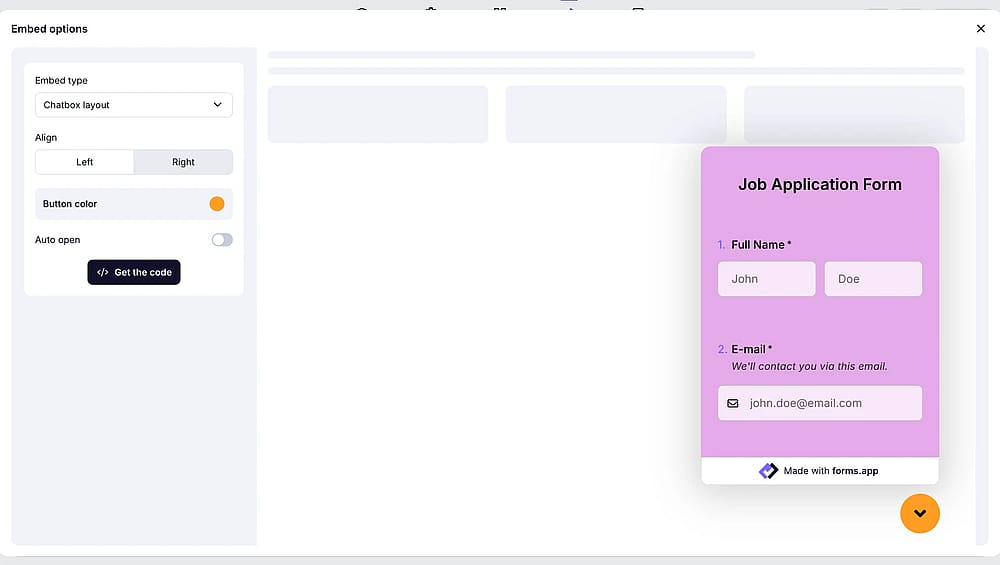
Choose the chatbox embedding option
4. Side tab embedding option: This placement method allows your form to be displayed on the side of your website that you have selected with the click of a participant. After selecting the side where you want the form to appear and adjusting the width and height, you can embed it on the website.
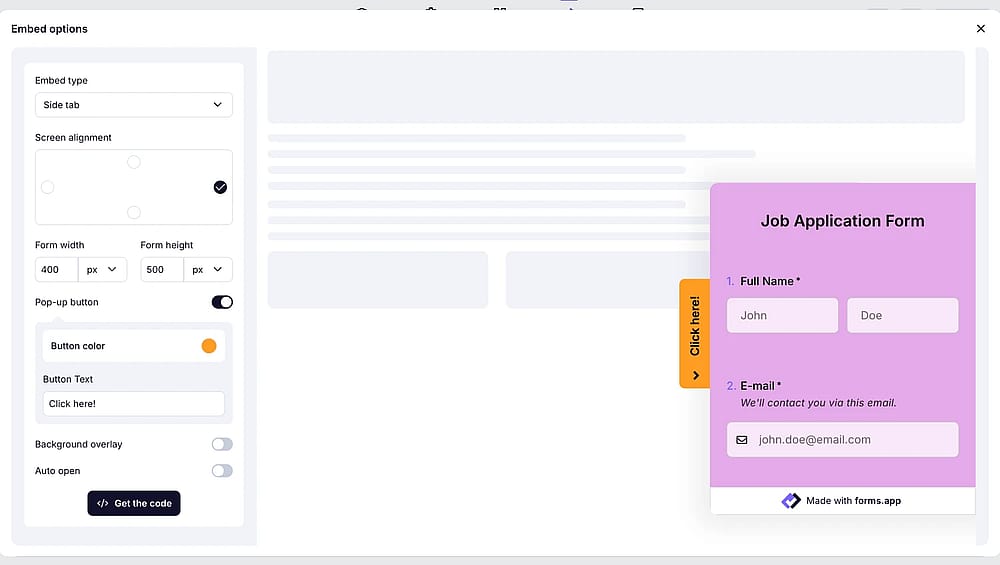
Choose the side tab embedding option
5. Pop-up embedding option: When you add your form to your website as a pop-up, it will be displayed automatically or when participants click on the button on the screen. With this option, you can change the button text and make it more eye-catching by adjusting the transparency and color.
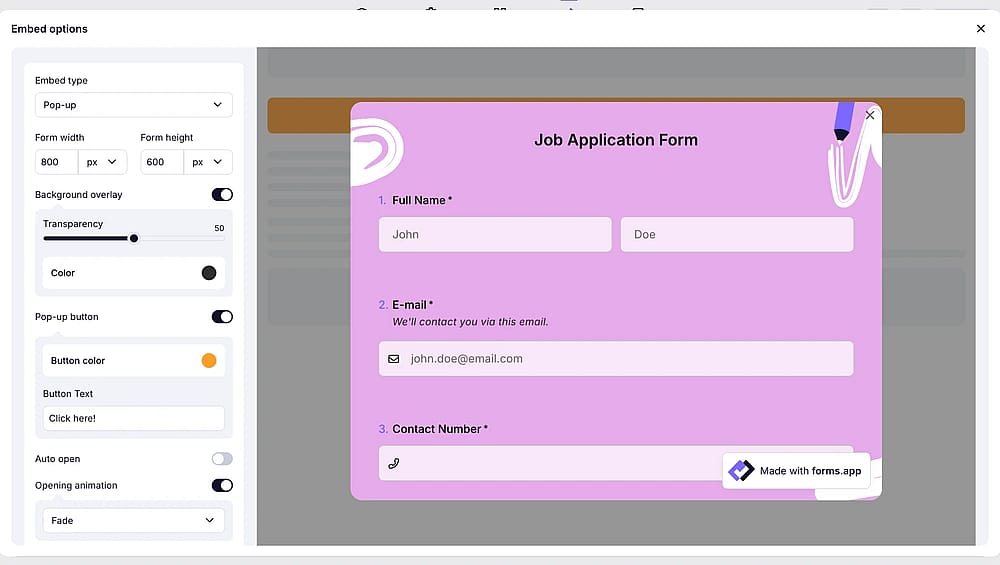
Choose the pop-up embedding option
6. Slider embedding option: In this embed option, your form will be opened by sliding from the side you select on your website. Don't forget to decide whether or not to add a pop-up button and make changes to factors such as the width and length of the form.

Choose the slider embedding option
💡If you are curious about how to embed forms on Notion, check out our article for further information.
Final words
In this article, we discussed how you can embed your forms in Typeform on your website in six different ways. Thanks to our article, you also learned about the benefits of embedding your forms on your website and a better alternative to doing so. Now, you can present your forms to participants on your website and increase conversion rates!
Frequently asked questions about embedding a form
Yes, Typeform forms can be embedded on most platforms, including WordPress, Wix, Webflow, and custom-coded websites, using embed codes or plugins.
Yes, you can embed your form into your website, even in the free plan. This allows you to start collecting responses directly on your site without any extra cost.
Not at all. Most embedding methods only require copy-pasting a code snippet. Advanced customization might need basic HTML/CSS knowledge.
Yes, you can embed the forms you create through Google Forms on your website. To do this, after completing your form, click the send button and copy the link. Then paste the link to the website where you want to embed your form. This will enable you to collect data through your website.
Contributors
forms.app, your free form builder
- Unlimited views
- Unlimited questions
- Unlimited notifications