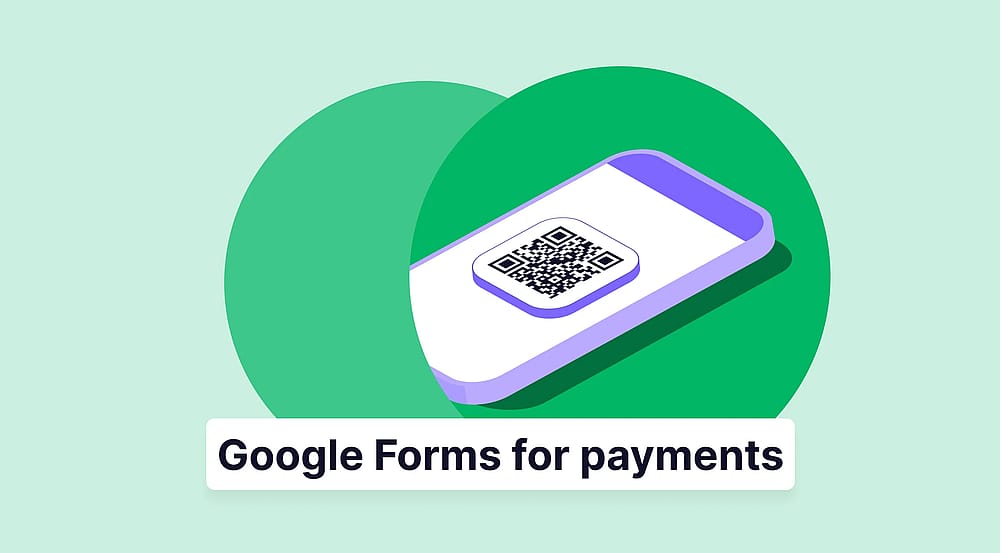
How to easily collect payments on Google Forms
Summarize with
Collecting payments on Google Forms is a growing need, but when you look for a Google Forms payment field or Google Forms payment processor, you will be disappointed.
Google Forms is one of the most widely used form tools in the world, and for good reason. It’s free! But it is also a simple tool, and doesn’t have a built-in payment feature. Luckily, we are here with a few solutions.
In this guide, you will learn three methods for creating a Google Form for collecting payments, which one to choose and when, the limitations you might face, and a better alternative for creating payment forms. Let’s get started!
Can Google Forms accept payments natively?
No. Google Forms has no built-in payment field. You cannot connect Stripe, PayPal, or any other payment processor directly within the platform out of the box.
But you can indeed use Google Forms for payments with workarounds, namely, you can redirect users elsewhere, using a link or a QR code, or install a third-party add-on. Read the next section forthe steps of each workaround.
How to add a payment method in Google Forms (3 methods)
Collecting payments via form is genuinely useful for: Event registrations, RSVPs, workshops, classes, and training sessions, restaurant deposits, booking confirmations, product or service orders, donations and fundraisers, and Membership sign-ups.
Whatever the reason, you can collect payments through Google Forms in three ways:
- Redirecting to a 3rd party payment website after submitting
- Adding QR codes or links to the form content
- And, using add-ons
Below, we explain the steps for each Google Forms payment options:
1. Redirecting to a 3rd party payment website after submitting
The simplest approach. After someone submits your form, you show them a custom confirmation message that includes a link to your payment page, PayPal, Stripe, Cash App, a payment portal, or any other platform you use.
- Step 1: go to the settings after you finish building your Google Form.
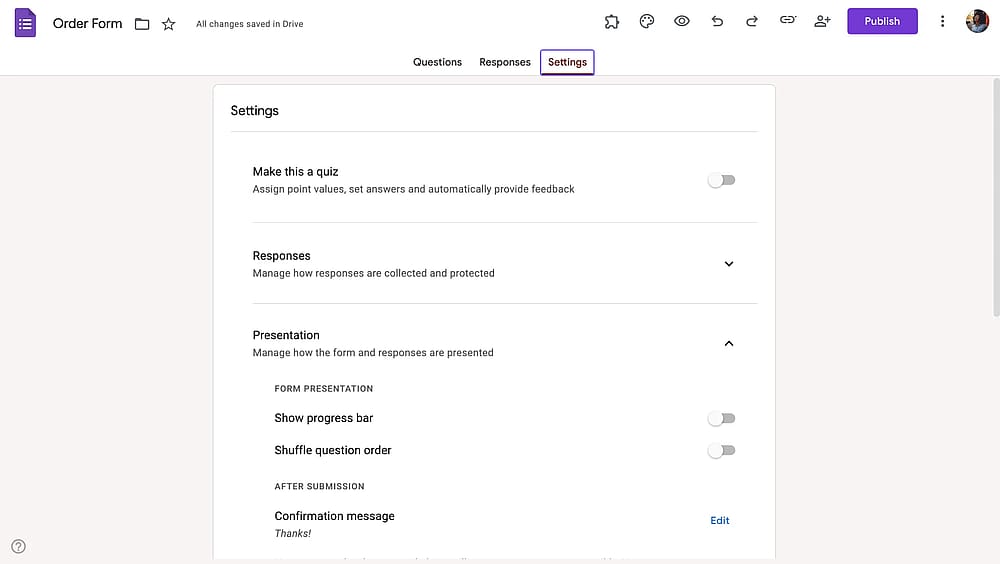
Go to settings on Google Forms
- Step 2: Click on “Presentation” and then the edit button next to “Confirmation message”
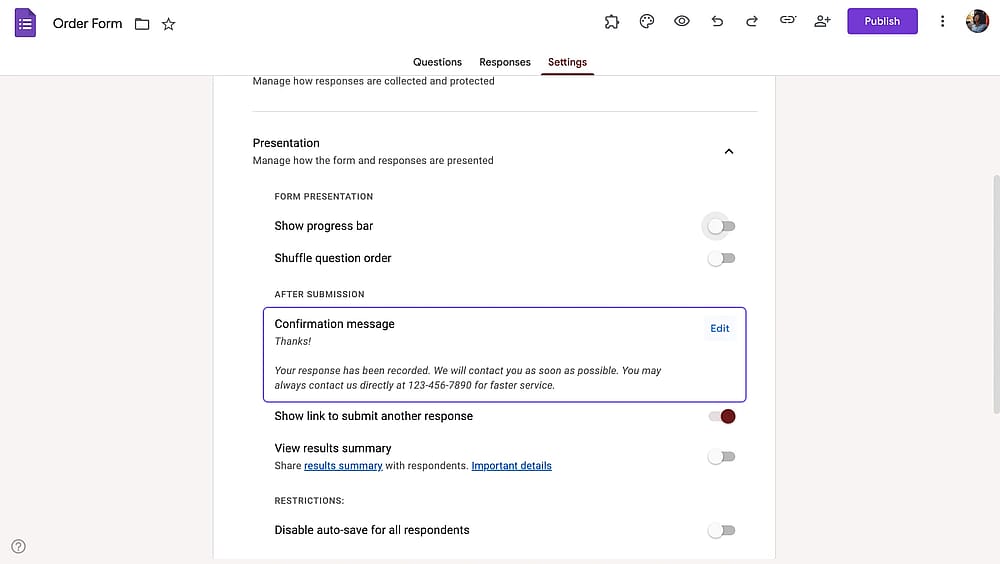
Open “Confirmation message”
- Step 3: Here you can show a specific text when they fill out your form. This will allow you to paste the link that will direct customers to the payment method (such as Google Pay or Google Forms PayPal option). Write a message that includes your payment link, for example: "Thank you for registering! Please complete your payment here: [your link]"
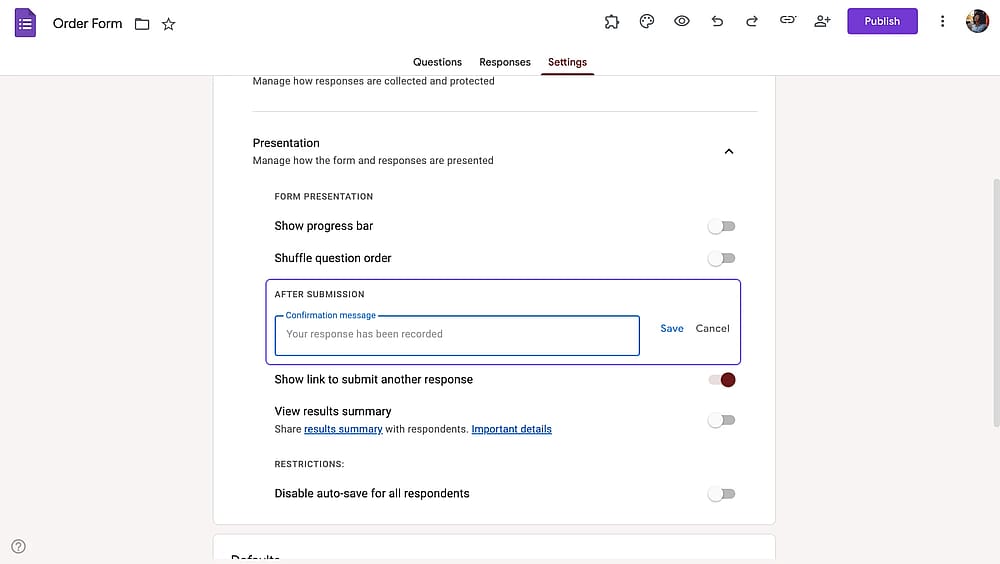
Add a customized text with a payment link
- Step 4: Once you have pressed the save button, respondents will see the payment link after completing the form. You can begin collecting payments through your Google Form.
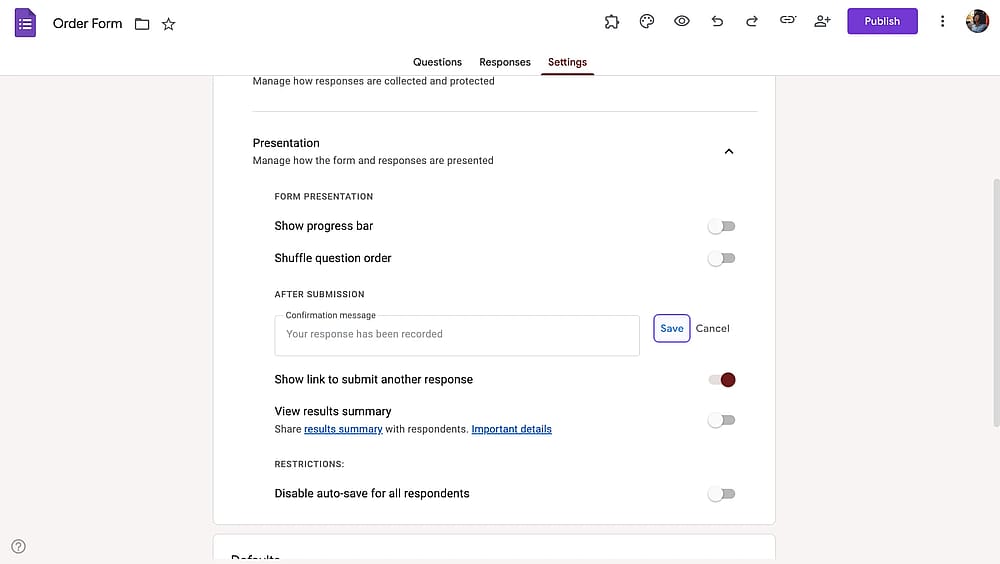
Save and exit
Best for: Very low-volume, informal use cases where respondents are known to you, such as a small club collecting annual dues or a one-off community event.
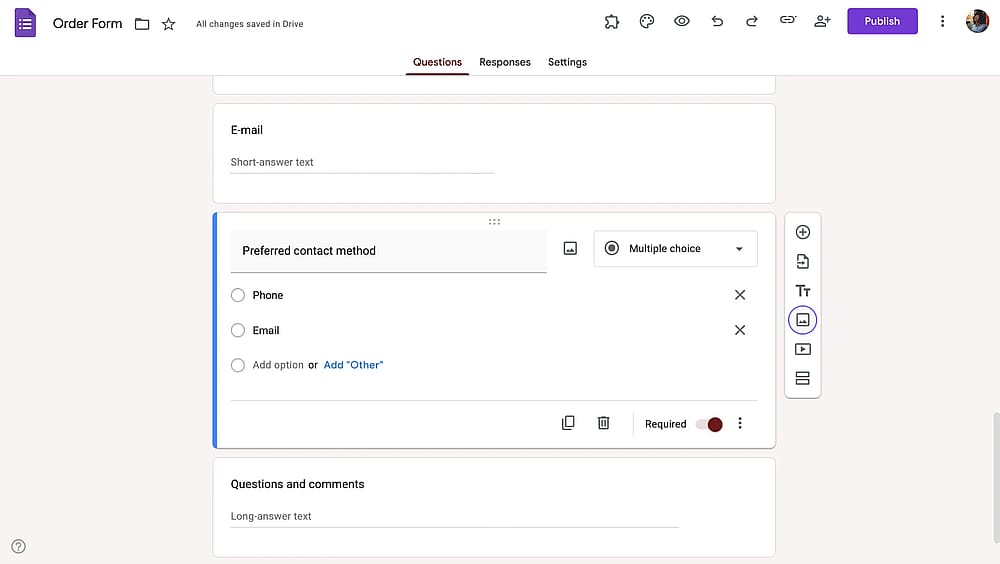
2. Adding QR codes or links to the form content
Instead of a link in the confirmation message, you embed a QR code or link directly inside the form. Essentially, you will be creating a Google Form with payment link. Respondents scan it mid-form or at the end to complete payment via a P2P platform like PayPal, Venmo, Cash App, or Zelle.
💡 Pro tip
Optionally, you can include a file upload field in your form for collecting proof of payment documents.
- Step 1: Create a QR code for payment in a peer-to-peer payment platform. Or get a payment link.
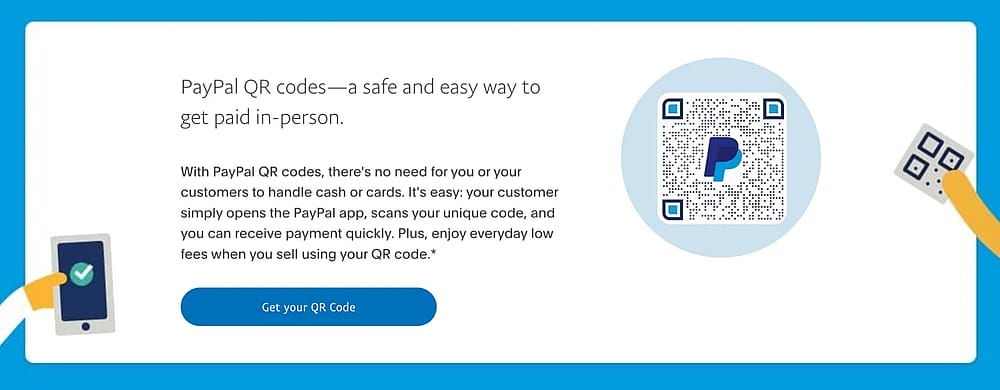
Create a QR code for collecting payments
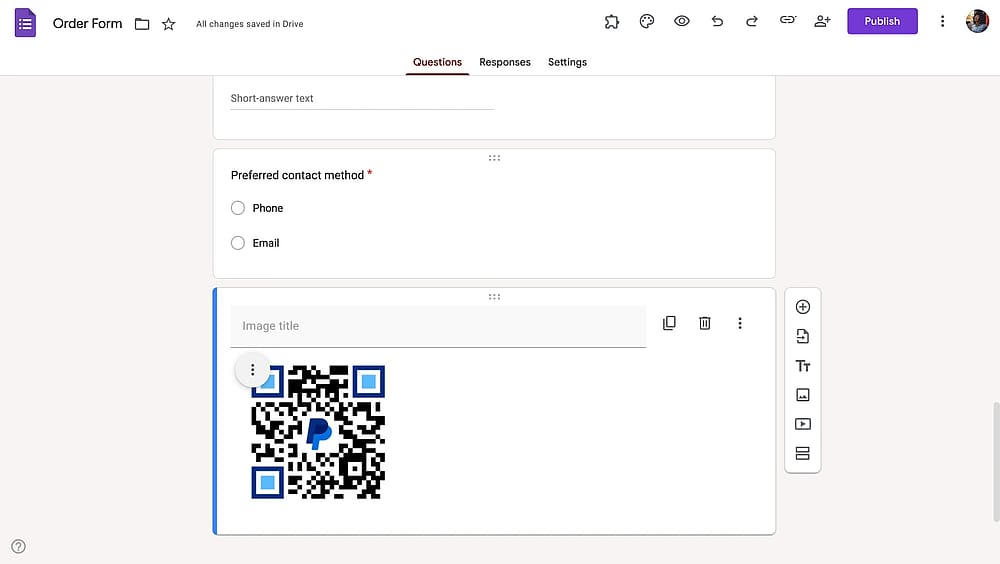
- Step 2: On the Questions page, click the Add an Image icon on the right and upload the picture of your QR code.
Add your QR code as an image
- Step 3: Now your visitors can scan the QR code and make payments instantly.
Start collecting payments
Best for: Community events, local organizations, or informal group collections where respondents are likely to have the same P2P app.
3. Use a Google Workspace add-on
If you're looking to accept payments directly via Google Forms, you have a solution. You can simply go to the Google Workspace Marketplace and browse through the various Google Workspace add-ons until you find a Google Forms payment gateway that suits your needs.
With these add-ons, you'll be able to seamlessly integrate payment processing into your forms, streamlining the entire process for you and your customers alike.
- First, open your form and click on the three dots in the right-upper corner.
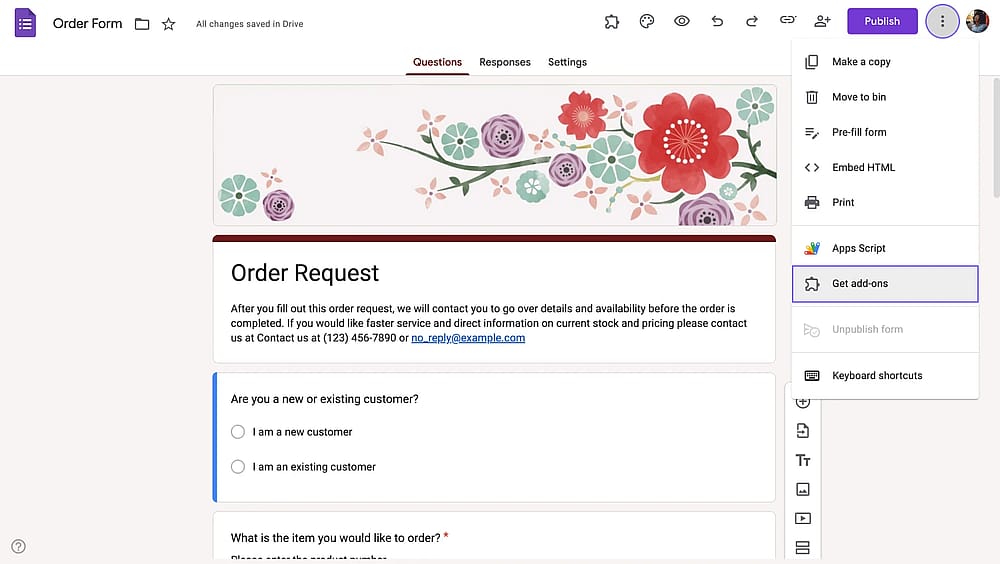
Open Google Marketplace
- Then simply type “Payable” or “Payment” and press enter.
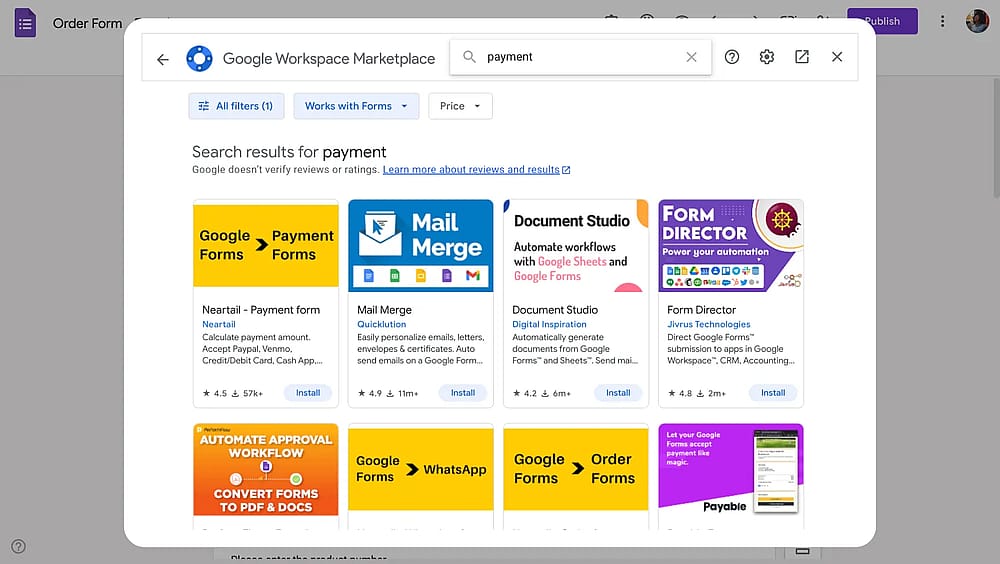
Type payment to find relevant add-ons
- After choosing an add-on, such as “Payable Forms” or “PayQ”, click Install to set it up.
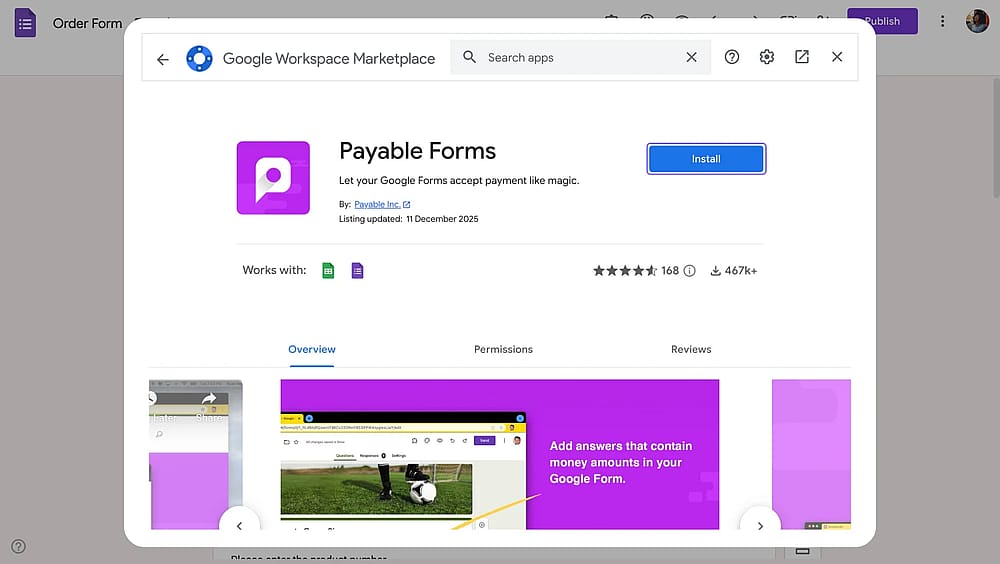
Choose an add-on and install
- Lastly, use the add-on to add a payment provider such as Paypal, Stipe, and Square to your Google form.
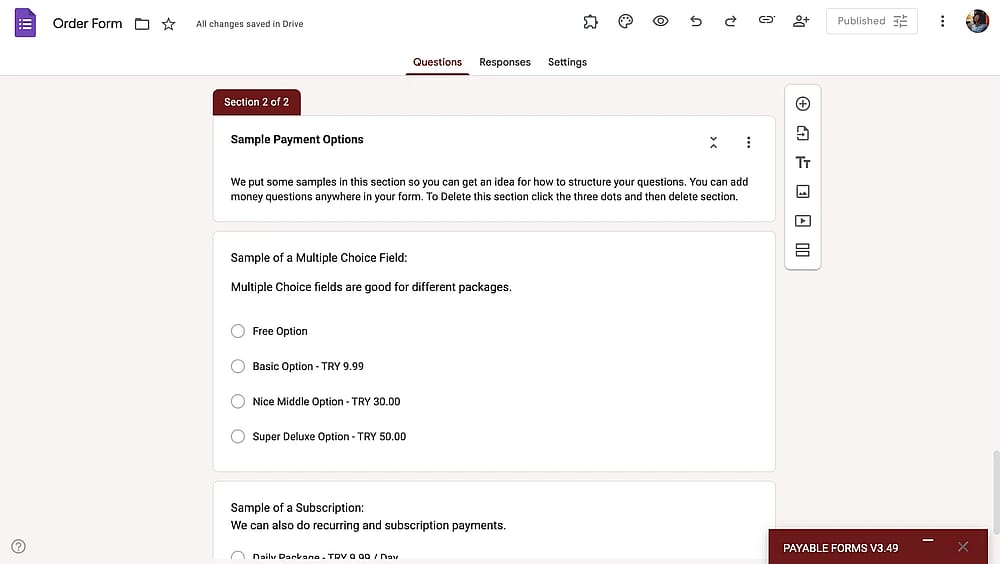
Use this new add-on to collect payments
Best for: Teams already committed to Google Forms who need card payments and are comfortable paying for an add-on to make it work.
The limitations of using Google Forms for payments
Regardless of which method you use, Google Forms payment setups share a common set of limitations that are worth understanding before committing:
- No native payment field: Every method is a workaround, not an integrated feature. This creates friction in setup, maintenance, and respondent experience.
- Payment and form data are not linked automatically: With the link-out and QR methods, you have no reliable way to know which respondents have paid without cross-referencing manually. Even with add-ons, the integration can be fragile.
- No built-in product listing: You can't display products, set quantities, calculate totals, or manage inventory inside Google Forms. This makes it unsuitable for anything resembling an order form.
- No dynamic or calculated pricing: You can't build forms where the total amount changes based on respondent answers (e.g., number of tickets, selected add-ons, membership tier).
- Security responsibility is unclear. Google Forms alone is not PCI DSS compliant. With the link-out and QR methods, security depends entirely on where you send users. With add-ons, it depends on the add-on's payment processor.
Here’s a comparison table to see what you get with each workaround + with a dedicated form builder tool, like forms.app.
Considerations/Method | Link after submission | In-form QR codes and links | Add-ons | forms.app |
Setup difficulty | Easy | Moderate | Moderate-Hard | Easy |
Card payment support | (via link) | |||
Payment linked to form response | Partial | |||
Product listing | ||||
Dynamic pricing | ||||
PCI compliant | ||||
Cost | Free | Free | Add-on fees apply | Unlimited payment collection on the free plan |
Best for | Informal, one-off | Local / community | Regular Google Forms users | Regular or professional payment collection |
How to accept payments on forms.app
Every method above works. But they all share the same core problem: payment data and form data live in different places, and connecting them requires ongoing manual effort or fragile integrations.
If you collect payments via forms regularly, even occasionally, it's worth knowing that purpose-built form tools, like forms.app solve this natively.
forms.app is an all-around form builder with a built-in payment field. There are no add-ons, no workarounds, and no separate tools to manage. Here's what that looks like in practice:
1. Open your form on forms.app or create a new one
forms.app offers hundreds of order form templates and payment form templates. You can simply choose one or use the AI form generator to have AI create your form. Then you can customize your form however you like.
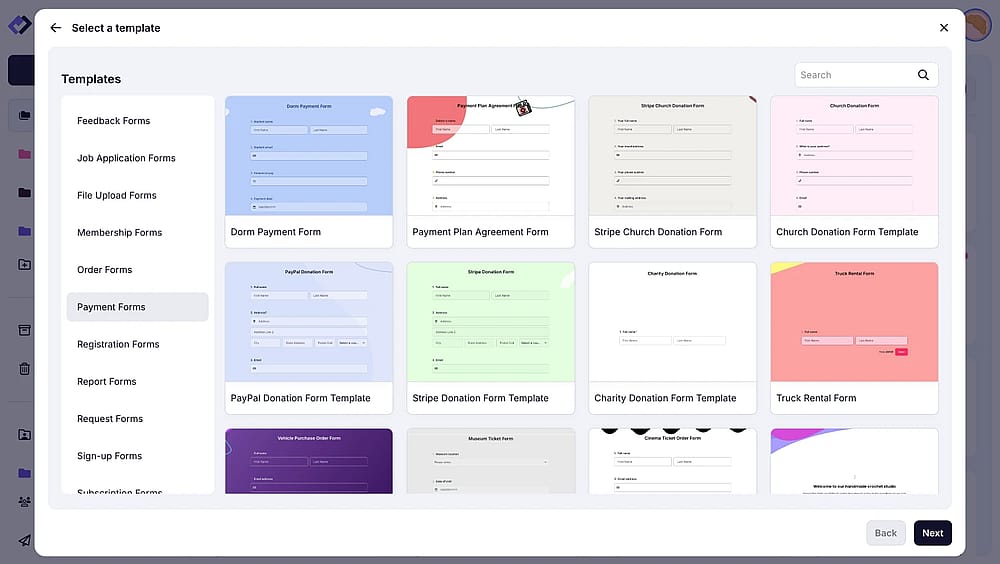
Payment form templates on forms.app
2. Add the Payment field under the Payments & E-Commerce section
On the fields menu, you will see the Payments & E-Commerce section; there, click on the payment field or drag and drop it on your form.
Payment field on forms.app
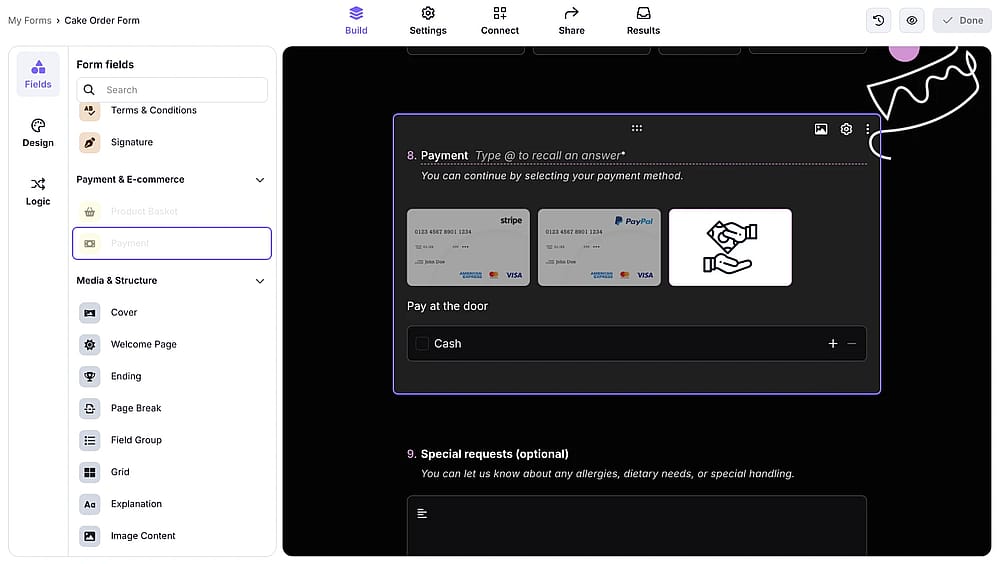
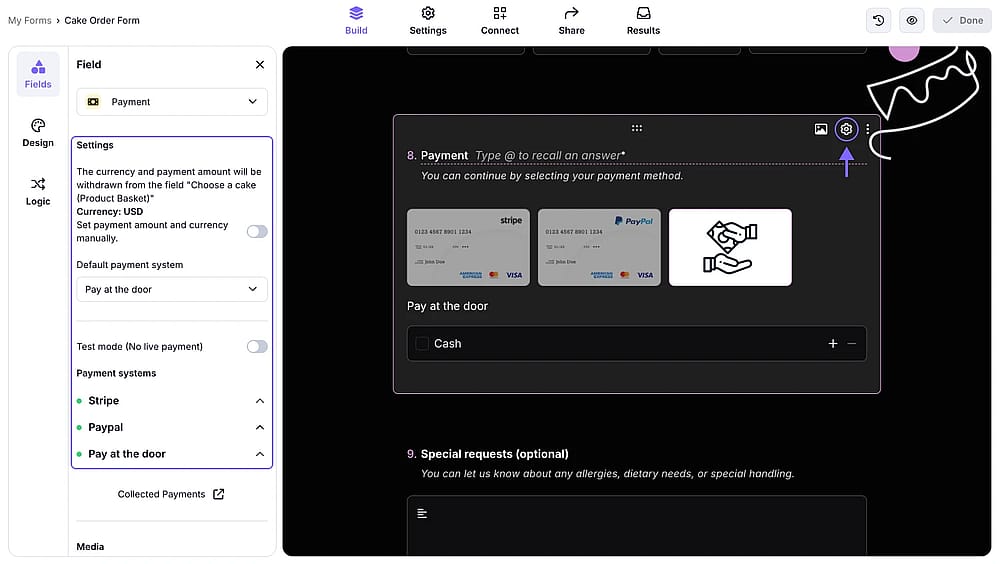
3. Choose Payment providers (Stripe, PayPal, or pay at the door)
Click on the settings icon on the upper right-hand corner of the field and choose a payment option to display on your form. For example, simply click on PayPal and hit the connect button.
Payment provider settings for the payment field
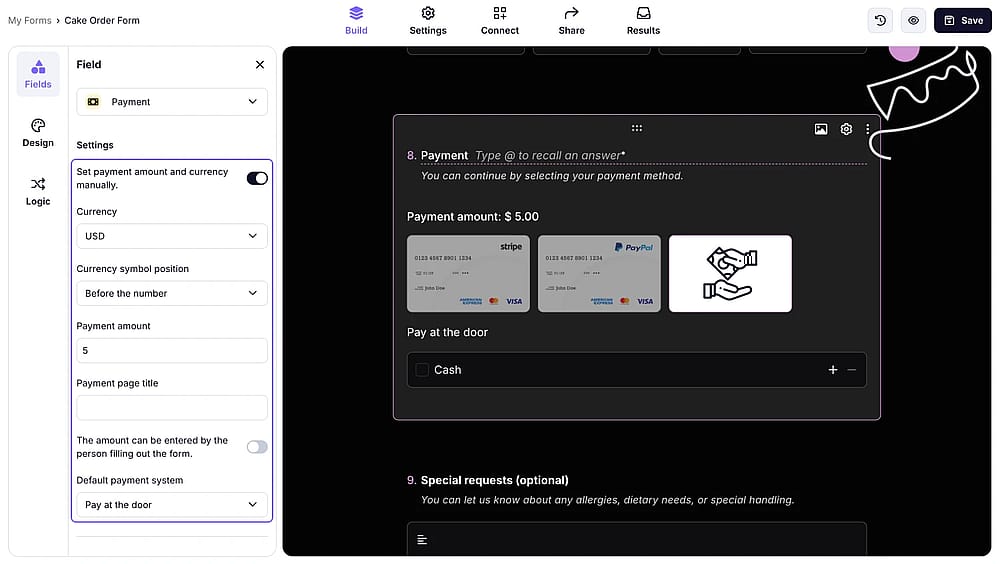
4. Set your currency and payment amount
For your payment field, you can set a fixed amount, let respondents pay what their hears desire, or fetch dynamic price from your product basket field.
Price settings for the payment field
5. Enable test mode to verify everything works
Before you share your form, open the test mode and test your form if everything works as you intended.

Test mode setting for the payment field
Bonus: Displaying your products/services with a product basket field
If you're selling products or services, forms.app's product basket field lets you display items with images, descriptions, prices, and variants (size, color, etc.) directly inside the form. Respondents browse, select, and pay, all in one place. You can manage inventory, set stock limits, and categorize products without a separate e-commerce platform.
🪄 You can add up to 300 products in the product basket field.
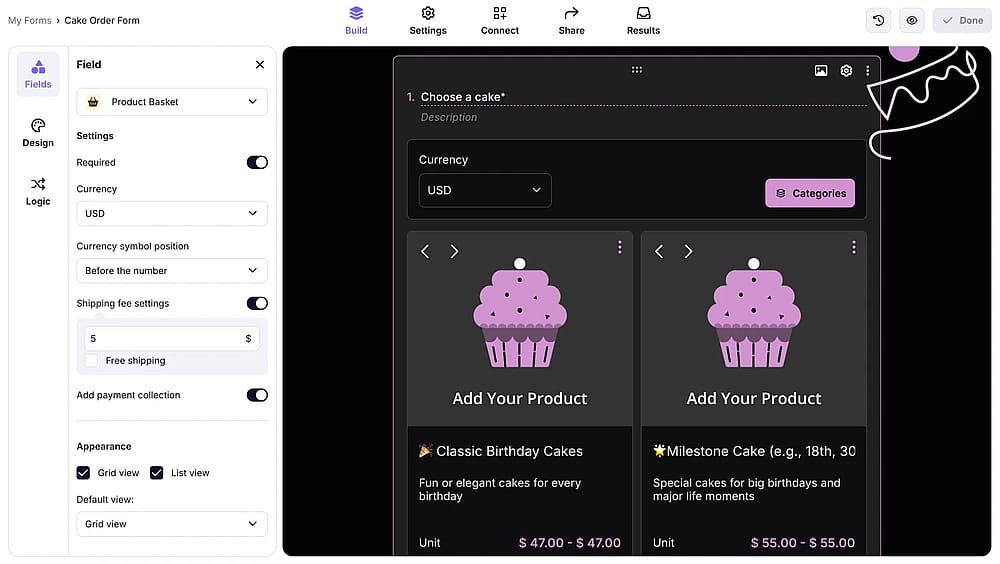
Product basket field in a form
Frequently Asked Questions
Only via a Google Workspace add-on or link to a Stripe Checkout page. Stripe cannot be connected directly to Google Forms without a third-party add-on. If you need a direct, native Stripe connection without an add-on, a dedicated form builder like forms.app is a simpler path.
Not natively. Google Forms has no built-in payment field. You can get close using a Google Workspace add-on like Payable Forms, which connects your form to Stripe for card payments. The link-out and QR code methods redirect users to external platforms rather than collecting card data within the form itself (which is actually the safer approach).
Yes, through the link-out method. you add a PayPal payment link to your confirmation message. There is no direct PayPal integration inside Google Forms itself, and add-ons typically connect to Stripe rather than PayPal.
The link-out and QR code methods are free. Add-ons generally have their own fees. Standard Stripe and PayPal transaction fees apply regardless of method. forms.app's free plan includes the payment field with no additional platform fees.
Final words
In this article, we covered using Google Forms to collect payments. However, it's important to note that Google Forms doesn't natively have a built-in payment collection feature. It has some workarounds for collecting payments. A link in the confirmation message is enough for informal, low-volume scenarios, and a Google Workspace add-on gets you closer to a real integration. But every method comes with trade-offs: disconnected data, manual reconciliation, add-on fees, or a disjointed respondent experience. As a result, it may take some time to navigate through various tabs and try different methods for collecting and tracking your payments.
If payments are a regular part of how you use forms, the easier path is a form builder that handles it natively. forms.app includes a built-in payment field, product listing, dynamic pricing, and direct Stripe/PayPal connections. All on a free plan to get started. Create payment forms and collect secure payments with forms.app today!
Contributors
Researched & written by
forms.app, your free form builder
- Unlimited responses
- Unlimited questions
- Unlimited team members