Webhook Integrations
Webhooks let you automatically send your data to other applications. It requires a little more work to set up compared to forms.app’s other native integrations. However, this article will help you understand how you can add webhook connections between your forms and other applications.
What is a webhook?
A webhook is an automated message sent from one app to another when something happens. You can think of webhooks as messenger pigeons 🕊️. When an event happens, a pigeon (webhook) is sent from your one application to another, carrying the message (data) about the event. One thing to remember is that this is a one-way street.
How can I add webhooks to my forms?
Webhooks are great for custom integrations. On forms.app, you can add webhooks, publish them, edit if necessary, and see your recent deliveries. Here are all the steps for adding a webhook to your forms:
1. Open your form and head over to the Connect tab:

An image showing how you can access the “Connect” section after you open your form
2. Scroll down to find the webhook option and hit connect:
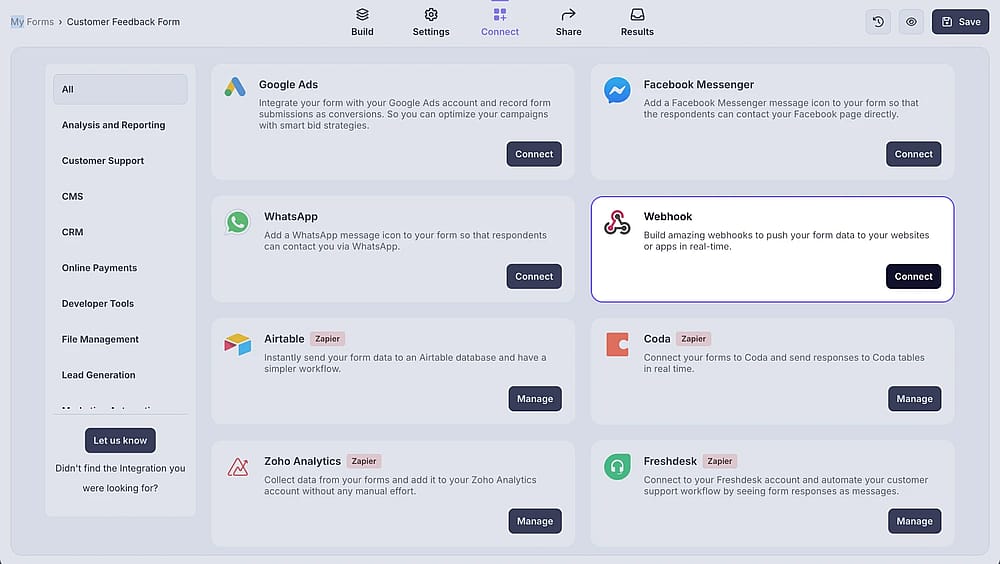
An image showing the “webhook” option, which you need to select after opening the “Connect” section of your form
3. This is a panel to see your webhooks. Click the Add a webhook button to set up your webhook integration:
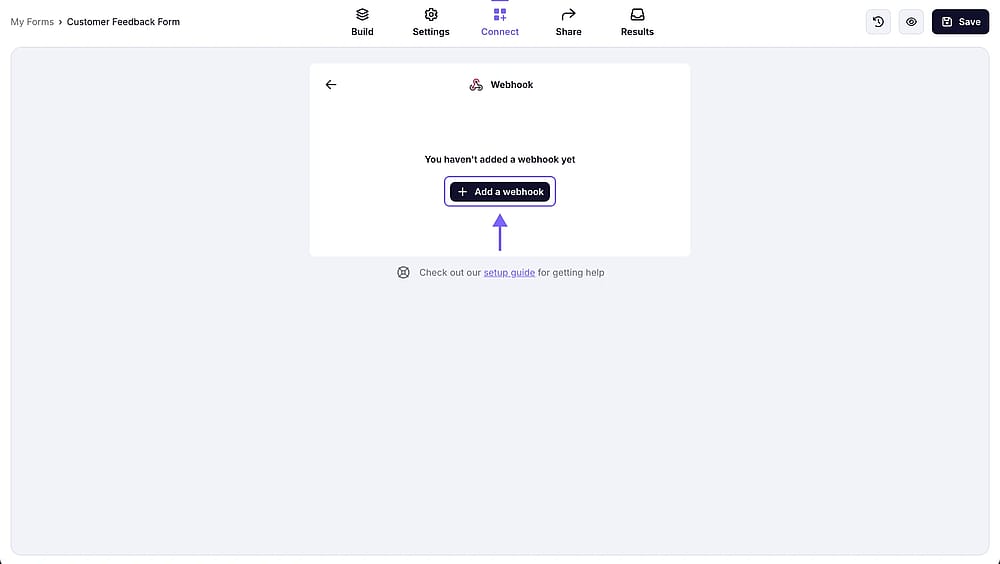
An image showing the pop-up appearing, where you will need to click the “Add a webhook button” to start the connection
4. To set up your integration, you need to enter your webhook URL and secret key if necessary. We will use a webhook URL from Make.com to show an example:
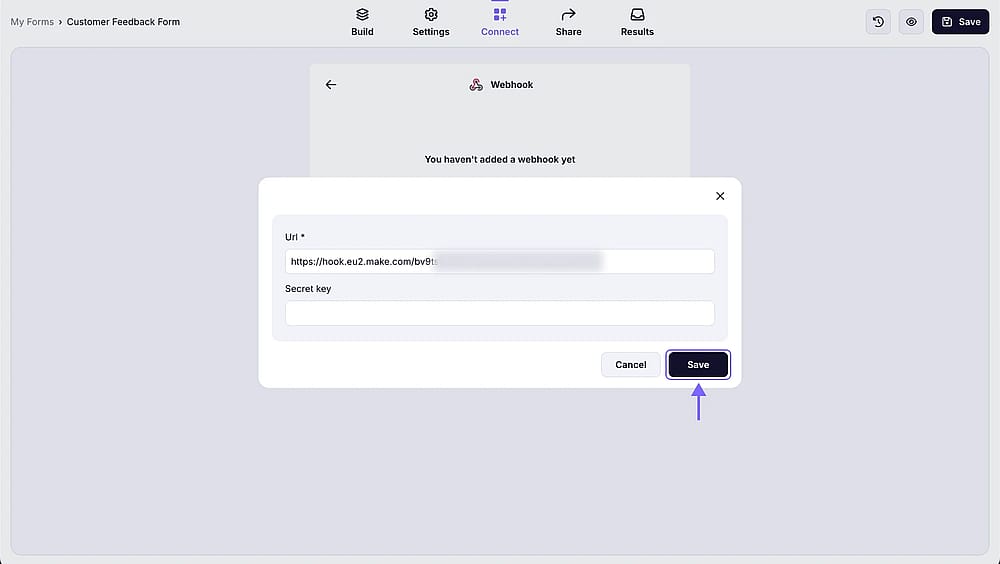
An image showing the area for you to enter the necessary details, like webhook URL and secret key
5. Once you add your webhook, you can fill out your form to see if it works as intended. You can also use this webhook panel to edit your webhook, delete it, unpublish it, or see your recent deliveries.
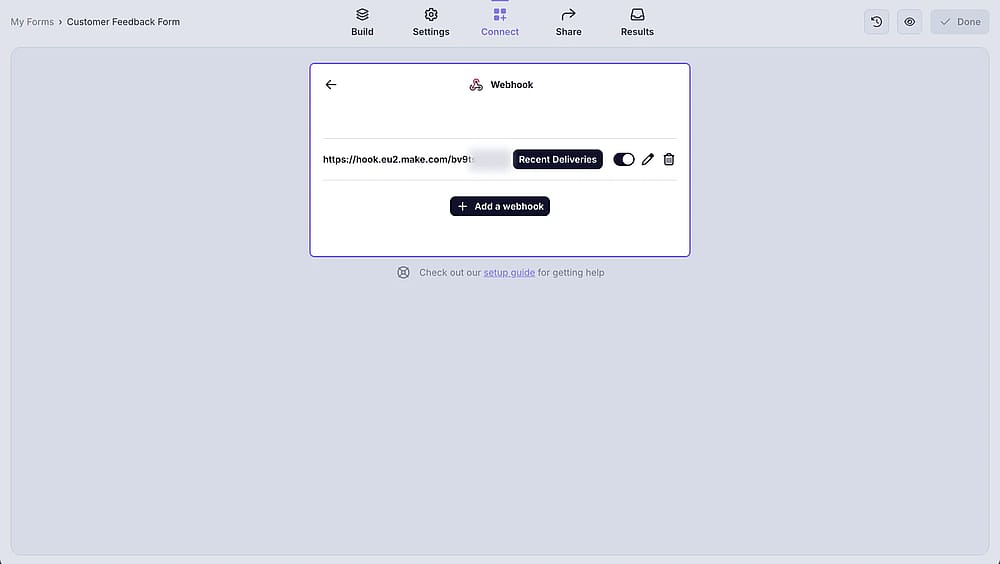
An image showing the page of the successful setup of your webhook, where you can edit your webhook, delete it, unpublish it, or see your recent deliveries if needed
If you like to set up an integration through webhooks, you need to have an endpoint to send your form responses. This should be in a URL format and sometimes comes with a secret key.
Finding the webhook URL has different steps for different apps. And sometimes an app may not have a direct webhook URL by default. You should check the help articles and integration documents on your other application, or you can get in touch with their support teams.
If you want to create webhook integrations with no code, you can also check out automation platforms, such as Zapier, Make, Suretriggers, and Integrately.
Through webhooks, all information in the submission is sent. However, when setting up your endpoint, you can choose which data to receive and record in your other application.
There may be many reasons for an integration to suspend. The most common reason is not receiving a positive response from your endpoint to see if the data is delivered. If your webhook stops working, we suggest syncing your databases manually and reconnecting your webhook.
Yes. You can add more than one webhook to your form. When you get a form response, these integrations will work simultaneously and send form data to your other applications.
When someone fills out a form, your form data is sent through a JSON file to your app.
If you want to see the webhook payloads to configure your integration, you can create a webhook for testing purposes with websites, such as webhook.site. Once you set up your webhook and fill out your form, you can see the payloads by clicking on the Recent Deliveries button on the webhook panel. You can also check the test website you have connected to.