Introduction to team collaboration features
forms.app’s team collaboration feature allows you to invite members and collaborate on creating forms, surveys, and quizzes for your organization. In this article, you will learn how to use forms.app as a team.
1. Create folders
Before inviting your team members to forms.app, you need to create folders so you can store your forms and share them with only the members you want.
To create your first folder, simply click on the Create a new folder option on the sideboard while you are on your Dashboard. After giving your folder a name and choosing a color, you can click Create to finish the process.
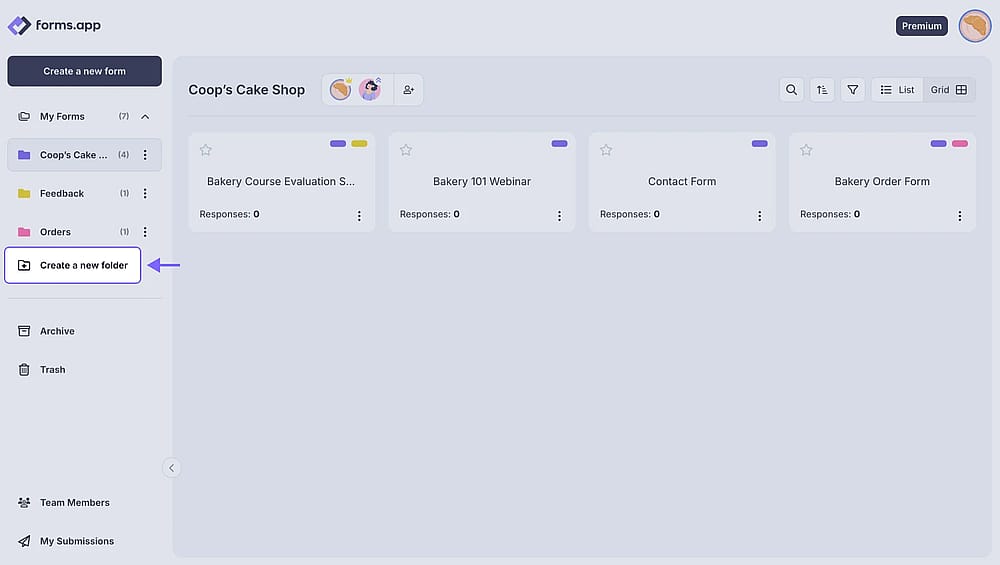
An image showing the “Create a new folder” button, which you need to click to add a new form folder
2. Invite your team members & manage team roles
To start collaborating, first, you need to invite your team to forms.app. Please note that your colleagues should have a forms.app account before you send the invitation.
While you are on the dashboard, click the Team Members button at the bottom of the sidebar and choose Add member. Then, all you have to do is enter an email address and select a role and folder for your invitation. After the user is added, you can edit their access at any time.
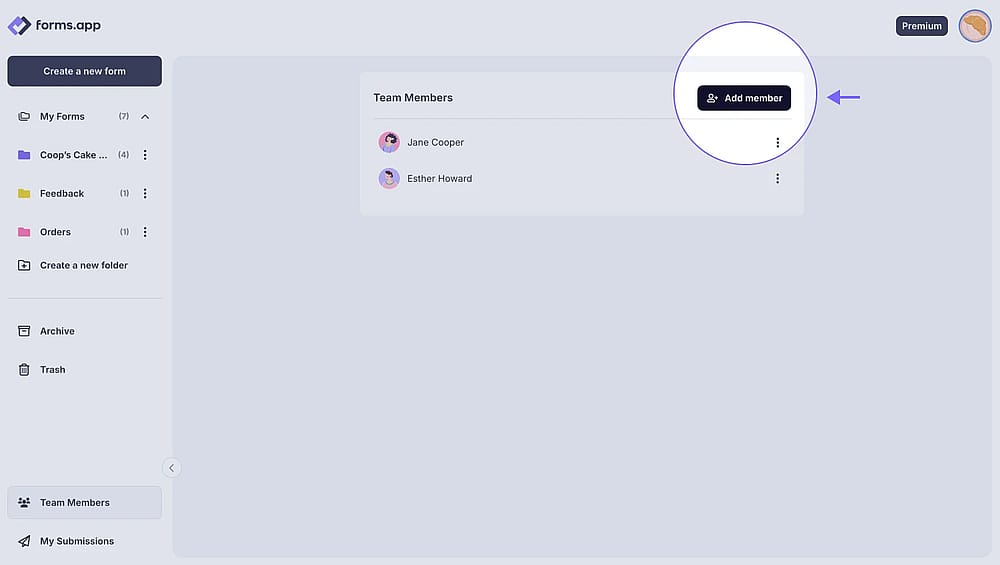
An image showing the “Add member” button, which you need to click to add new users when you are in the “Team Members” tab
Read our article on how to manage your users to see all the steps in detail. You can also check out the page about the roles and permissions you can grant to your team members.
3. Leave a folder
If someone shared a folder with you, but now you want to leave it, that’s easy. All you have to do is click the three-dot on the shared folder and select the option Leave folder:
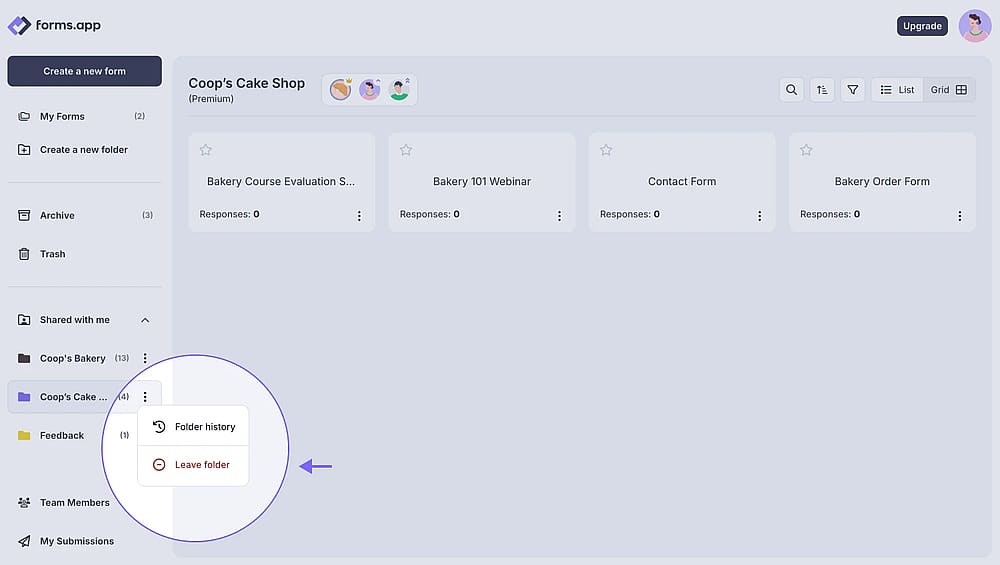
An image showing the “Leave folder” button, once you press the three-dot menu on the folder you wish to leave from the “Shared with me” panel
4. Remove a member from your team
Sometimes it can be necessary to delete users from your team. To do this, you can open the Team Members panel and click the three-dot menu on a member to open additional options. Then choose Delete user to remove the member from your team.
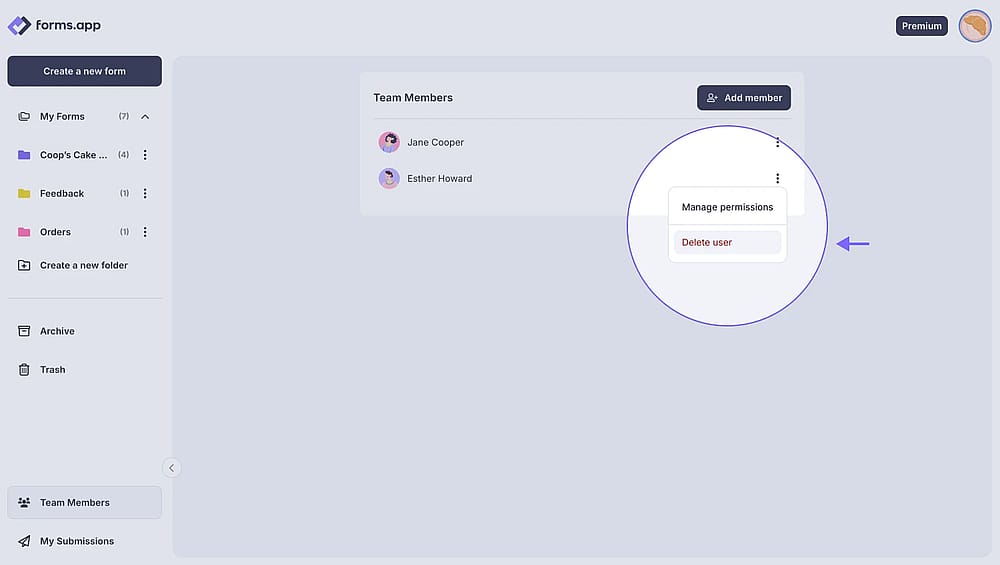
An image showing how you can delete team members by pressing the “Delete user” button from the “Team Members” panel
For more about managing your team members, visit the related article here: Team Collaboration.