How to make Microsoft Forms public: 2026 step-by-step guide

Summarize with
TL;DR: How can you make a Microsoft Form public?
1. Go to the workspace and open your form.
2. Head to Collect Responses.
3. Update permission by choosing Anyone can respond.
4. Share your form link.
Maximum data reach requires zero entry friction.
While online forms are the engine of modern market research, a 'private' setting is a silent conversion killer. If your form isn't public, you aren't just missing out on a wider audience; you’re actively capping your growth. Transitioning to public access is the most immediate way to scale your response volume and unlock a truly global dataset.
In this article, you will learn about Microsoft Forms public access step by step. By removing the “Sign-in” wall, you will immediately scale your response volume and reach a truly global audience.
Steps to make your Microsoft Form public
💡 Please note that you can customize the form share setting if you have a Microsoft 365 Apps for Business or Office 365 Education account. If you have a personal account, the form will be shared publicly automatically
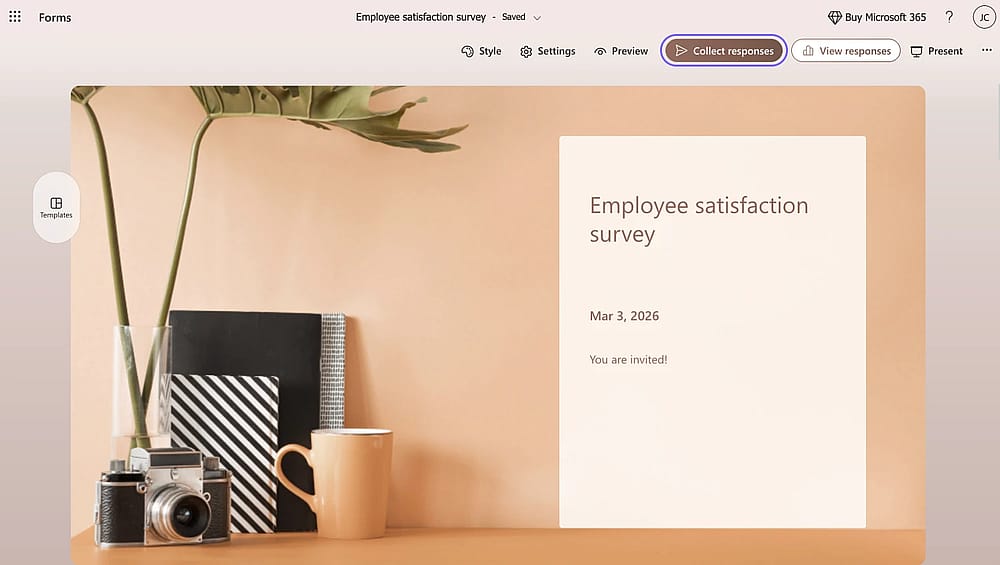
1. Open your form.
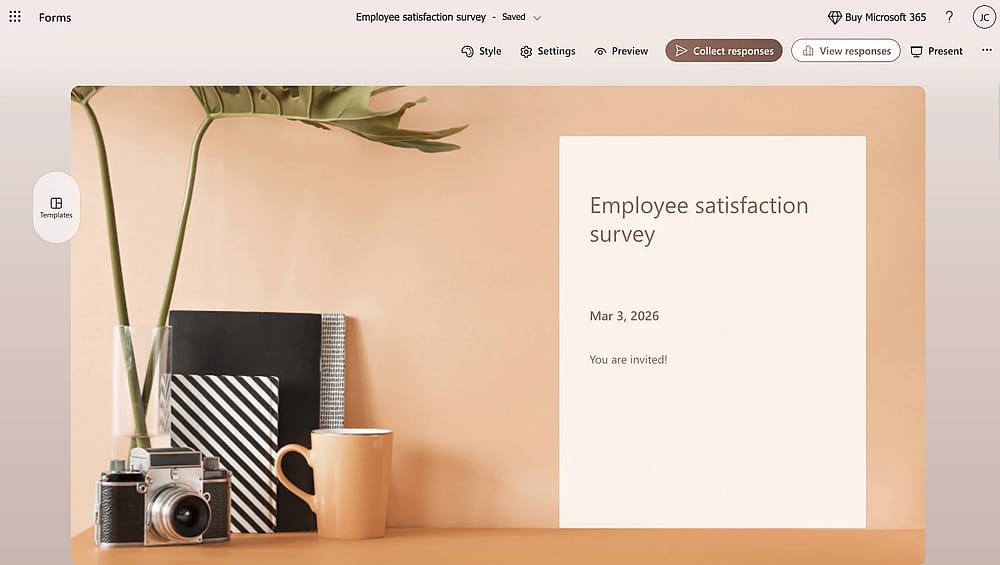
Open the form you want to share publicly
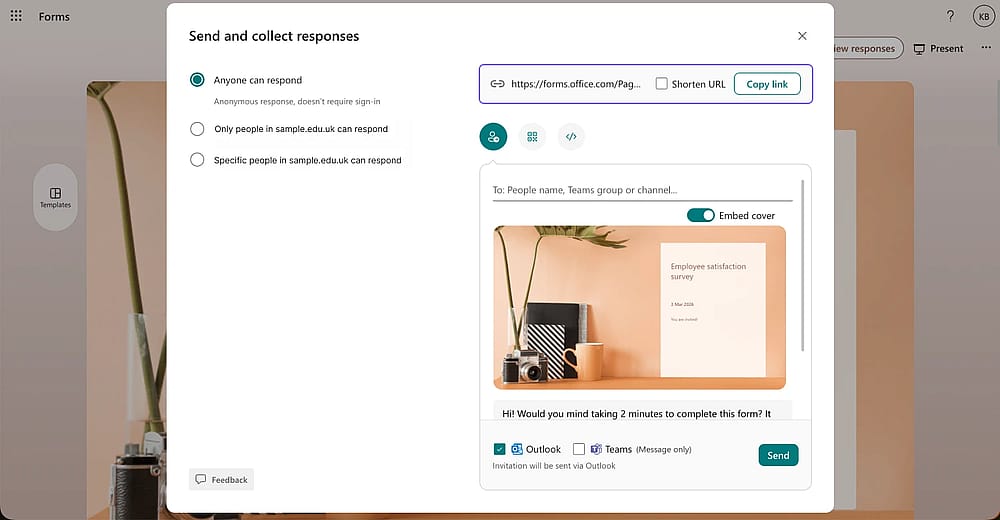
2. Click the “Collect Responses” button to customize the settings.
Click the “Collect Responses” button
3. Choose the “Anyone can respond” option.
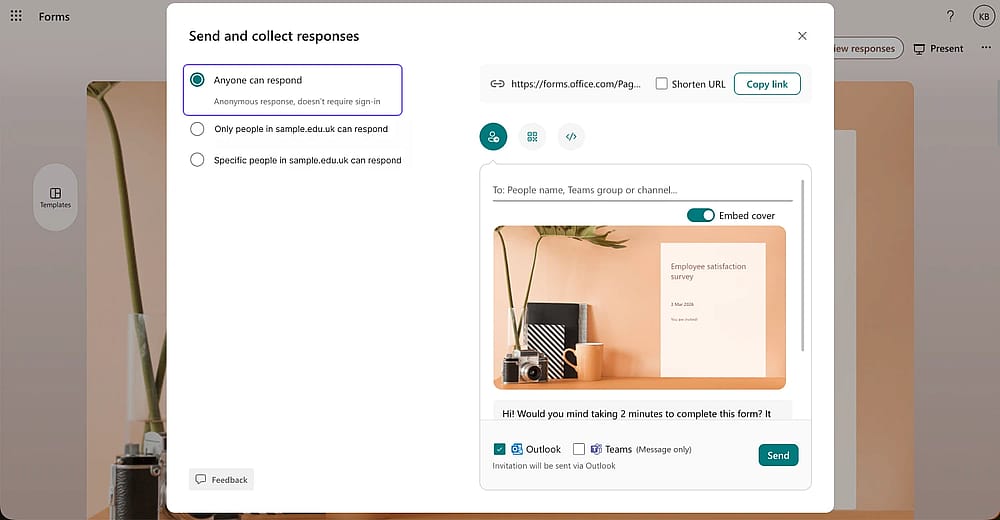
Click “Anyone can respond”
How to share your Microsoft Form
If you have checked all your form questions and other setting details, it’s time to share now. On MS Forms, you have multiple options to share your online form. Here are the ways to share:
Method #1 Share via Email
Click the “Collect responses” button. On the pop-up screen, you can directly share the email addresses you want to send to.
Method #2 Share via QR code
Click the “Collect responses” button. Click the QR icon, and it immediately creates a PNG for you to download.
Method #3 Embed the form
On the “Collect responses” pop-up, click the icon to embed your form into a website. Directly copy the code and use in your website.
Method #4 Share via Social media
Microsoft Forms allows you to share your ready-made form on Facebook or X. When you click “Share,” the form will appear on your profile.
💡 If you want to share your form on other social media platforms, it is also possible to directly copy the form link.
Copy the form URL
How to share your form publicly on forms.app
If you want people to access your form better and increase form responses, it’s crucial to make your form public. Follow these concise steps:
- Open the Share Tab: In the form builder, click Share on the top navigation bar.
- Verify Privacy: Locate the Privacy section in the left-hand menu.
- Set to Public: Select the Public option. This removes all access restrictions so anyone with the link can respond.
- Copy & Send: Use the Copy Link button at the top or select Embed to add the form directly to your website.
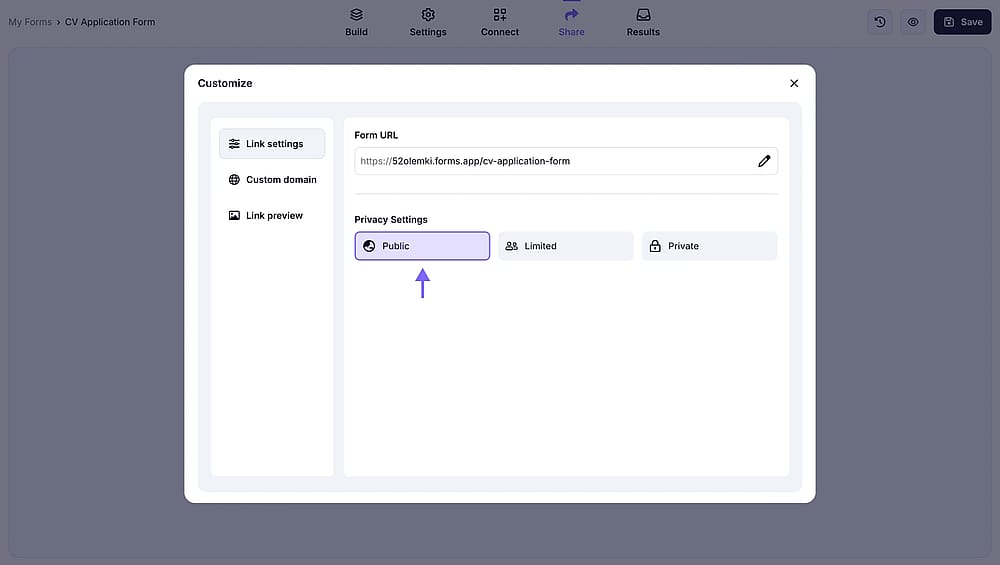
Choose “Public” option
Frequently asked questions (FAQs)
When a form is set to "Anyone can respond," it is anonymous by default. The form will not collect names or email addresses unless you specifically add a question asking for them. However, as the owner, your name may still appear as the "Creator" in the form’s metadata or header.
You don't have to delete the form to take it offline. Go to Settings and set a Start date and End date to automate when the form is public.
To restrict a Microsoft Form to your organization, click the Collect responses button in the top right corner and select Only people in my organization can respond from the dropdown menu.
This setting is the gold standard for internal security, as it automatically verifies the respondent's identity through their Microsoft 365 credentials. Once enabled, you can further refine your data integrity by checking the Record name and One response per person boxes in the Settings menu, ensuring clean internal operations.
If “Anyone can respond” is greyed out in Microsoft Forms, it’s usually due to organization restrictions. If you’re using a Microsoft 365 work or school account, your IT admin may have disabled external sharing or anonymous responses. In that case, only internal users can respond, and only an admin can change that setting.
It can also happen if the form was created inside a Microsoft 365 Group or Team where external access is restricted. Try creating a new form under My Forms instead. If the option works on a personal Outlook/Hotmail account but not your work account, it’s definitely an admin policy issue.
Contributors
Researched & written by
forms.app, your free form builder
- Unlimited responses
- Unlimited questions
- Unlimited team members