To collect as much data as possible, you must share your form as much as possible. However, sometimes, even sharing the form, copying the link, preparing the tweet, and then sharing it may seem tedious. Sometimes, you need to share your form with as many people as possible, as fast as possible. So, how do you achieve this?
In this article, we will look at why you should share your form as a QR code and, a step-by-step process for making a QR code for your Microsoft Form, and a better way to create your form and share QR codes with the advanced features.
Why share your form as a QR
There are many ways that you can share your form, and all of them are offered by different form-building websites. If you would like a fast and secure method, using a QR code is the way to go, whether you are sharing a Google Form with a QR code or a Microsoft Form. Some of the other advantages of sharing your form as a QR code include but not limited to:
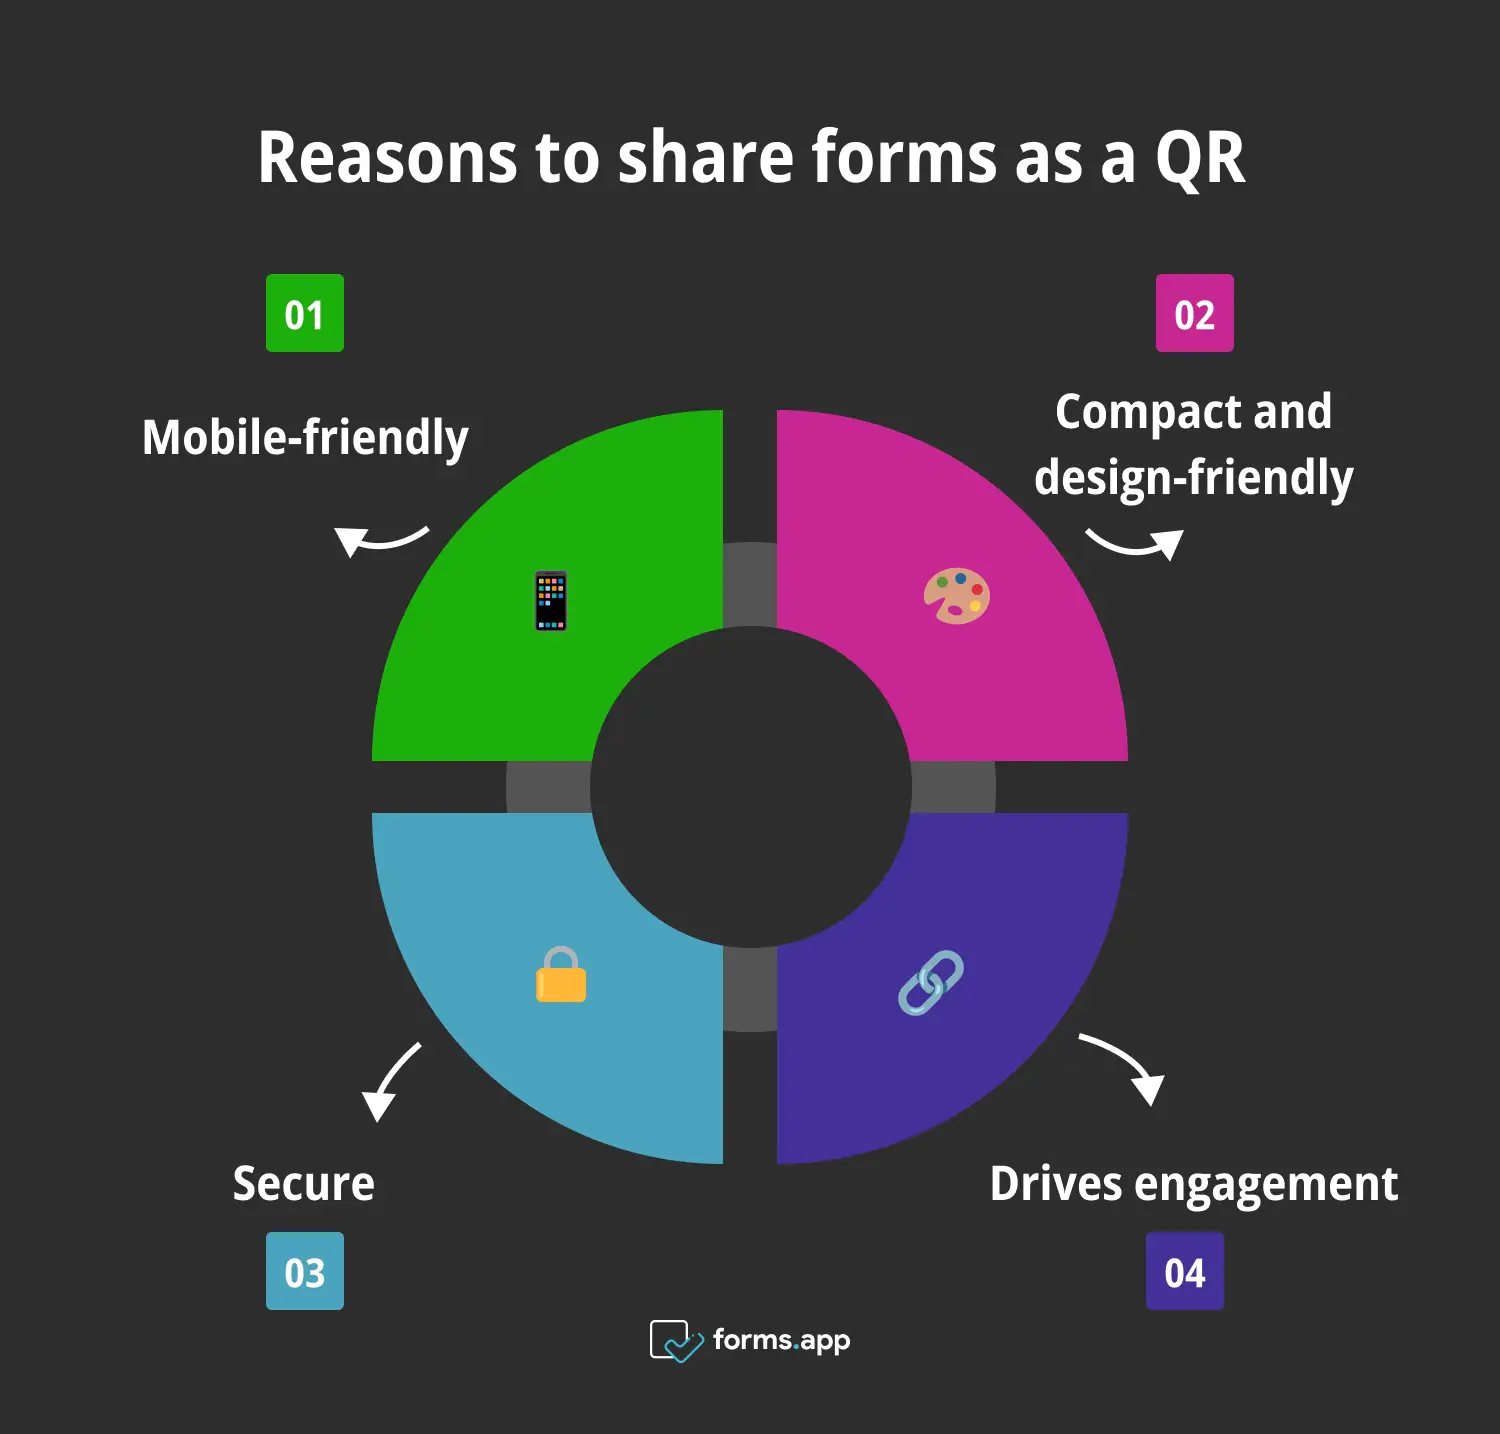
4 Reasons to share your form as a QR
📲Mobile-friendly: One of the best benefits of sharing your form as a QR code is the availability of mobile-friendliness. If you plan on sharing your form in various places, such as social media platforms, you need a method compatible with mobile devices.
🎨Compact and design-friendly: QR codes take little space, making them extremely easily fit into designs. Whether you are placing your QR code on a poster, a business card, or even a video, you can blend it with the design.
🔐Secure: QR codes offer great security due to their unique design and ability not to be easily copied. Therefore, if any of the forms you create require digital protection or you do not want everyone to be able to open the form, QR codes are the way to go.
🔗Drives engagement: As QR codes are customizable for every occasion and design, they are also great ways to drive engagement. With the help of clever placements, you can grab attention to your QR code and increase the engagement for your form.
How to make a QR code for your Microsoft form (step-by-step)
Now that you have understood the value of sharing your form as a QR code and its numerous benefits, it is time to learn how to create and share your form. Thankfully, this step-by-step process will teach you the fundamentals of creating a QR code for your form and sharing it using Microsoft Forms.
1. Start from scratch or use a template

Choose a beginning option
The first step in creating a QR code for your form is creating the form itself. To start the form creation process, head to the Microsoft Forms dashboard and choose one of two options: Start from scratch using a blank form or choose a template from the Template gallery. To start from a blank form, click on New form in the upper left corner of the dashboard.
2. Add your questions and answer options
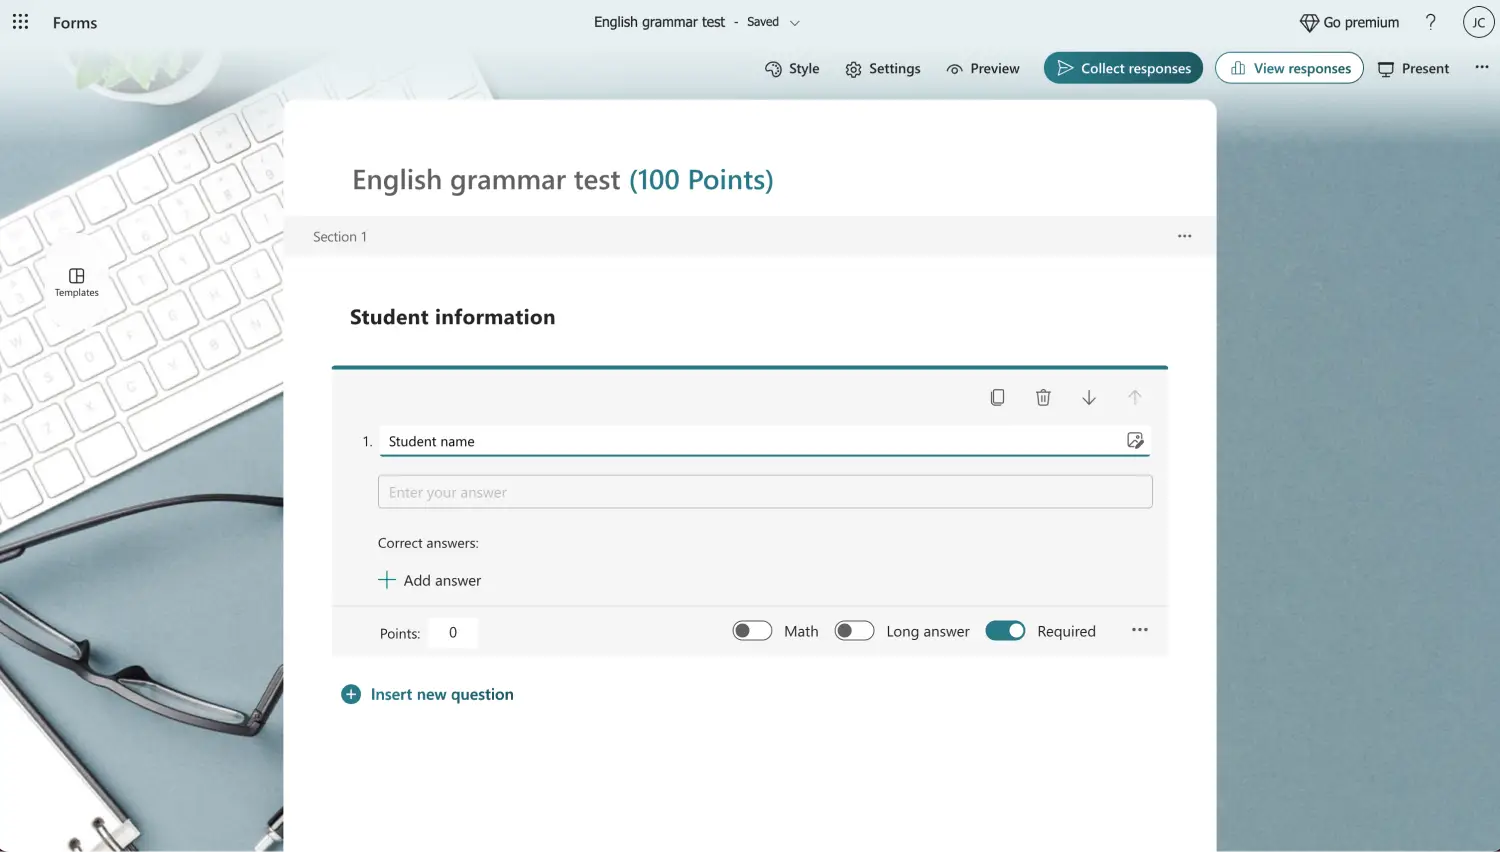
Add/Customize the questions
After choosing which base you would like to start with, you can add your questions and answer options. Depending on what your business needs out of your form, you can choose between several question options. To add a new question, click on one of the question options and click on Add new question to add another.
3. Customize your form
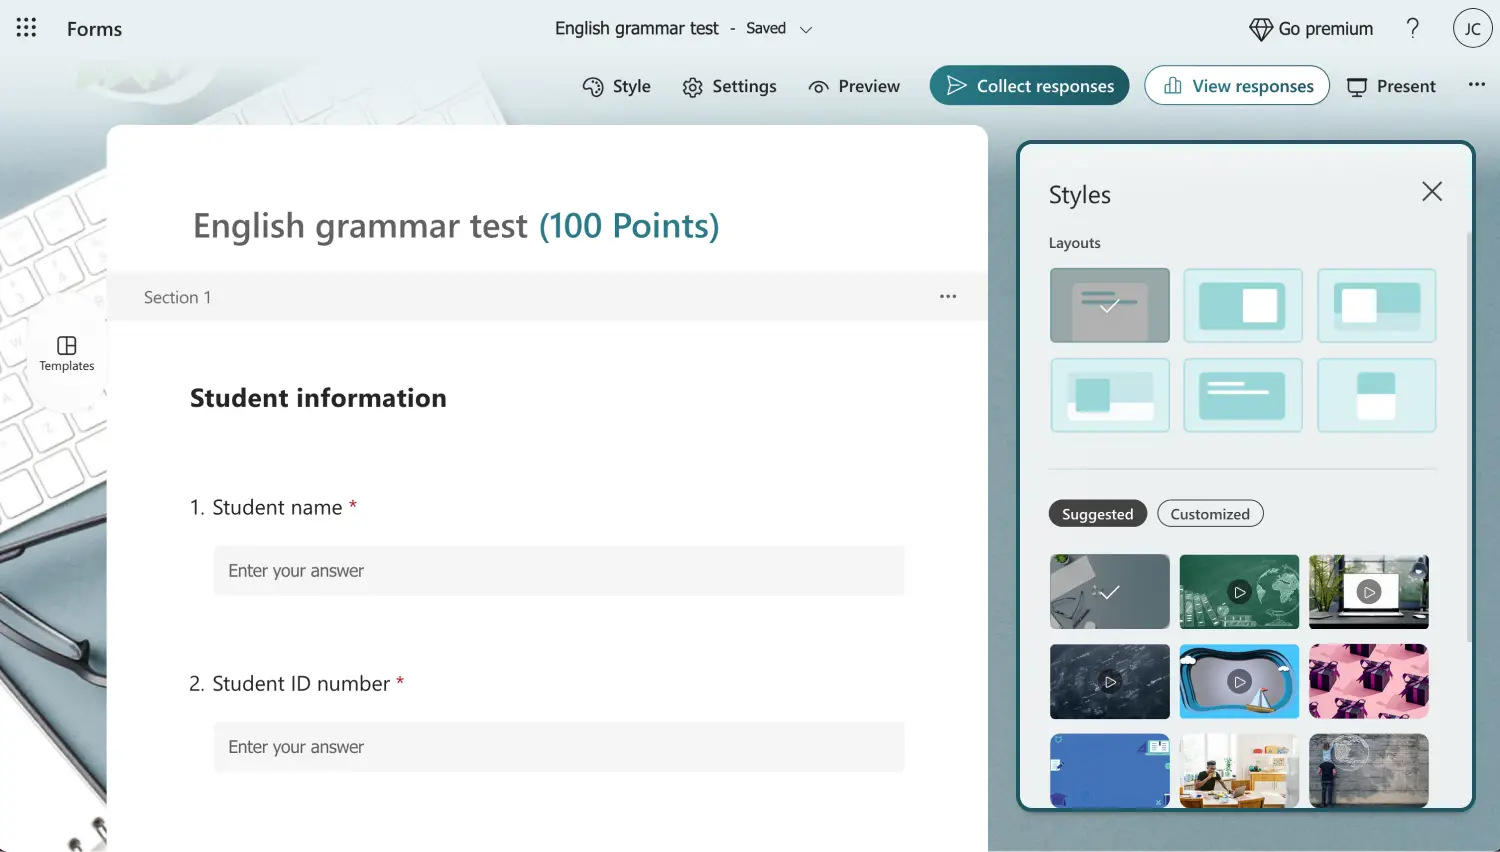
Change the look of your form
Once you have added your questions, we recommend spending some time customizing the visuals of your form. To do so, you must head to the Style tab, located at the top right corner of the form as a palette icon. Within the Style tab, you can change everything from the layout of your form to the theme.

💡Microsoft Forms also allows you to add background music to your form. Scroll down to the end of the Style tab to toggle the option.
4. Head to the Collect responses tab
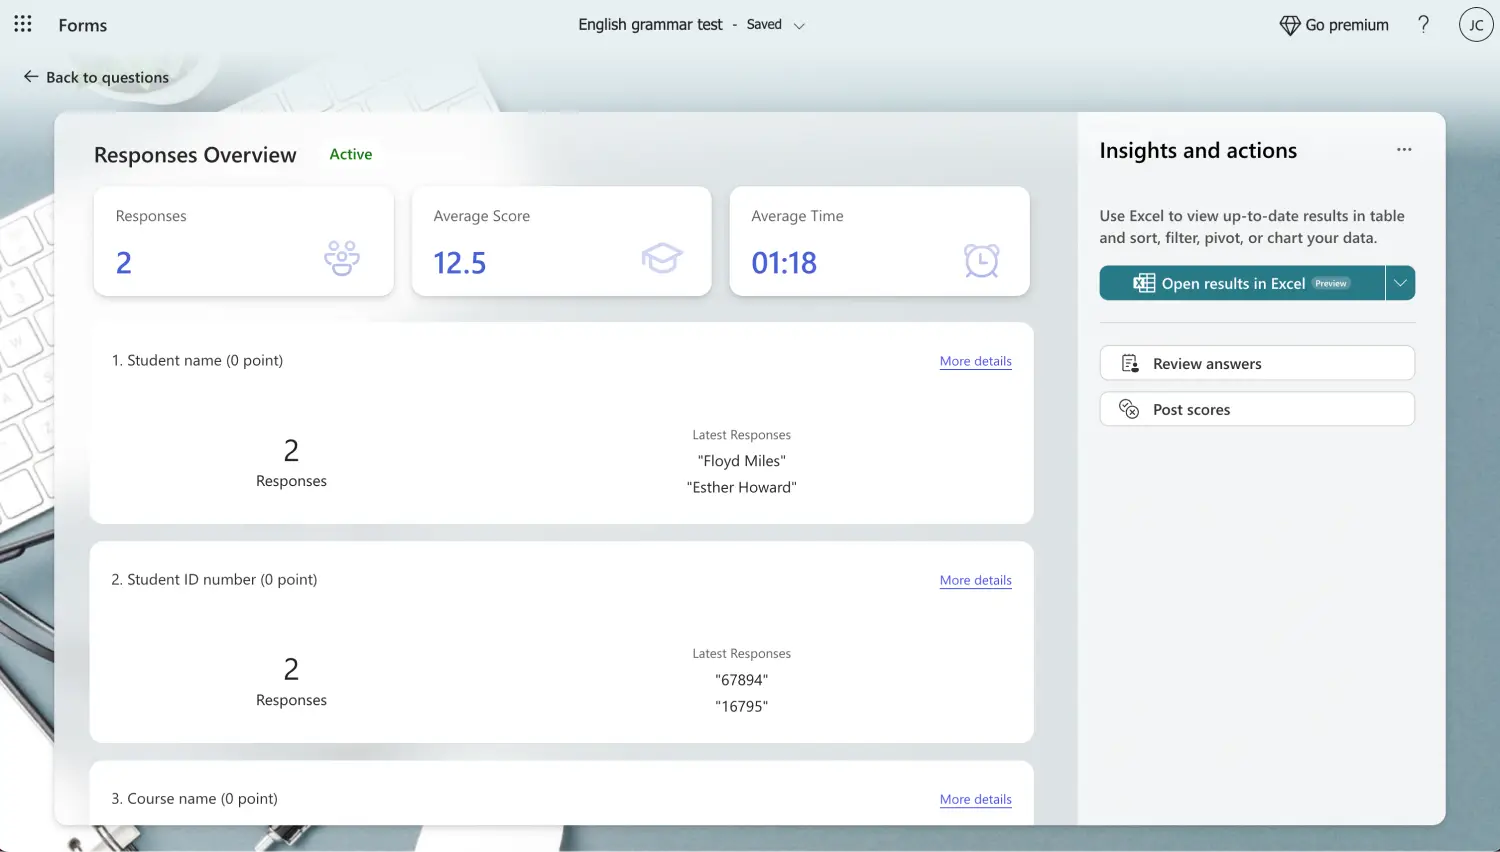
Click “Collect responses”
After you are done with everything and are ready to create the QR code with your form, simply click on the Collect responses option and head to the sharing menu. The sharing menu lets you change the settings on who can respond to your form, give feedback, and many more options.
5. Create your QR code and share
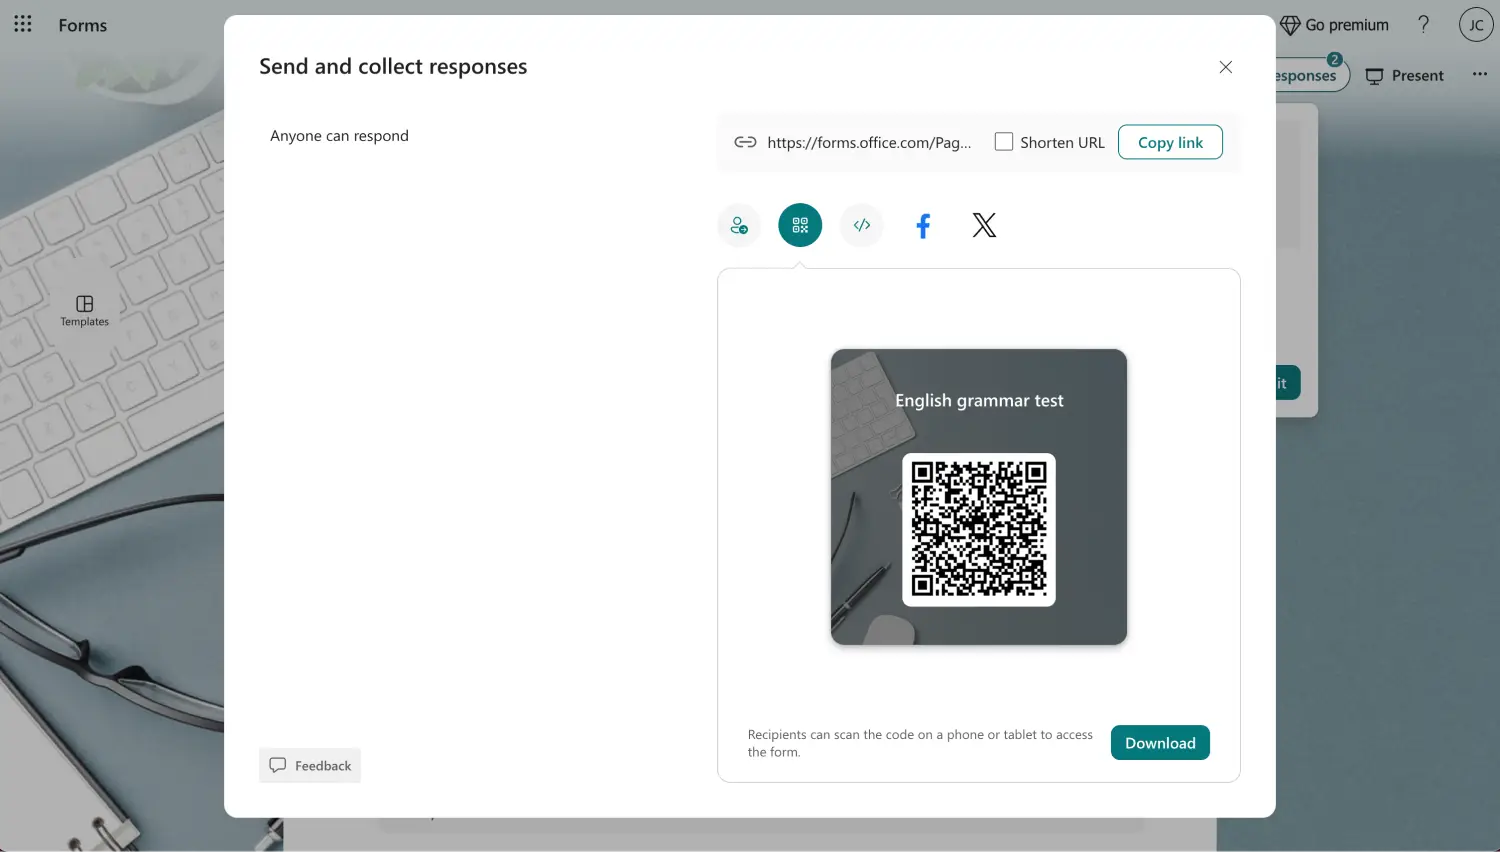
Download the QR if needed
Within the share menu, simply click on the QR code icon that is located at the upper right side. This action will allow Microsoft Forms to create a QR code for your form with the title of your form attached to it. After your QR code is created, you can download it and share it with the world.
How to share your form as a QR on forms.app
If you would like to have the best experience possible while creating your form and sharing it with the world, forms.app and its advanced features are here to help. These advanced features of forms.app takes your form creation and data collection process to the next level and offers solutions to nearly every specific problem you may face.
1. Choose a template, start from scratch, or use forms.app AI
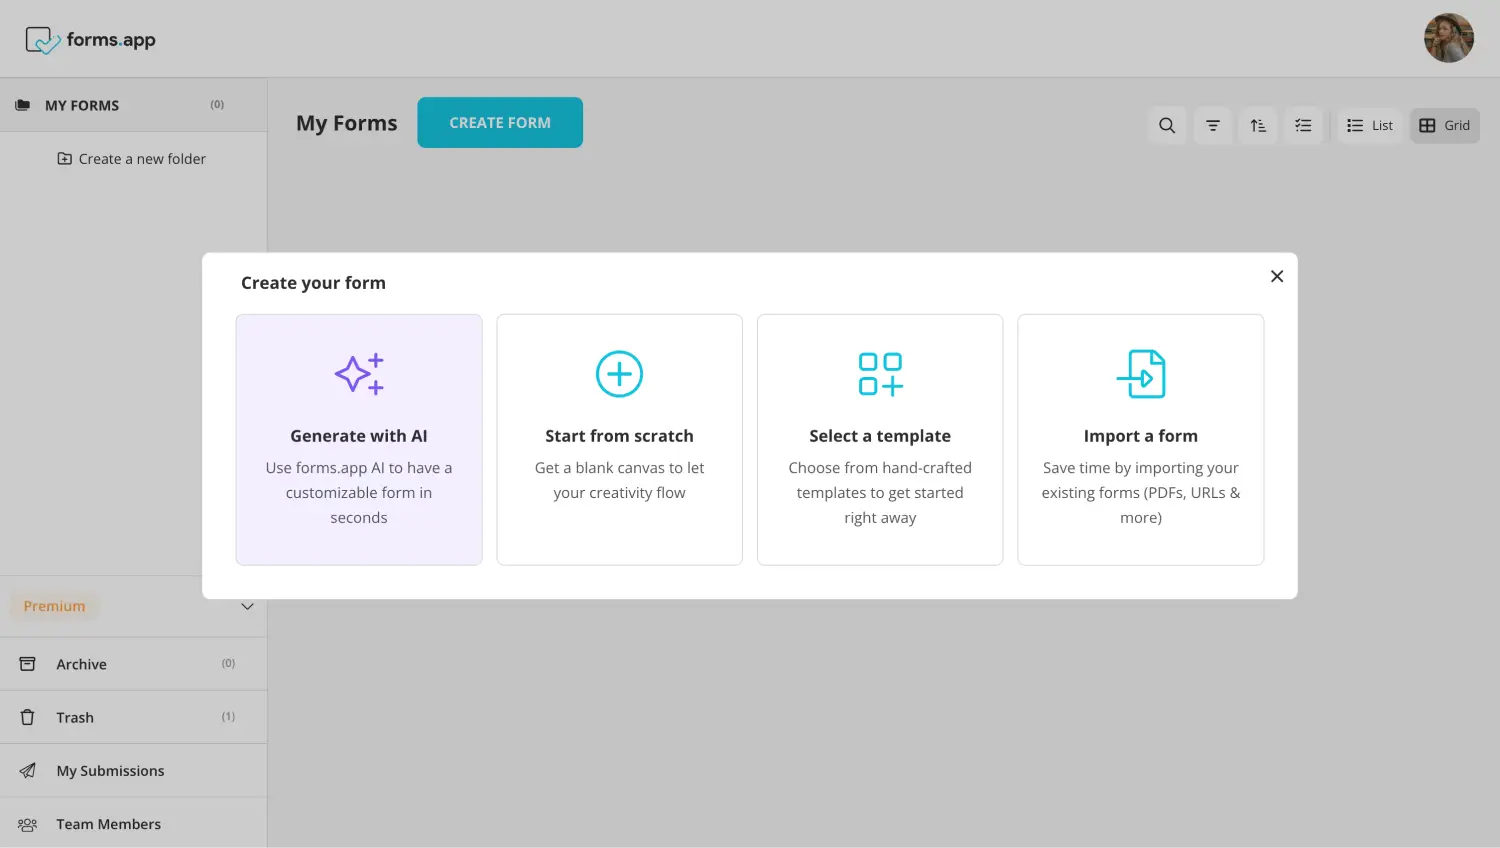
Choose a beginning option
When starting your form creation process with forms.app, you can choose to go one of three ways: Choose between our endless options of templates, start from scratch with a blank form, or use forms.app AI to create a customizable form with just the type of a sentence under 30 seconds.
2. Edit the questions or add your own
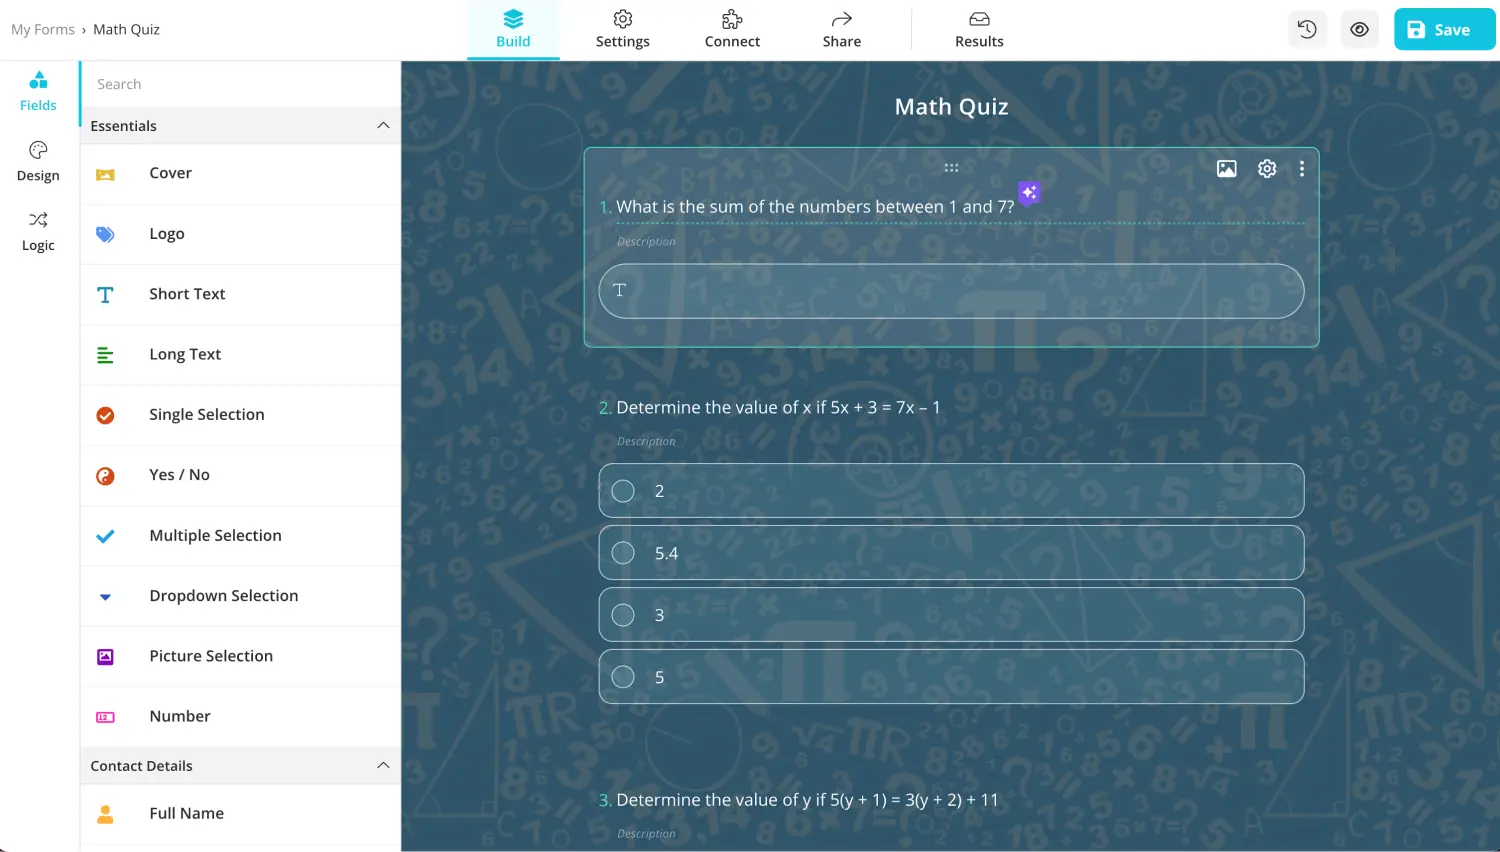
Add questions or customize the existing ones
Once you decide which base to start with, you can add new questions or customize the existing ones if you are not starting with a blank form. You can head to the Fields tab within the Build section to add your questions. To edit your questions, simply click on any question you would like to customize and make the necessary changes.

💡You can also use forms.app AI to edit questions. Click the colorful icon next to your question title to rephrase or rewrite your question using AI.
3. Use dedicated fields
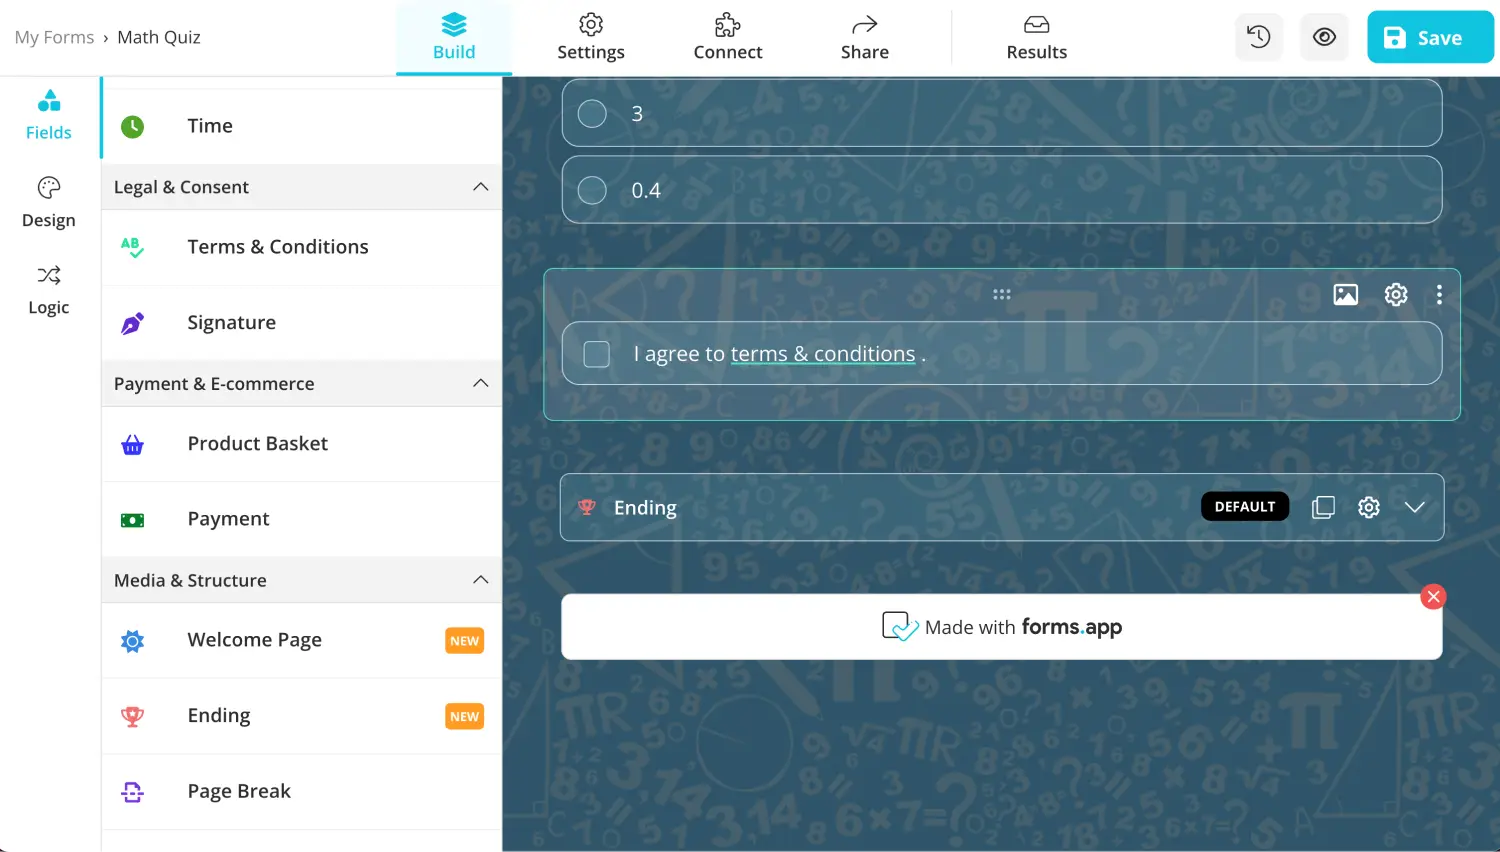
Add essential fields to your form
One advanced feature that we offer on forms.app is dedicated fields. These dedicated fields are created for particular scenarios and offer an advanced level of help to increase the quality of your form. For example, you can use the Ranking field for ratings, the Terms & Conditions field for forms that require legal consent, or the Field Group field to bundle several fields into one.

💡forms.app also allows you to add your business’s logo to the form. Head to the Fields tab and choose the Logo field.
4. Customize the form design
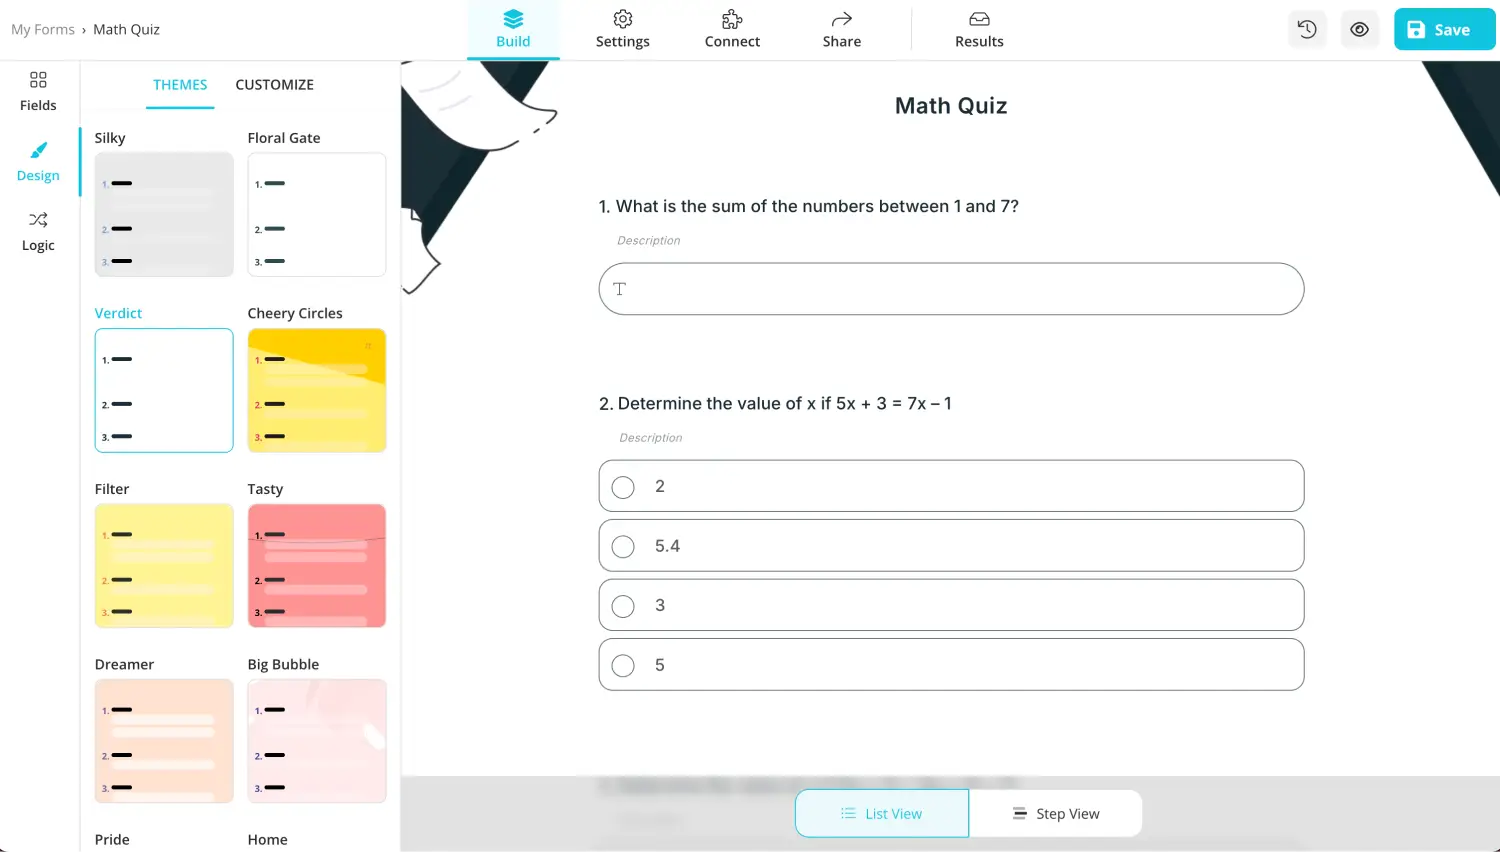
Style your form
Another advanced feature that you can find on forms.app is the ability to control many of the visual aspects of your form. By heading to the Design tab within the Build section, you can choose between many of the various themes that forms.app has to offer. Furthermore, you can make detailed changes by heading to the Customize section within the Design tab.

💡The Design tab also allows you to have animated themes for your form. Go to the end of the design tab to choose an animated theme.
5. Head to the Share section and create your QR code
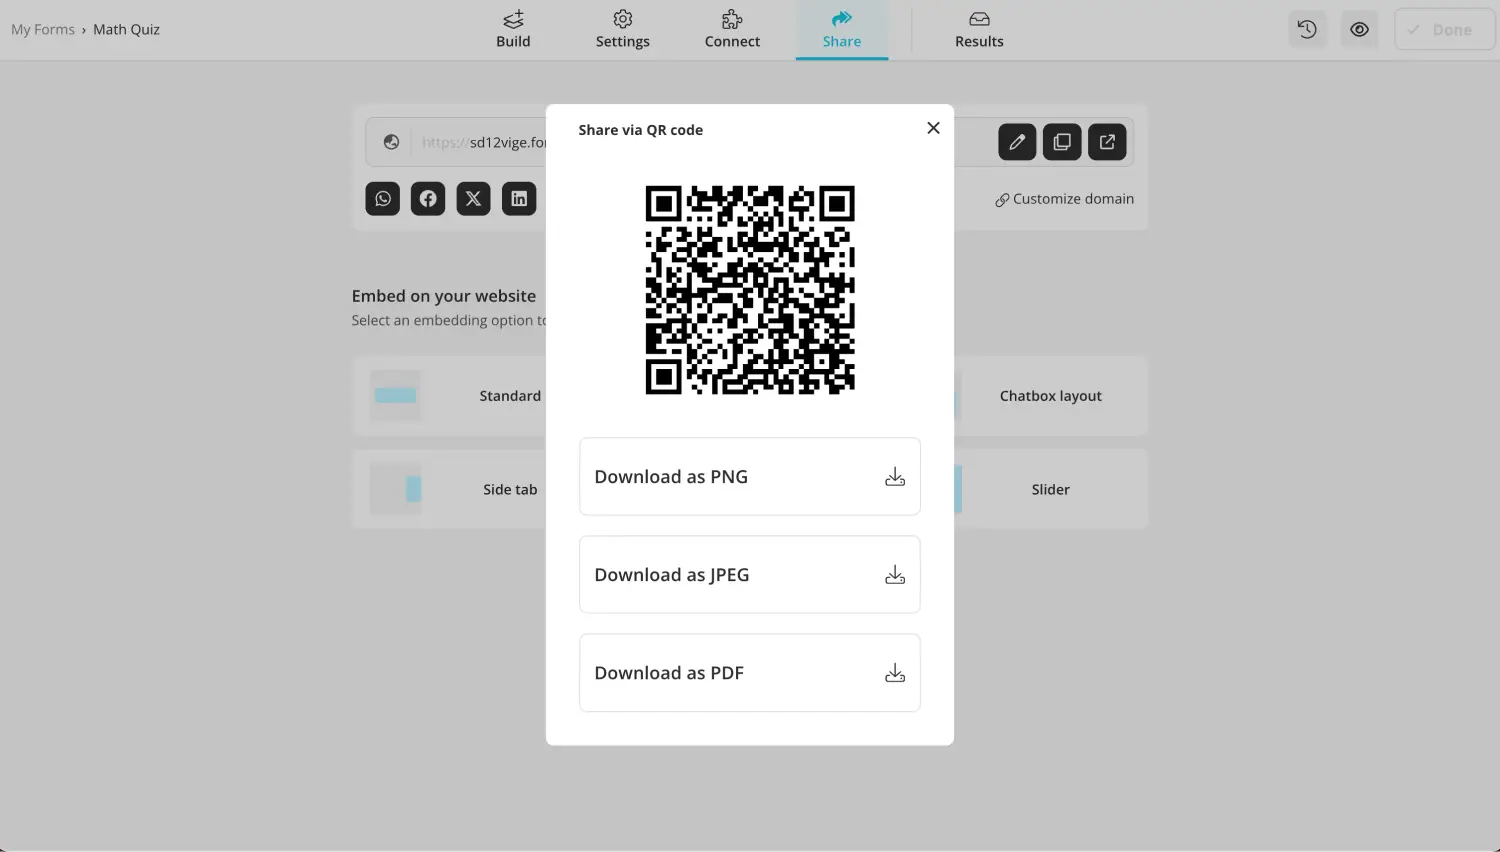
Download the QR if needed
After completing the form creation process, you can create your QR code. In order to create your QR code, simply head to the Share section. Once you are within the share menu, simply click on the QR code icon under the URL and next to the Settings option. You can also choose embedding settings for your form to embed it into your website.

💡The QR code menu allows you to download your QR code as PNG, JPEG, or PDF.
Key points to take away
In summary, creating your own QR code for sharing your form is a great tool to use if you would like to boost your form engagement, increase security, make your form more mobile device friendly, and have one of the quickest ways to share your form. Furthermore, it is also a great tool that opens up many ways for creative design.
In this article, we have looked at why it is beneficial to use QR codes to share your form, how to share your Microsoft form with a QR code, and a better way to create and share your form using a QR code with the advanced features of forms.app. Try to experiment with QR codes to share your form, especially for forms that require a bit more security.
Yakup is a content writer at forms.app. He is also a skilled translator. His hobbies include reading, learning about different languages, and different branches of sports. Yakup's expertise lies in translation, NoCode tools, and Google Forms.


 6 min read