A good design process is the best definition of success for any organization.
Organizations with good overall designs have the most engagement, the highest success rate in drawing new customers, and the most visually appealing products. Therefore, having a good form design is crucial for your customers, and knowing how to select and edit the ideal Google Forms header image is especially important for your design process.
In this article, you will learn what a form header is, its importance in Google Forms, how to customize the size of a Google Forms image header, and a better alternative to personalizing your forms. We will also provide answers to frequently asked questions about Google Forms headers.
What is a form header?
A form header is simply the introduction part of the form, which displays the title and provides several controls.
Furthermore, the header includes several branding elements, introductory elements, and navigational aids that the participant may need while filling out the form. Some organizations even include disclaimers in the header section if they are essential and classified forms.
Importance of the header in Google Forms
Having a good header is quite essential. That is why you must choose the correct color scheme and upload an image to the header if necessary. The proper customization process and adding your organization’s logo and brand name will increase engagement and draw the participant's attention to the form. Furthermore, adding the correct navigational aids and disclaimers will eliminate any problems that may occur while filling out the form.
How to customize Google Forms header image size
To learn how to change your Google Forms header image size, also known as Google Forms banner size, you have to follow several easy steps. However, your form or template must be ready to apply these steps. This step-by-step guide will help you after you upload your header image to your form header.
1. Click on the paint palette icon
After you open up your form, you must click on the paint palette icon at the top right corner of the page. The paint palette icon will open up the “Theme” menu, where you can go to the “Header” sub-section and click on “Image uploaded” to open up the “Select Header” menu.
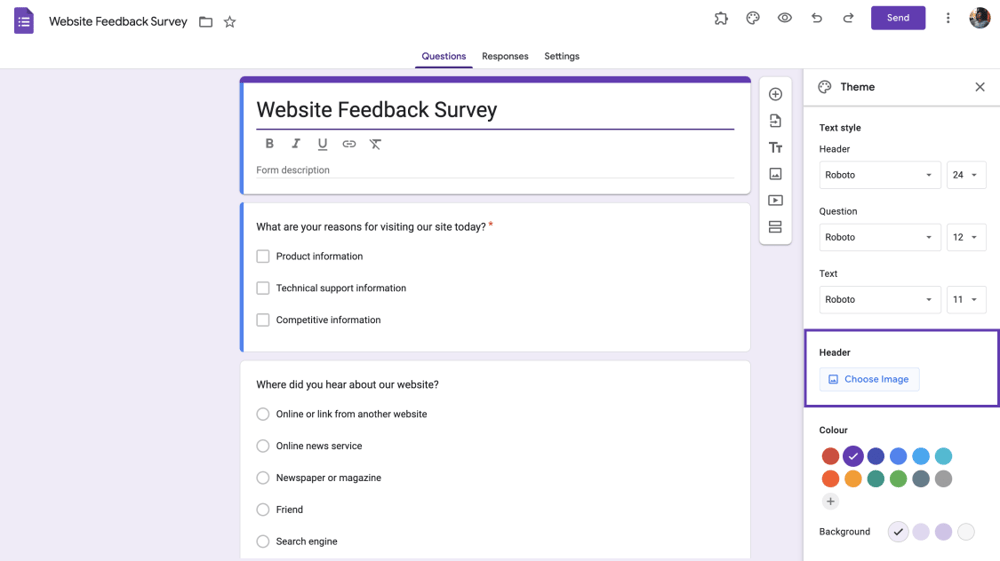
Open the header tab
2. “Select Header” menu
After you open up the “Select Header” menu, Google Forms offers you one of three sections to choose your header image from:
1- “Themes” section: This section offers a large selection of stock photos by Google Forms. Some of these stock photos also come with their own animation so that you can add a bit more excitement to your form.
2- “Upload” section: The “Upload” section allows you to browse the photos stored on your computer. You can choose the picture you want from your computer by clicking “Browse” and clicking on the selected image to upload and customize it.
3- “Photos” section: This section allows you to connect your Google Photos account to Google Forms to access all the pictures stored on your Google Photos account. This section is helpful for designers who create an image on another device and want to transfer it to their form without trouble.
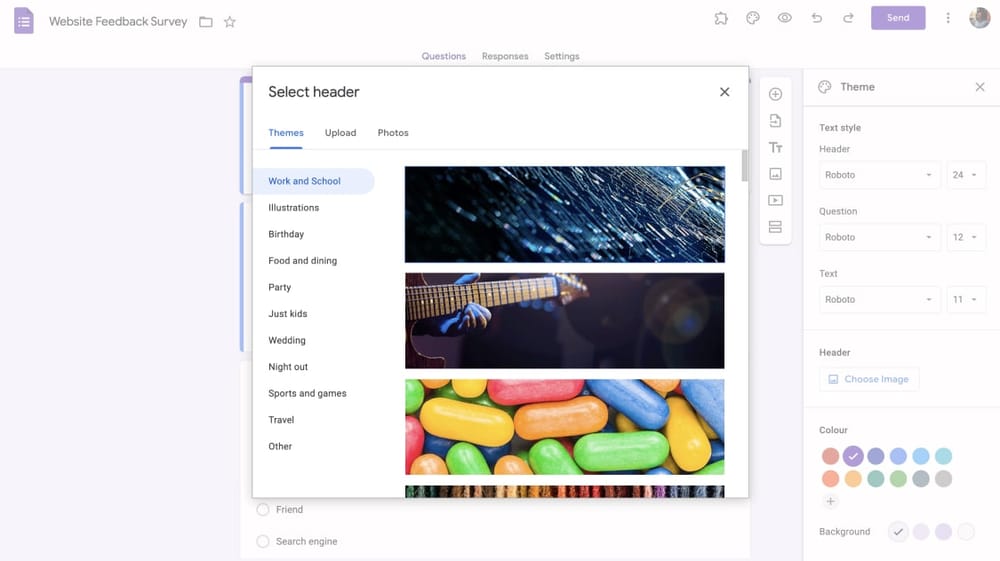
Select a theme, photo, or upload
3. Upload and resize
If you want a quality header, the last step is finding the right image to fit the aspect ratio. Google Forms only offers a 4:1 aspect ratio, so if you want to upload your picture, you must prepare to crop it. For the best results, use a photo editing app for PC to crop and resize your image before uploading. The cropping section opens up after you upload your image using the “Upload” or “Photos” sections. After resizing, you can now upload your picture to the header.
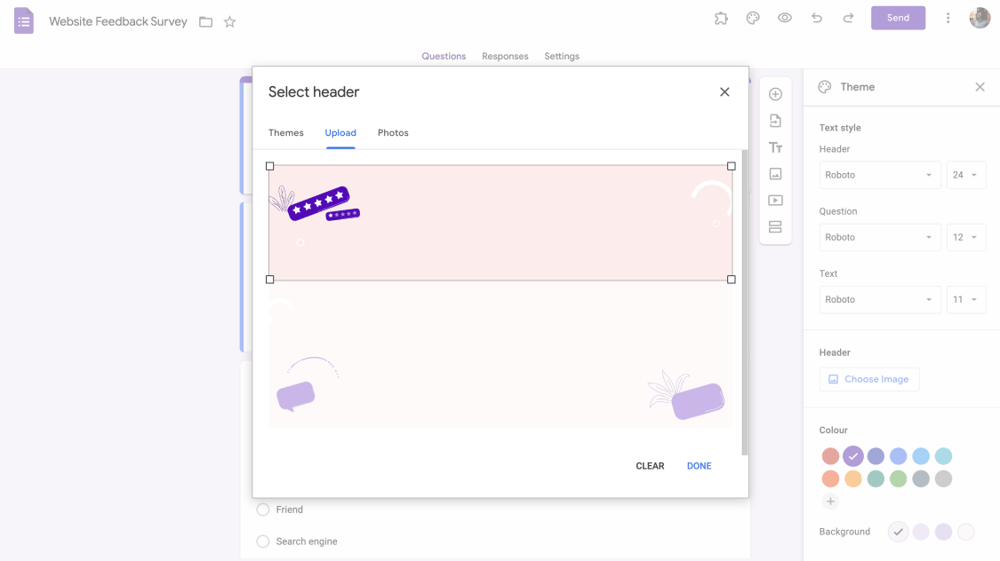
Upload a photo and resize it
You can also use add-ons to improve the customization process further. Simply click on the three dots at the upper right side of the page and click on “Get add-ons” to access more customization tools.
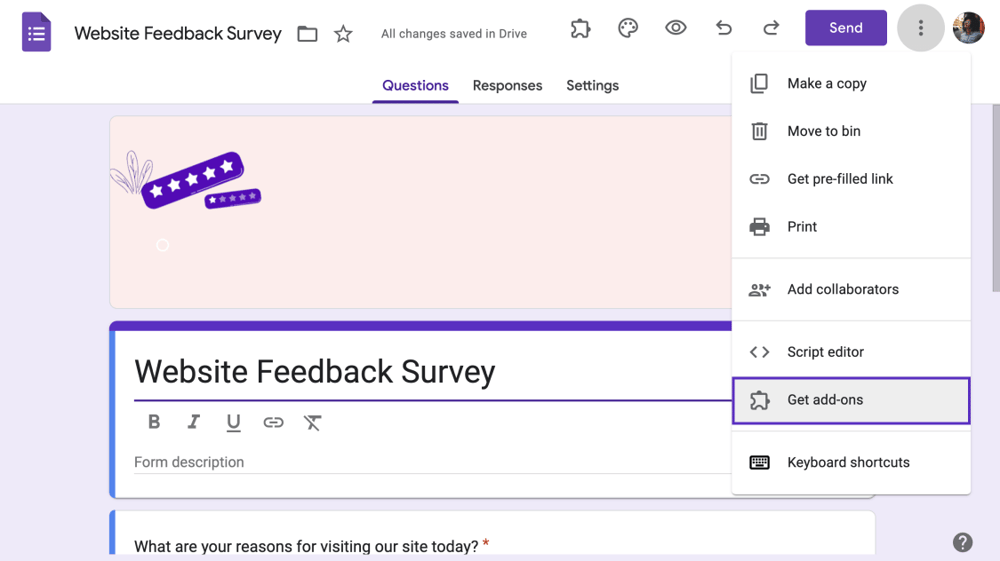
Get an add-on for your form
How to personalize the header on forms.app
forms.app offers you a rich header template gallery for your forms. All you need to do is to go to the Fields sections and choose Cover. You can choose from the Unsplash or Upload your own.
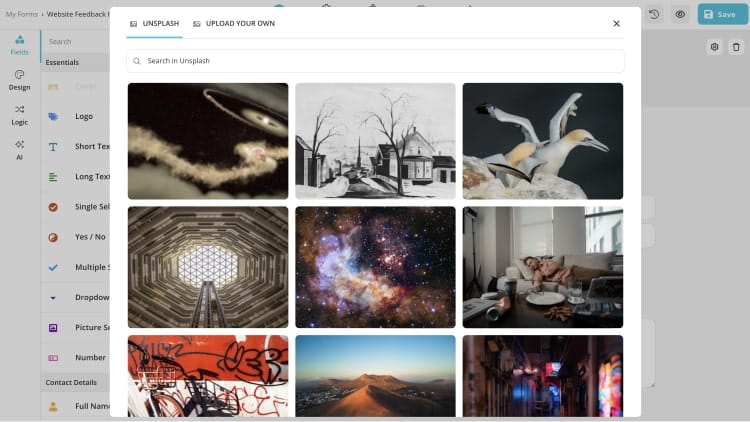
Unsplash or upload your own cover
After choosing the header for your form, you can customize it. When you click the settings icon (⚙) on the upper right, you can customize the position, set brightness, or repeat the header. Also, do not forget that you can upload your own and apply the same customizations.
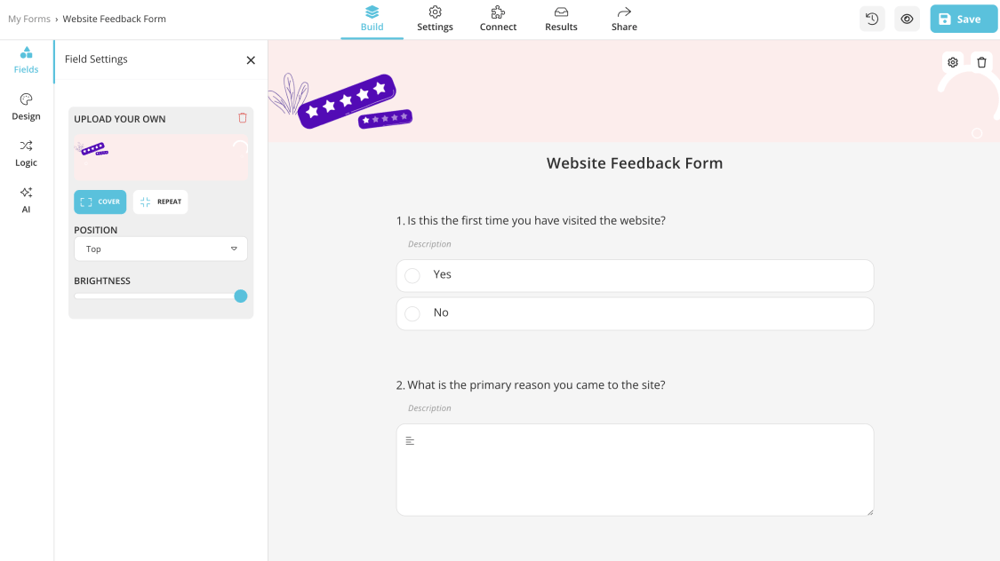
Customize your cover
Adding your company’s logo or similar images will make your form look more professional and personalized. Also, you should add a nice title to your form to make it more clear.
Frequently asked questions about Google Forms header
Of course, while the design process is easy to understand, there may still be some questions left unanswered. That is why we have answered the most frequently asked questions about Google Forms headers to help you further in your design process.
No, you cannot add a header; you can customize the existing one. Every Google Forms form, even a blank one, has a predefined header. However, you can customize it with things such as images. Check out our article to learn about the process of adding a header image to Google Forms.
The header size of Google Forms is standard and cannot be changed. Therefore, all headers within Google Forms, even if you add one yourself, are limited to a 4:1 aspect ratio. This is the equivalent of 1600 pixels to 400 pixels.
Adding a title to a Google Form is relatively simple. If you are working with a blank form, you can add your title to the “Untitled form” section, and your form description goes just below. If you are working with a template, you can edit the title by clicking on the section below the header image and adding any title you want.
Final words
In summary, having a good form header is a great tool to grab attention with your design and draw customer engagement. Furthermore, it showcases creativity and helps customers take the form more seriously. Not only in terms of design, the header is also essential for information.
In this article, we have looked at what a form header is, the importance of a header, how to customize Google Forms image header size, and a better alternative to create and customize headers for your forms. So, now you have learned how to customize a header in both Google Forms and forms.app, it is time to see which one you like best.
forms.app, your free form builder
- Unlimited views
- Unlimited questions
- Unlimited notifications
