Student Quiz
Exams can be a challenging process for students and teachers, and one way to make it easier is with online tests. Using the student quiz template, you can easily create a test and have students solve it at school or home. Choose this free quiz template right now and create a test for students today!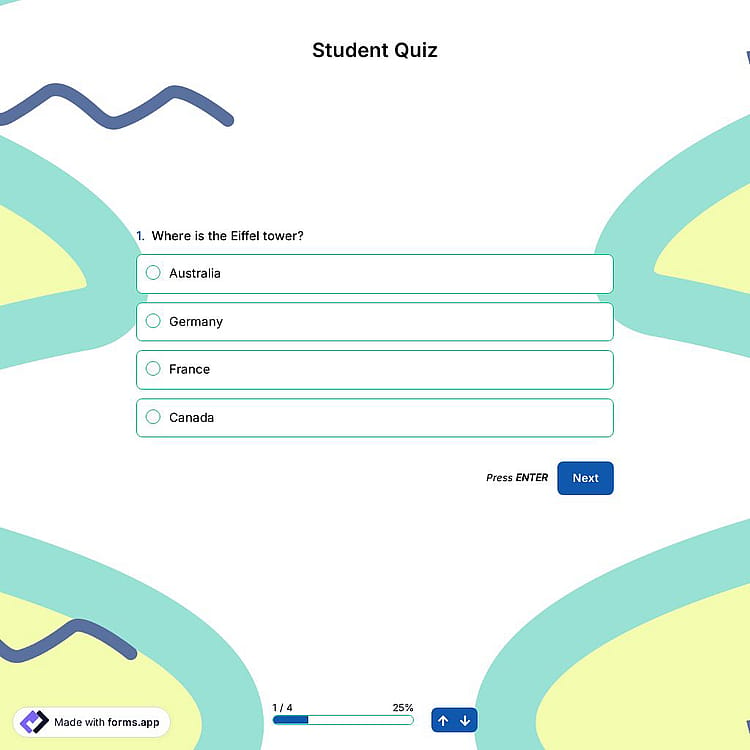
What is a student quiz?
Student quizzes allow you to measure students’ level of understanding, evaluate their performance, and identify areas where they may need improvement. With remote learning, online tests can motivate students more and allow them to do memorable revisions without rote learning.
When creating a student test, you can use question styles such as single-choice, multiple-choice, and dropdown menus and assign points to each question. This way, you can instantly access the score table and identify improvement areas.
Benefits of student quizzes for students and teachers
Student quizzes are a significant time-saver because they are online. Because you can assess a large number of students at the same time. You can also measure students’ level of understanding more effectively. For example, you can see which questions are mostly done incorrectly in the statistics table and focus on those topics.
Online school tests are also more interactive than paper-based tests. It can make the practice and consolidation phase more fun and effective for students. This leads to more learning and retention. In addition, students can access an online test from anywhere at any time. This is a flexible option for both students and teachers.
How to effectively create a student quiz
To create student tests effectively, you need to choose question styles that are appropriate for your questions. For example, let’s say you are creating a multiple-choice test. The student may have marked the correct option but may have done so unknowingly. You can use conditional logic to avoid such situations. You can open a field in long or short text format for students who gave the correct answer and ask them why they chose that option.
Frequently asked questions about Student Quiz?
If you would like to create a quiz for friends or your audience, you can easily do so by using a quiz maker application like forms.app. Making your own quiz will require only a few steps, and you can easily do it in minutes. Plus, forms.app provides a great library of free quiz templates to get you started. Here are the steps you should follow:
- Sign in to forms.app
- Choose an online quiz template or create a blank form
- Add your own questions and answers
- Use forms.app’s calculator feature to show scores on your online quizzes
- Design your online tests and add images to make them more engagement
- That’s it, now, share your free quizzes and track the results in real-time
Yes, you can easily create quizzes by installing forms.app on your Android, iOS, or Huwai phones. forms.app has a user-friendly mobile application that allows you to create an online quiz with the same options on a PC. So, you can easily create interactive quizzes anywhere with an internet connection and at any time you want.
Quizzes are a good learning experience for students, adults, and children alike. It helps quiz takers with memory retention and recall processes. As an online quiz maker, forms.app offers you great features to make amazing and informative quizzes. Almost any feature can be tried and tested, even on the free version. Here are some of the powerful features of forms.app:
- Calculator: It is possible to assign points to the correct answers and show quiz takers their overall score
- Plentiful quiz question types: forms.app has many form fields from picture selection to multiple choices and allows users to create colorful forms in minutes.
- More than 500+ free form templates: You have access to a great library of free templates for creating a form on any topic. This helps you create forms and quizzes much faster and easier.
- Great integration options: Instead of doing a job manually, users can set up an integration to automate it and relax. Plus, forms.app offers direct integration with established platforms, such as Google Sheets, MS Excel, Discord, and many more.
- Conditional logic: It helps you show or hide some questions based on your quiz takers’ answers. Conditional logic lets you get the exact information you want without boring your respondents with unnecessary questions.
- Sharing form records & statistics: In addition to real-time data collection, you have the option to share the data you have collected in real-time. If you are running a contest or be more transparent as a quiz owner, you can easily share form responses on forms.app.
Categories
This student quiz is free and customizable
Categories