OttoKit Integration
OttoKit is an automation platform that helps you connect your apps. This is an easy way to create automated workflows. You can also use OttoKit to connect forms.app to hundreds of applications with no code.
How can I connect my forms with 3rd party applications through OttoKit?
Connecting your forms with other applications allows you to send your form data with no manual effort. This is quite an easy process and takes only a few minutes.
1. On the OttoKit dashboard, click on the Create workflow button and select Create from scratch:
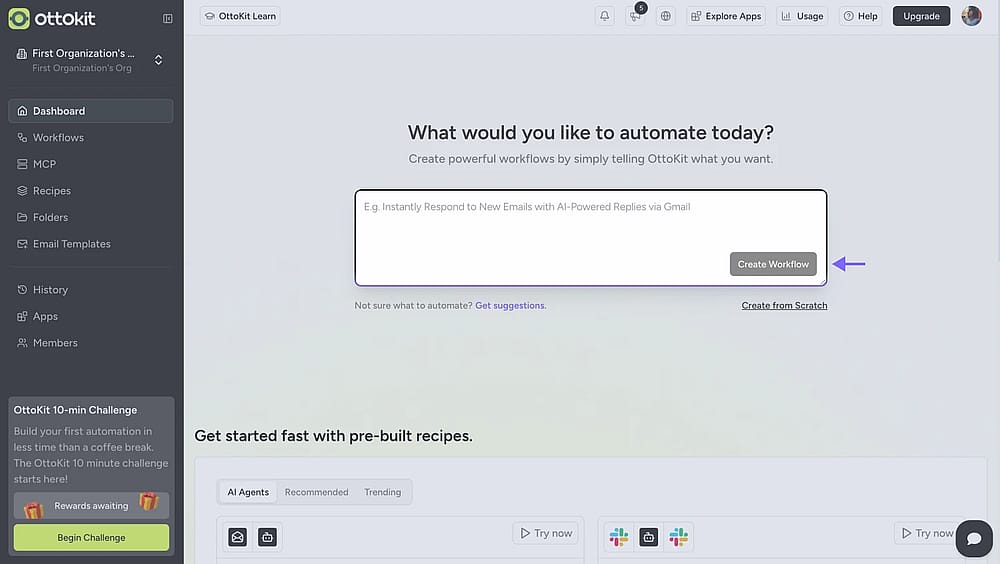
An image showing the “OttoKit” interface page where you need to click the “Create workflow” button in the right corner
2. Name your workflow and hit Create:
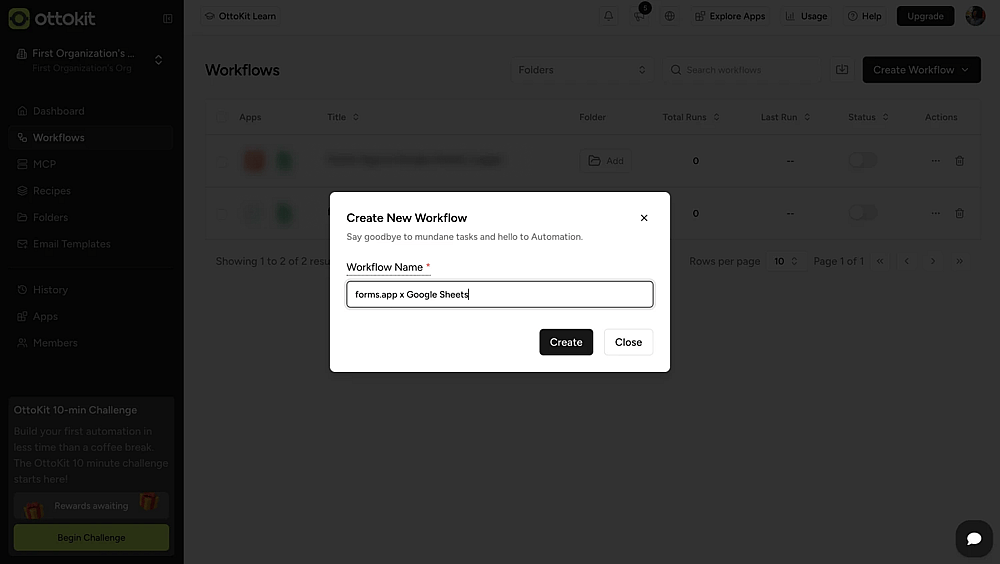
An image showing the appearing pop-up that allows you to enter your workflow name
3. Now, you need a trigger to start your workflow. Simply click on the Add trigger button and search for forms.app:
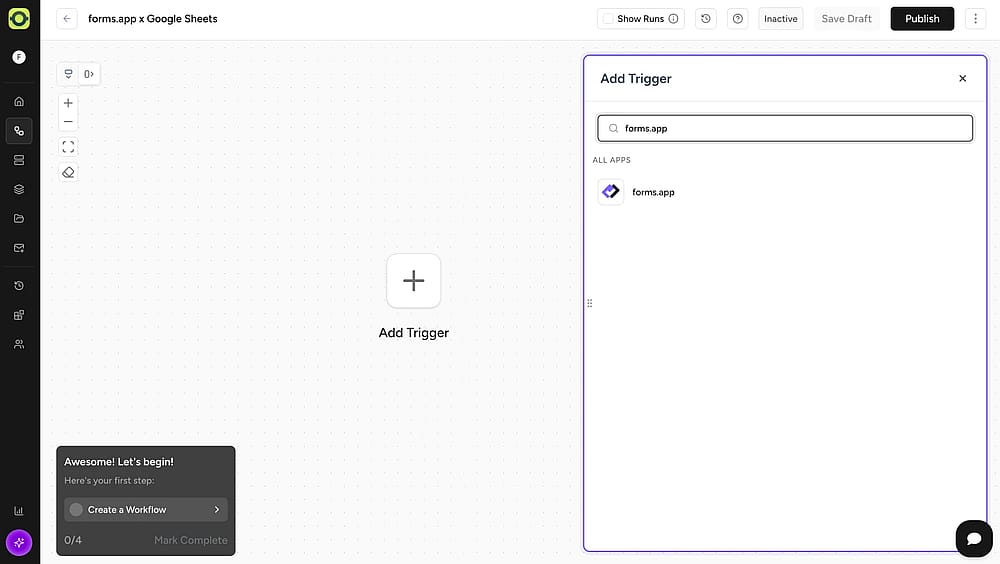
An image showing a drop-down menu from which you can find and select forms.app by adding a trigger
4. After selecting, copy the webhook URL on the configure tab and click on the continue button:
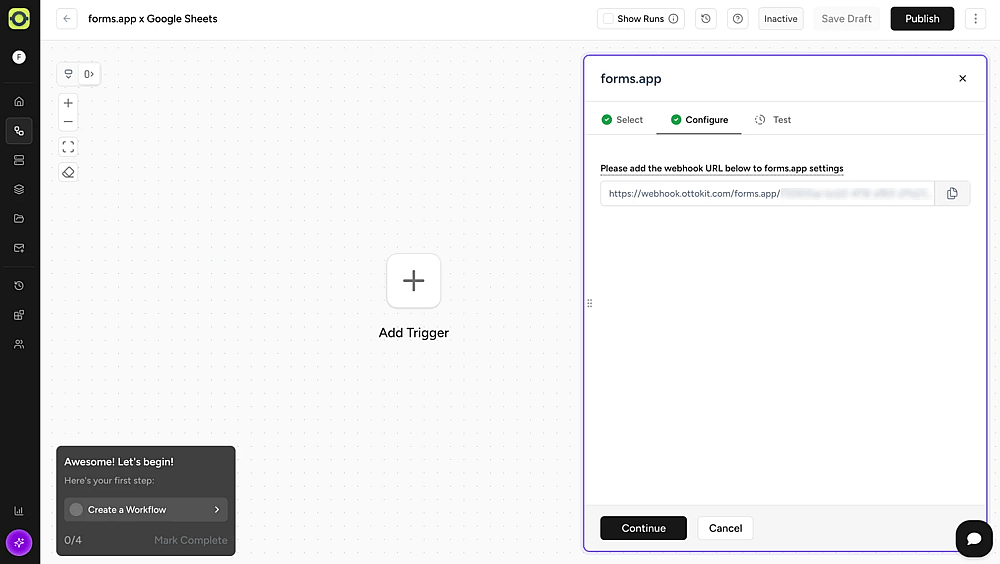
An image showing a drop-down menu from which you can find and select forms.app by adding a trigger
5. Open your forms on forms.app and head over to the Connect tab:
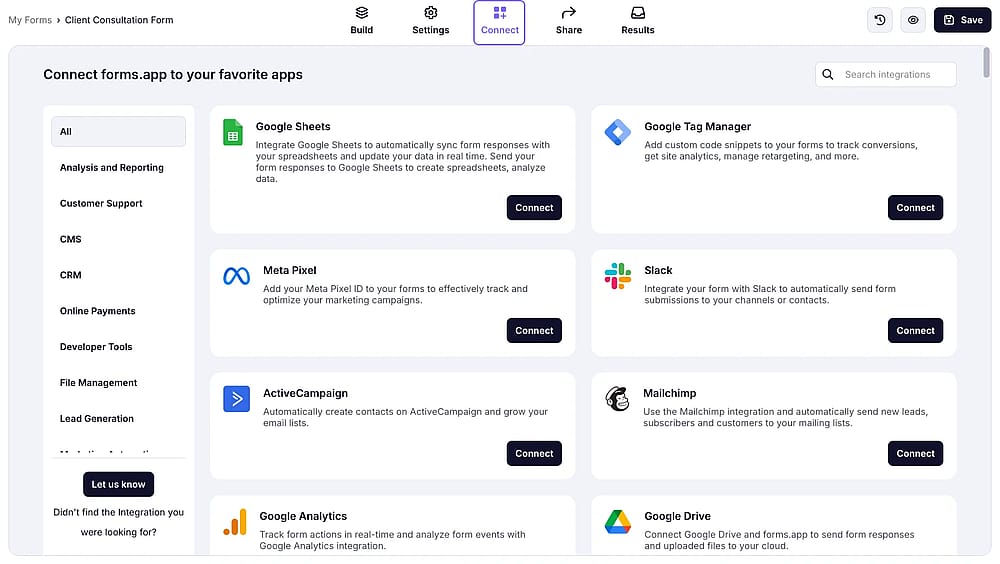
An image showing the forms.app interface and the “Connect” button
6. Scroll down and find the webhook option:
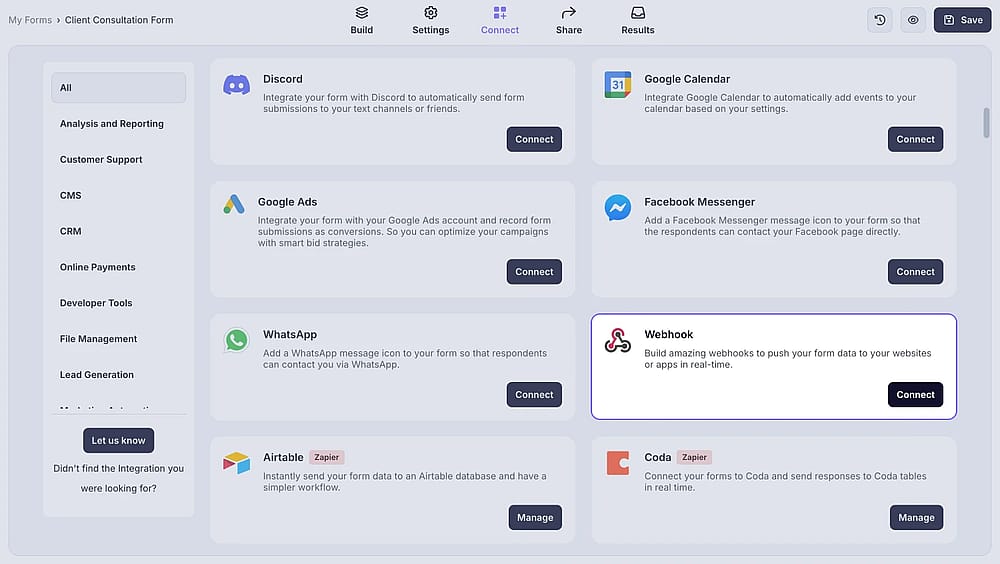
An image showing the “Webhook” option from the list of integrations
7. Click on Add webhook and paste the webhook URL you copied earlier:
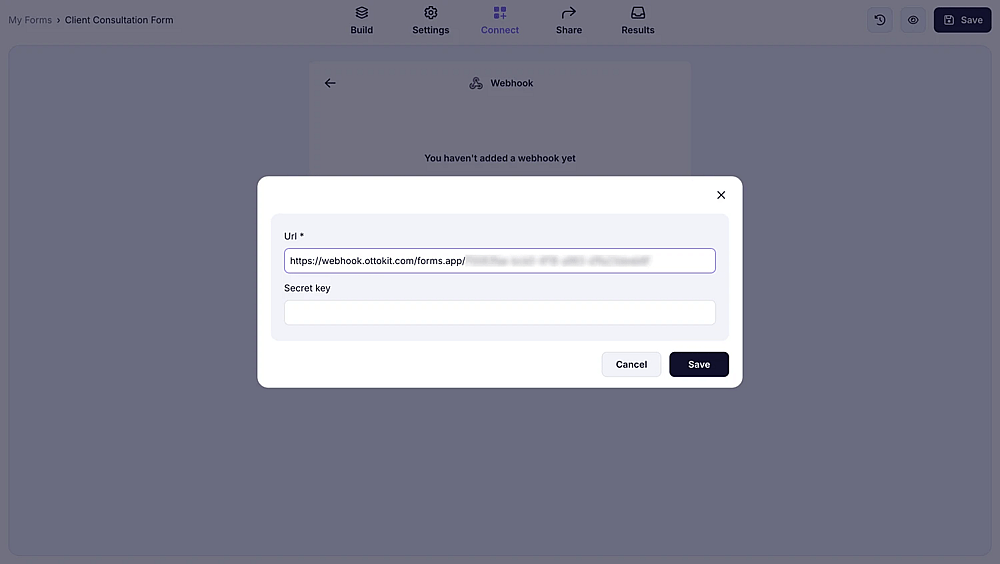
An image showing the area where you need to paste the webhook URL you copied earlier after you pressed “Add webhook”
8. Once you save, go to OttoKit and hit Continue:
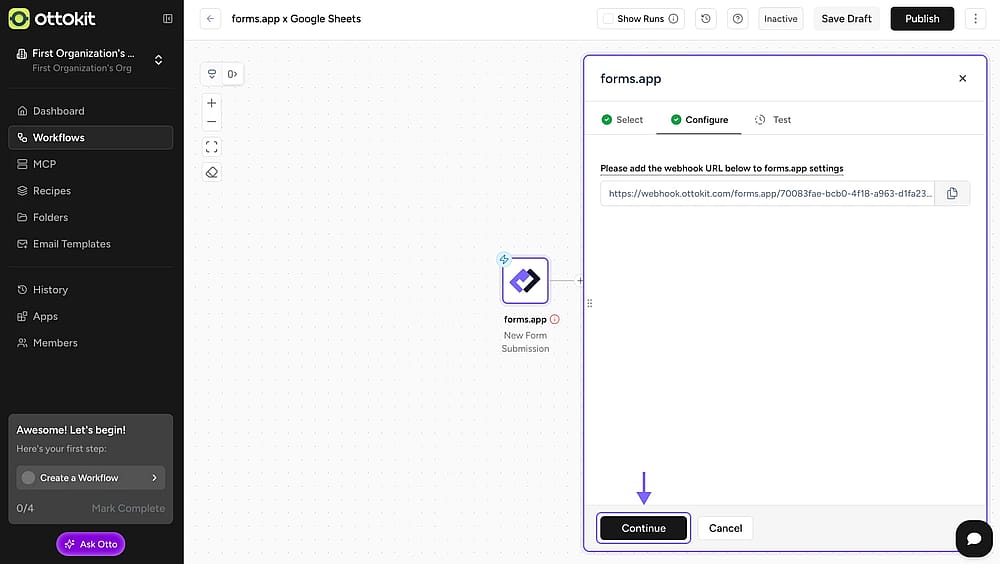
An image showing the “Continue” button from the “OttoKit” platform, which you need to click once you have saved the webhook
9. Now, it’s time to test your trigger. Open your form on another tab and fill it out to see if your trigger works:
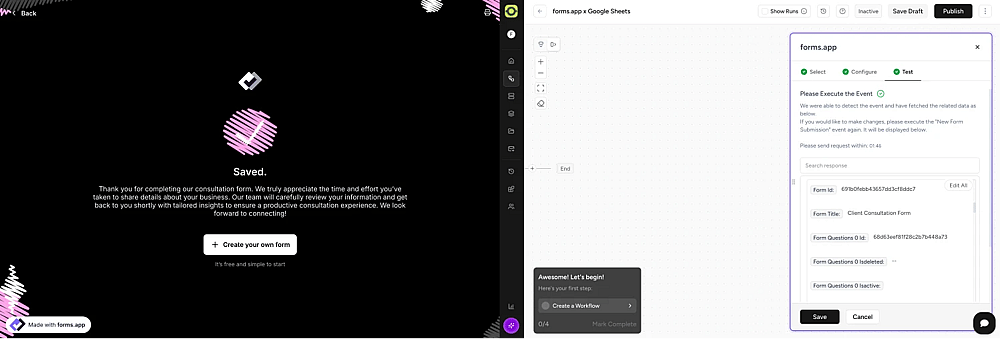
An image showing the submitted form from the left and the “OttoKit” platform from the right, so you can test your form and ensure the trigger works
10. If everything is alright, you can now click on the plus icon to add an action:
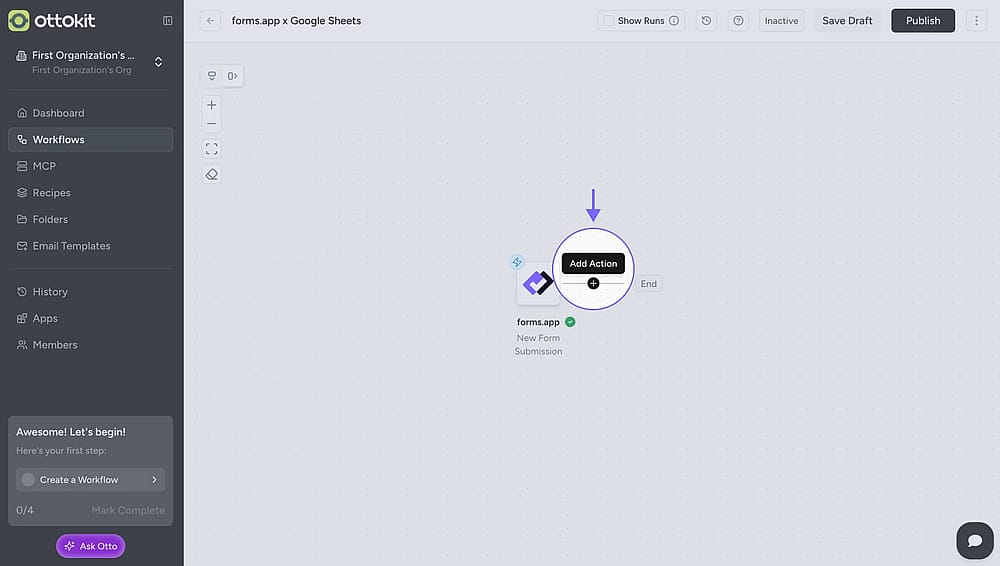
An image showing the “plus” button you have to click to add an action within the OttoKit workflow
11. Search for the application you want to connect your forms with:
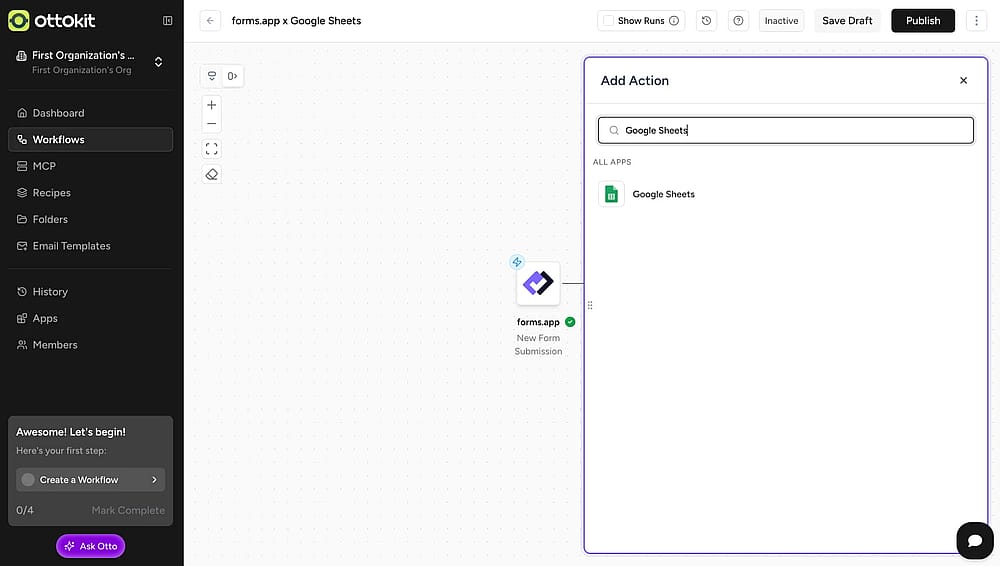
An image showing all the tools appearing from the menu, where you can select the needed platform for connection
12. Choose the event you want to complete and connect the application with your account:
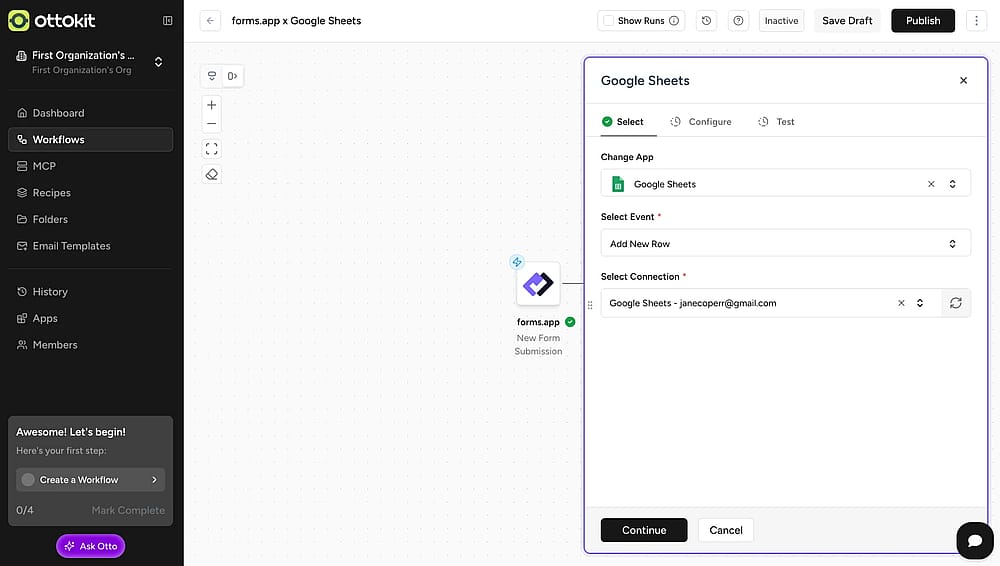
An image showing all the tools appearing from the menu, where you can select the needed platform for connection
13. Configure your workflow and select which data to send:
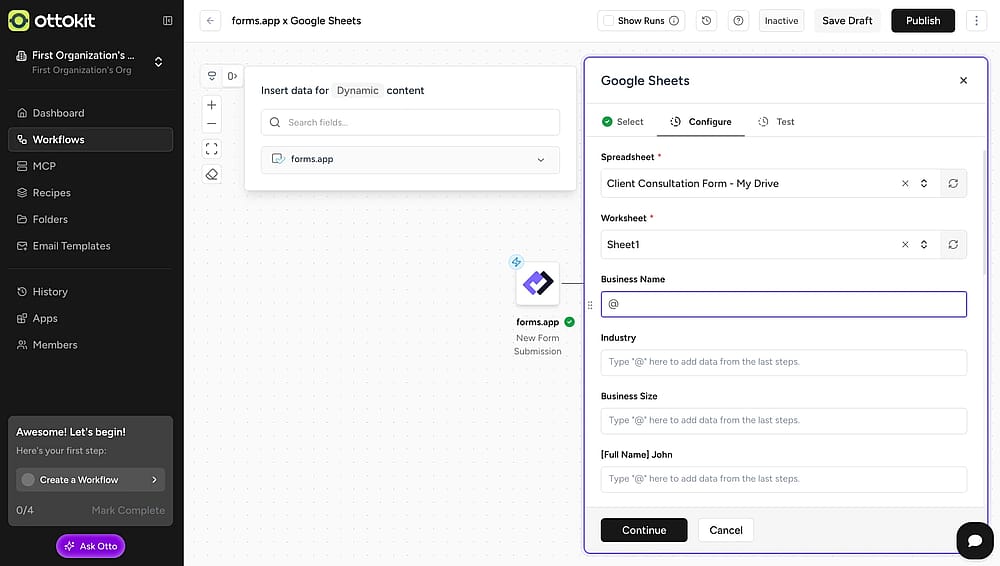
An image showing the area where you can select which data you want to send by viewing options from the dropdown menu
14. After configuring your workflow, simply hit Continue and test it:
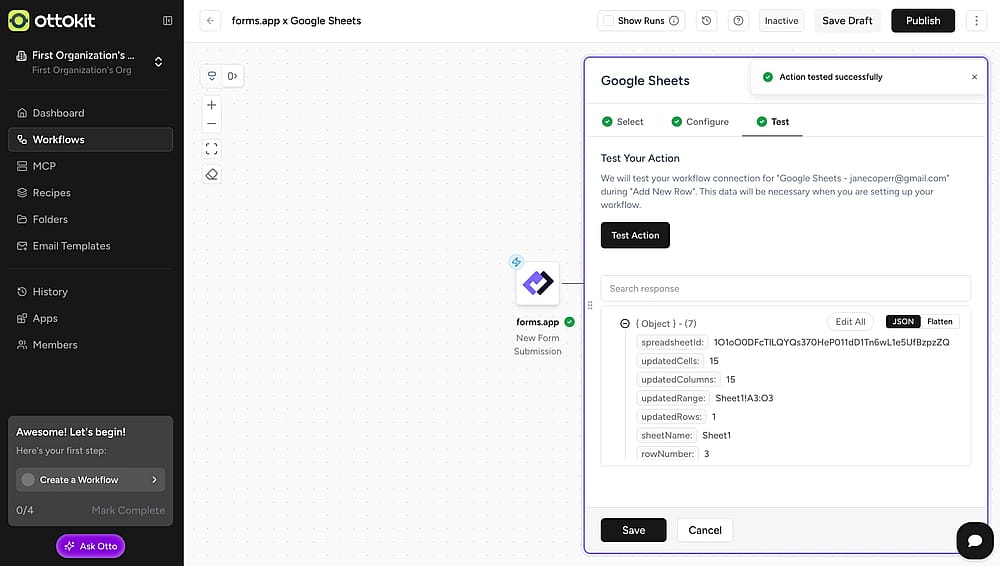
An image showing the testing area from “OttoKit” where you can test your workflow
15. Perfect! Now, you can save and publish your workflow:
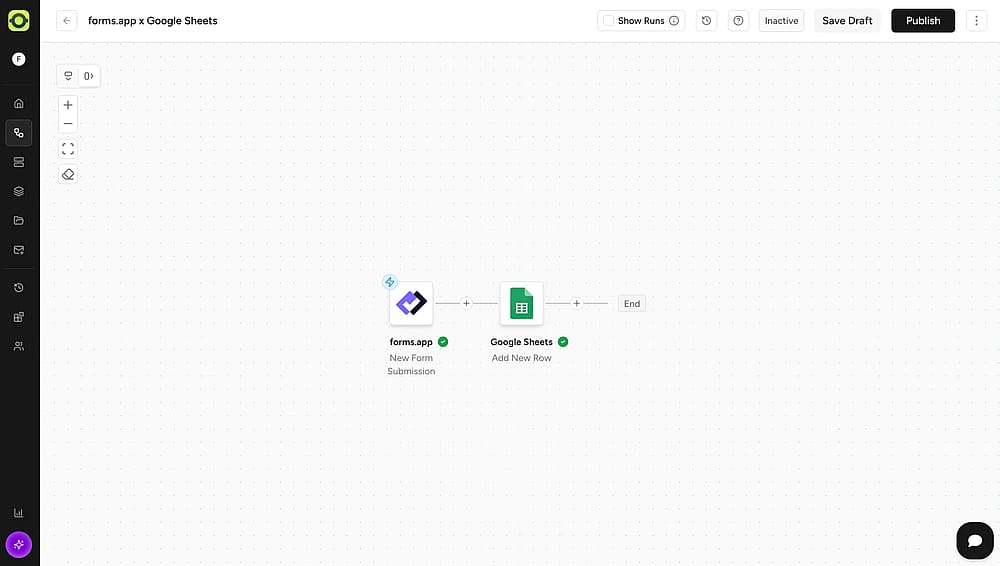
An image showing the Publish button you need to click to publish your workflow
No. You can connect your forms with your other applications for free. OttoKit allows up to 20 workflows and 250 tasks to be completed on its free plan. If you require more than these amounts, you need to subscribe to OttoKit's higher plans.
Yes. On your workflows tab, you can find a switch to enable and disable your workflow.
If you cannot find the application to connect on OttoKit, it is possible that the platform doesn’t support the integration you are looking for yet. In that case, you can contact their team to make a request about your integration and use similar automation platforms.