Make Integrations
Make is an automation and integration platform that lets you visually build workflows, a.k.a. “scenarios”. It lets you connect apps and even create AI agents.
How can I connect my forms to other applications through Make?
Connecting your forms to other applications through Make has great potential because form submissions are usually the triggers for notifications, data transfers, and CRM updates. Use the steps below to connect your form to any application available on Make:
1. Sign in to your Make account and click the + Create scenario button on your Dashboard:
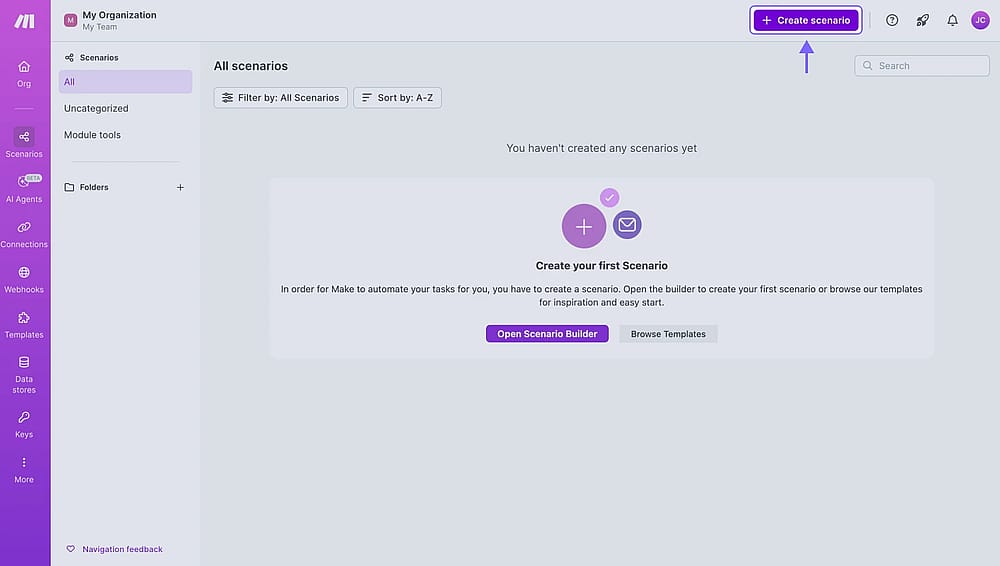
An image showing the “Make” Dashboard and the “+Create scenario” button you need to click
2. Click the + icon and select the Webhooks option from the menu:
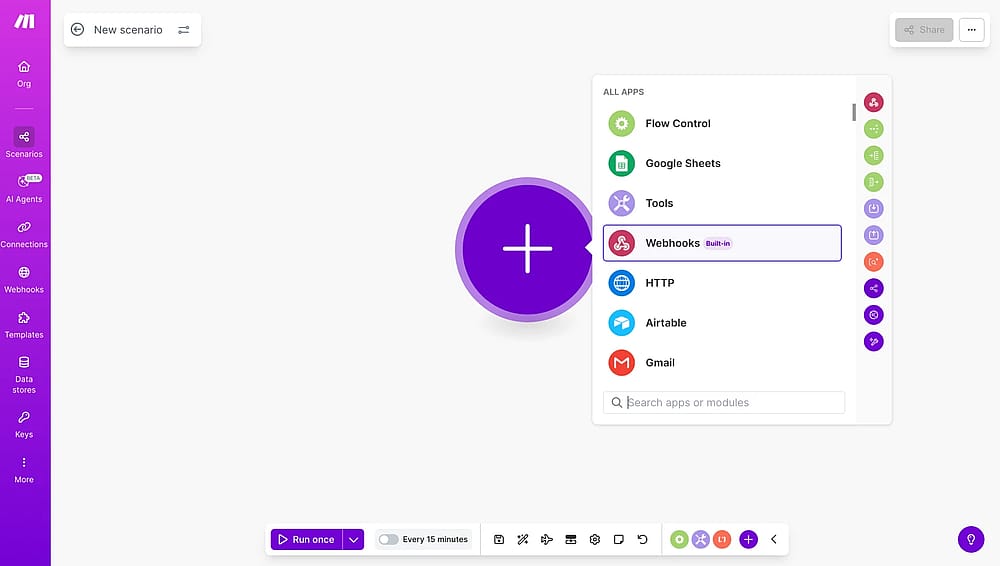
An image showing the “plus” icon you need to click and the “Webhooks” option that needs to be selected
3. Select the Custom webhook option:
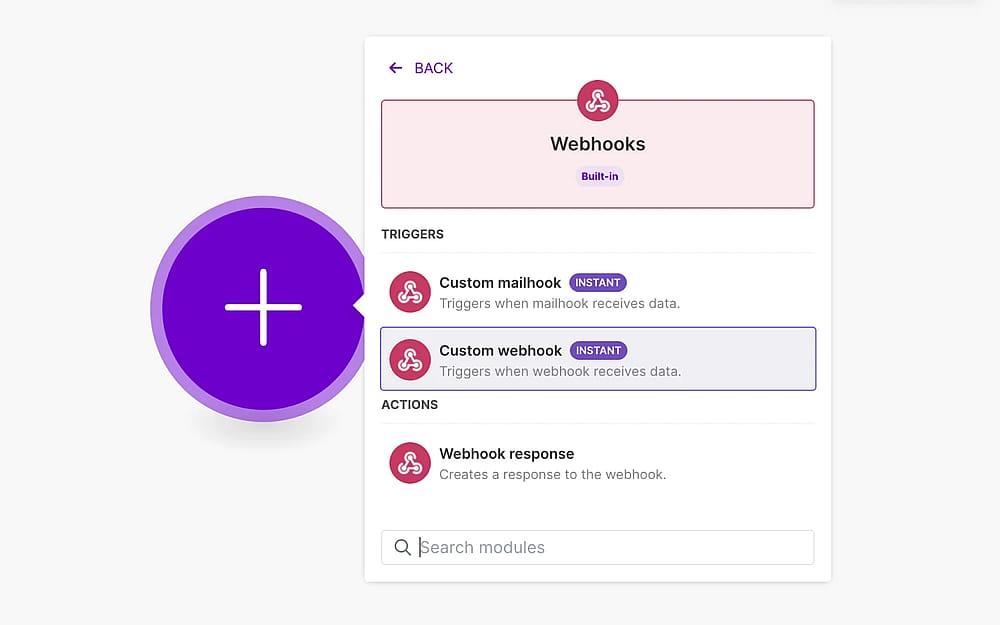
An image showing the “Custom webhook” option that you need to click
4. Next, name your webhook and copy its URL to use it on your forms.app account:
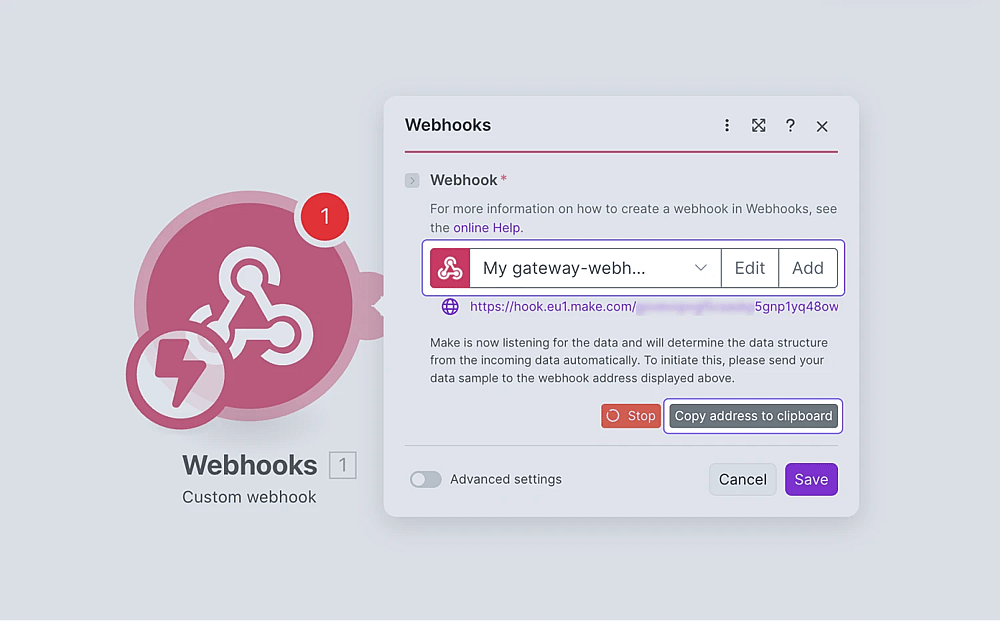
An image showing the area where you need to enter your webhook name and copy its link after that
5. Open your forms on forms.app, head over to the Connect tab and scroll down to find the Webhook option:
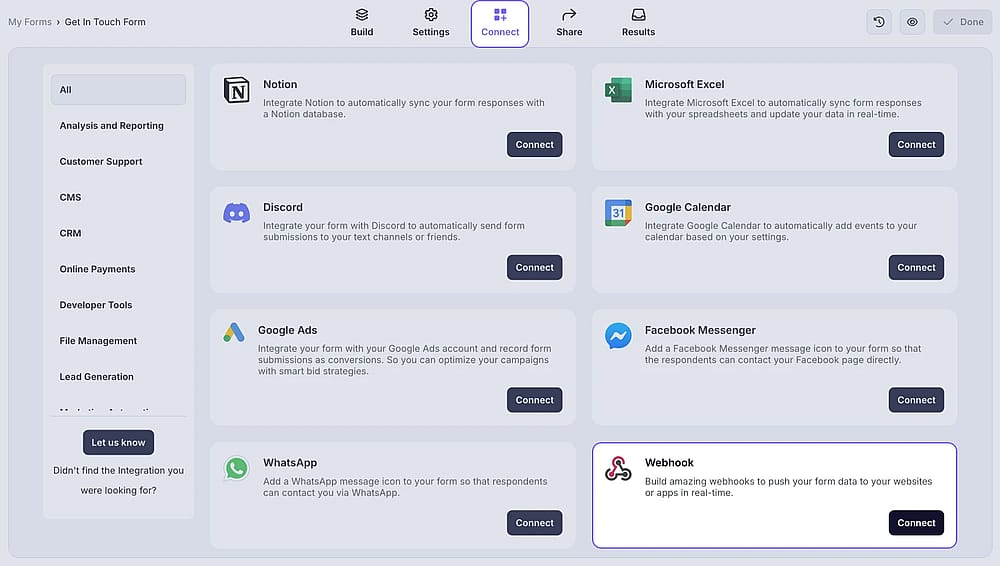
An image showing the “Webhook” option from the integration options in the “Connect” section
6. Click on + Add a webhook and paste the webhook URL you copied earlier:
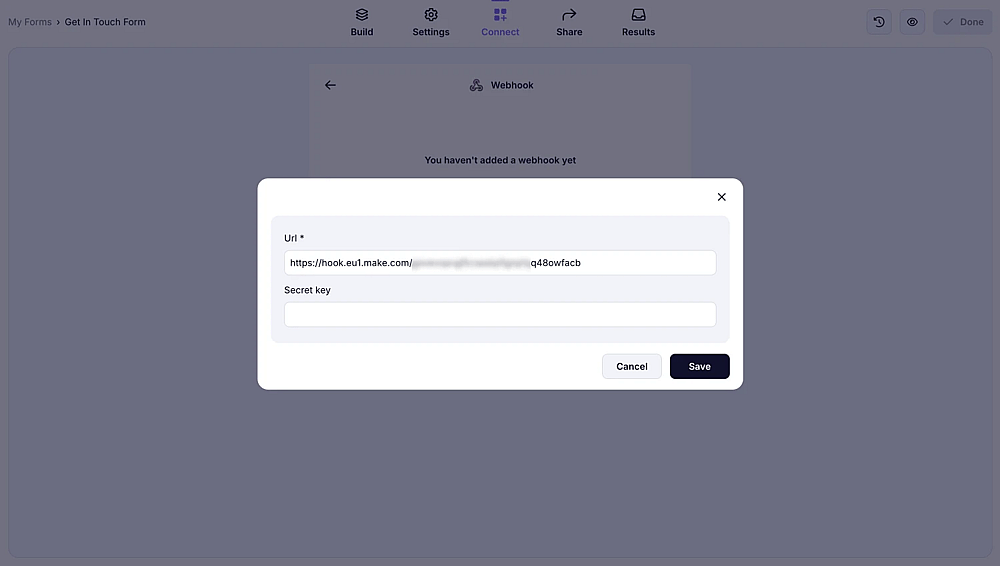
An image showing the pop-up which allows you to enter the webhook URL you copied earlier
7. Go to the Share panel to open and fill out your form so you have sample data to work with on Make:
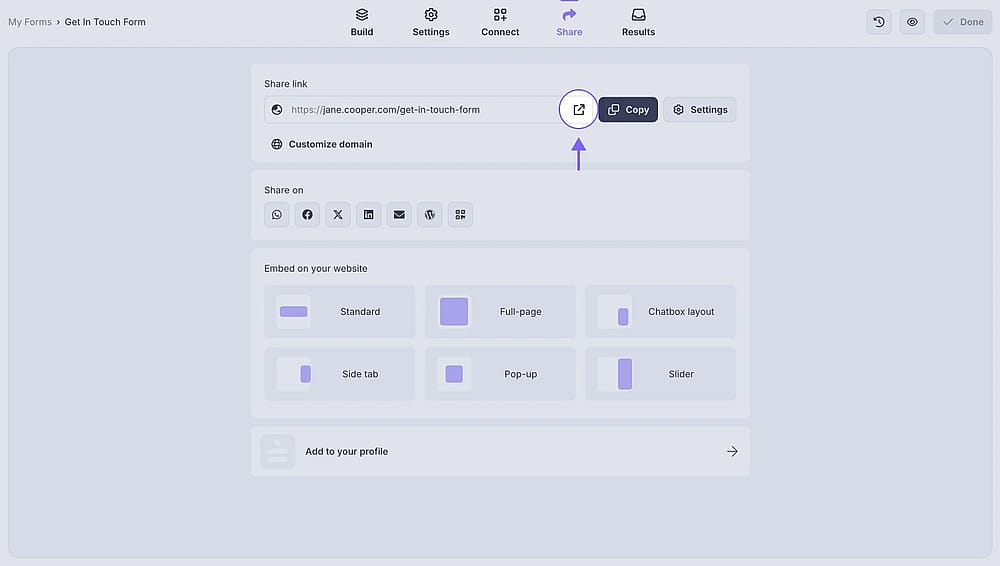
An image showing the forms.app “Share” section, where you can find your form URL and open your form directly
8. After filling out your form, check your Webhook status on Make. You need to see a success message before moving up:
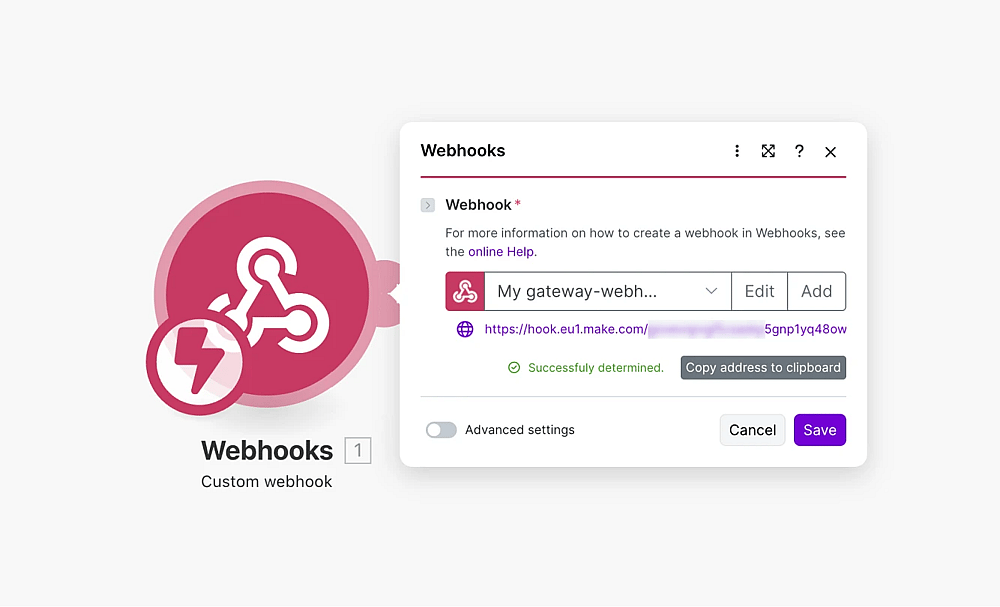
An image showing a “Successfully determined” message from the Make side, which shows that the connection was made
9. Go back to Make and click Add another module to connect your forms to the other application:
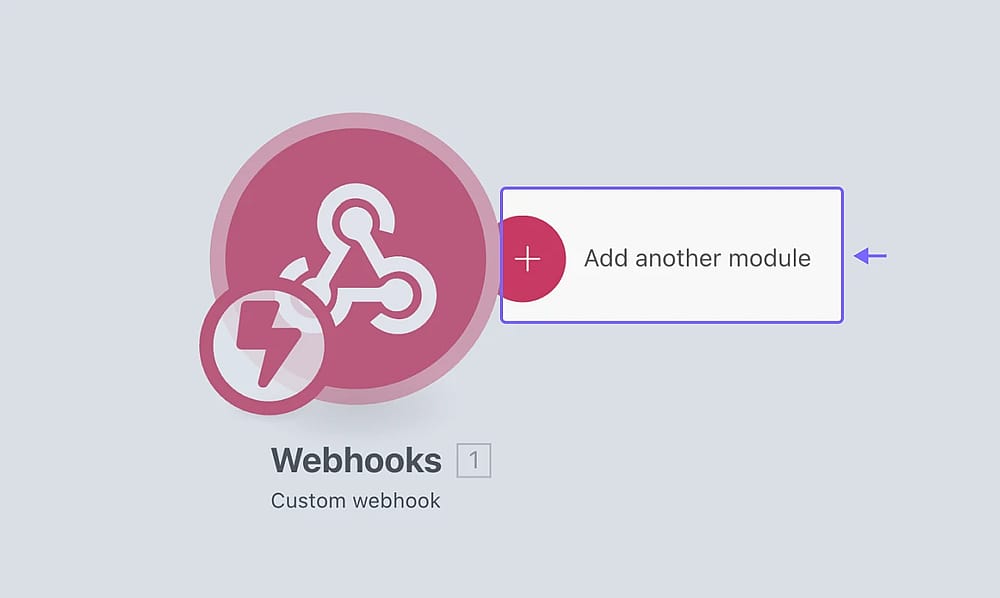
An image showing the “Add another module” button that allows you to continue setting up the integration with another tool
10. Search for the application you want to connect. In this article, we will go with Google Sheets and choose the Add a Row option:
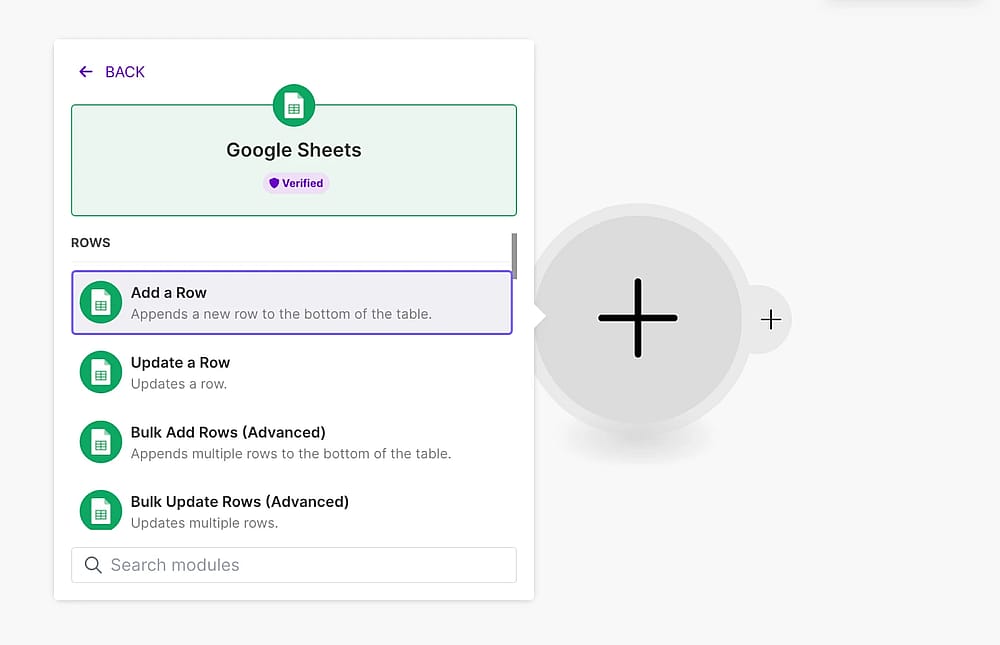
An image showing the selected “Google Sheets” tool and the “Add a Row” option
11. After that, click the Create a connection button, where you will be able to name your connection and sign in to your Google account:
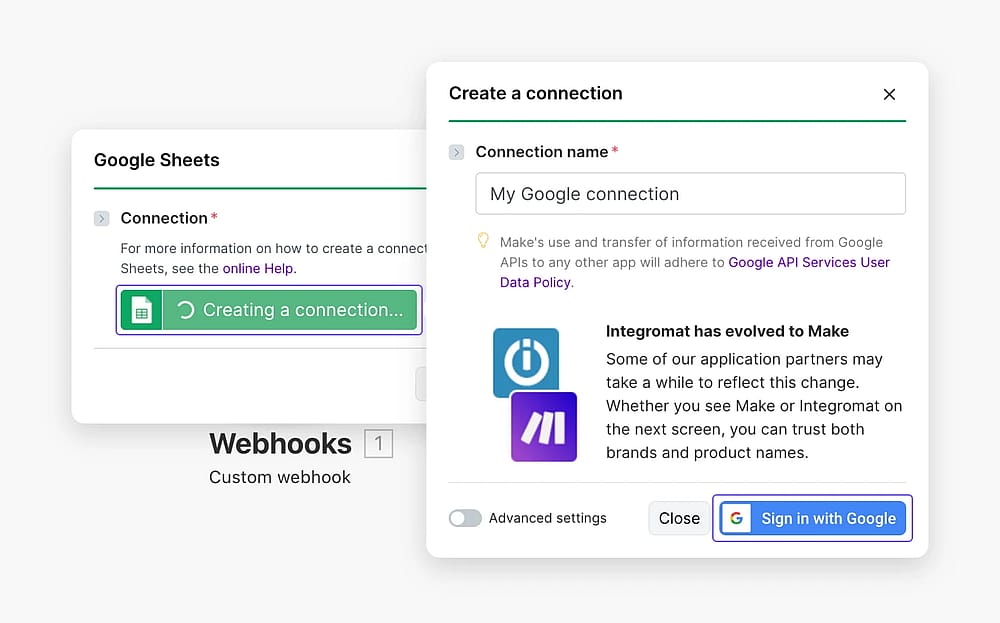
An image showing the “Create a connection” button, which you need to click to be able to set up the connection and log in to your Google account
12. Now, you just need to select a sheet and match your form properties with the properties in the connected app and press Save:
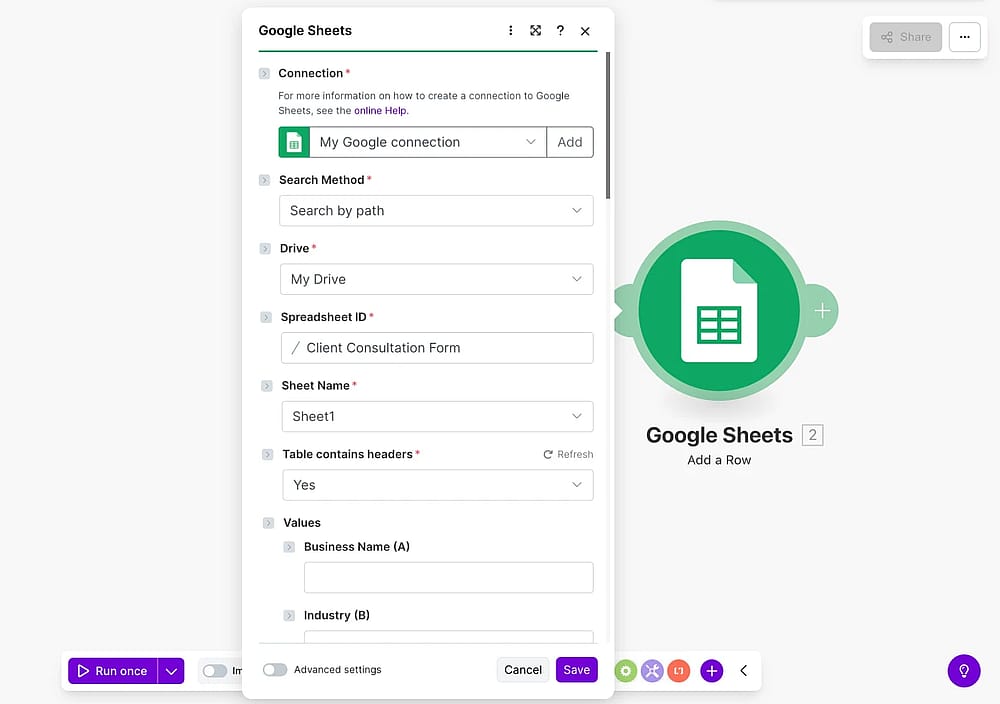
An image showing the area where you will need to select a sheet and match your form properties with the properties in the connected app
Seeing all the data can be overwhelming. To match the form answers with third-party properties, find the “answers[ ]” section and simply choose from your sample answers.
13. To test your modules, right-click on the desired module and select the option Run this module only:
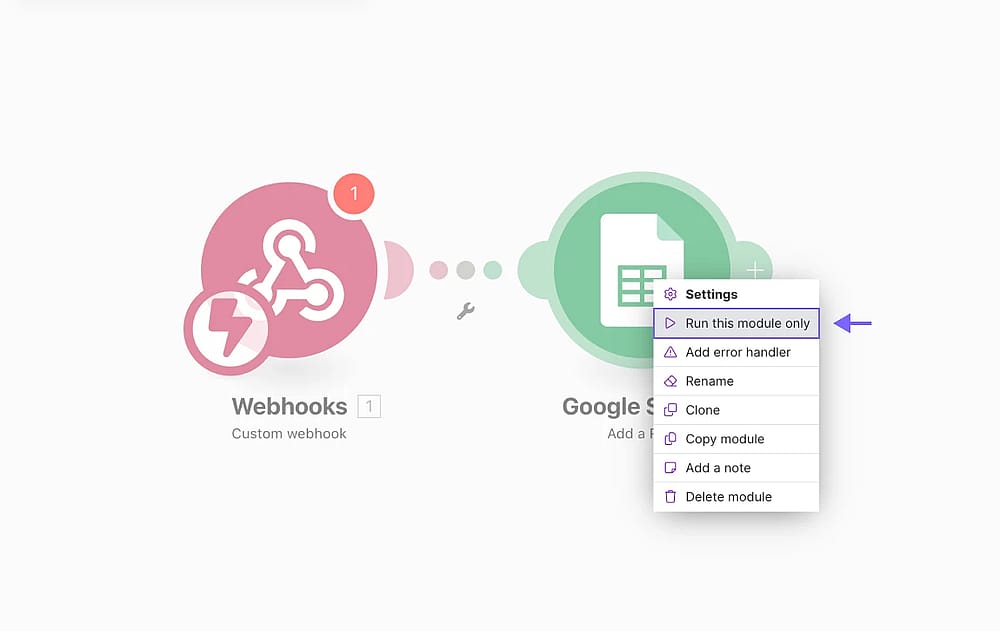
An image showing the “Run this module only” button, which allows you to test your module
14. Perfect! Now, you can finish up and enable the Immediately as data arrives toggle:
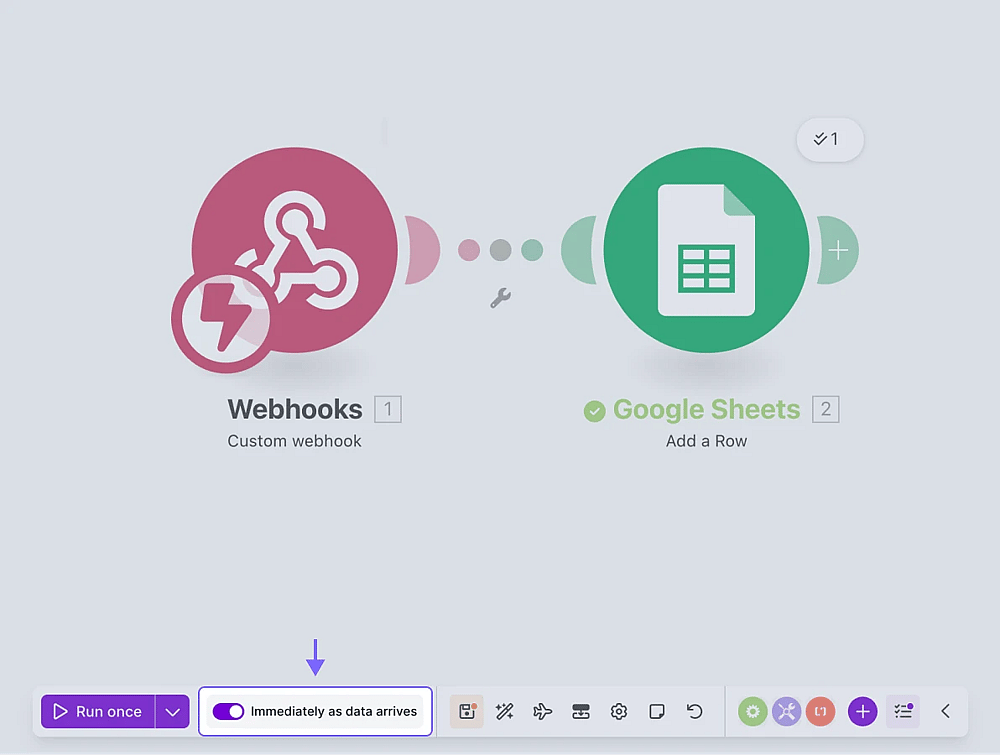
An image showing the “Immediately as data arrives” toggle that triggers the workflow once you receive the data
That’s it! Now you can test your workflow live and enjoy an automated process.
No. Make offers up to 1000 credits on its free plan. So you can set up workflows without any purchases at first. In case you need more than 1000, Make's next higher plan starts at 10,59 USD monthly.
- Check the “scenario runs” for errors.
- Verify that the trigger event has occurred.
- Ensure that the trigger and action apps are connected properly.
- Visit Make’s help page or reach out to their support team.