How to add scores to your questions
The calculator feature lets you create quizzes, quote forms, lead qualification forms, and all the other sorts of forms by assigning scores to options of some of the field types. 🧮
The form fields that are compatible with calculations are:
- Single Selection
- Multiple Selection
- Opinion Scale
- Star Rating
- Picture Selection
- Dropdown Selection
How does it work?
Assigning scores to the options of your questions and setting up calculations is pretty simple. You only need to follow the simple steps below:
1. Open your form, go to the Logic section on the left, and switch to the Calculator tab:
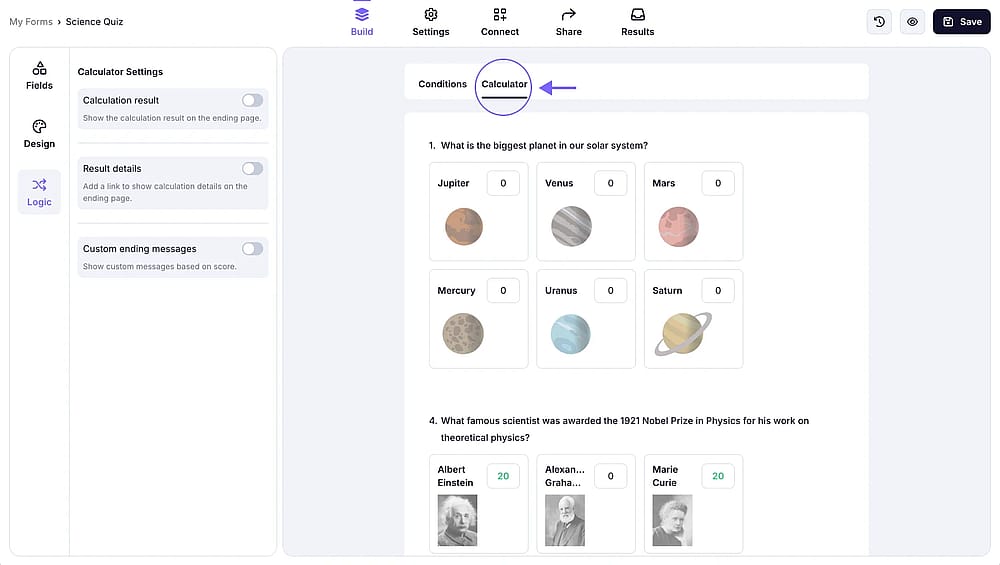
An image showing how you can access the “Calculator” tab from the “Logic” section in your form
2. Click on a score field of an option on the right side of each option:

An image showing the area next to the option where you need to click to start adding scores
3. Enter a positive value directly or a negative value like this —> -10:

An image showing an example of an entered score for the option
How to show scores after submission
Showing the calculation result is possible with a couple of quick adjustments that you will need to do through your calculator settings:
1. Enable the Calculation result option from the left menu:
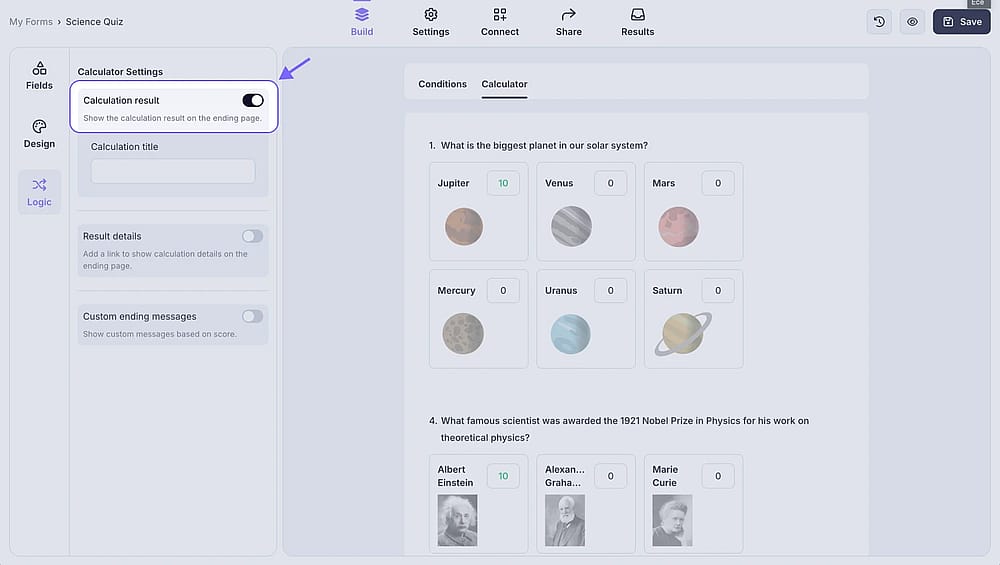
An image showing where you can find the “Calculation result” toggle and enable it
2. Enter a calculation title. This could be a test score, estimated price, etc. After you are done, don’t forget to click the “Save” button to save your changes
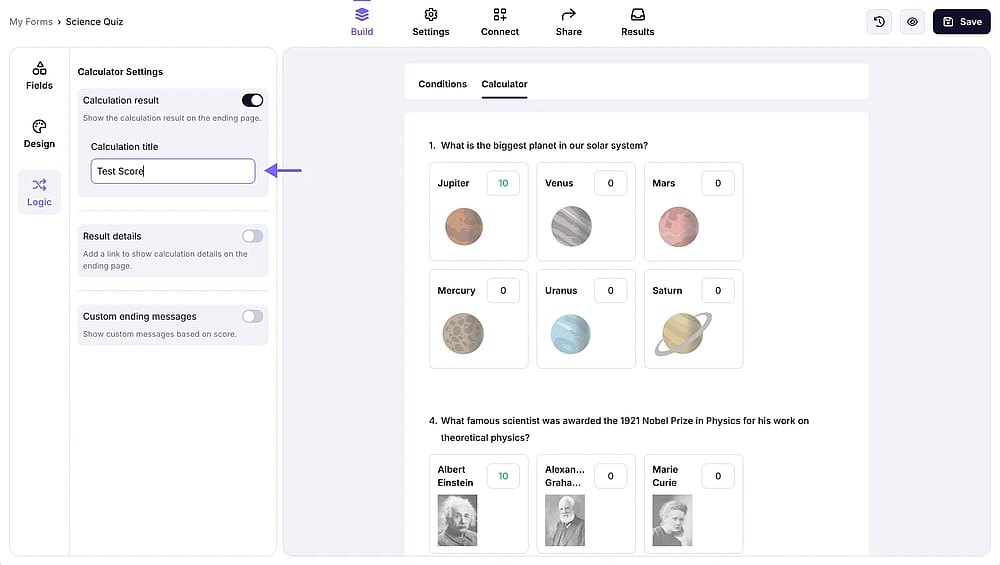
An image showing an example of the calculation title, which you can enter into the title area
How to show different ending messages
Next, if you would like to provide custom feedback on how your quiz participant performed on your quiz, or simply offer relevant information based on the results of your lead generation form, see below for step-by-step instructions:
1. Enable the Custom ending messages option on the left menu:
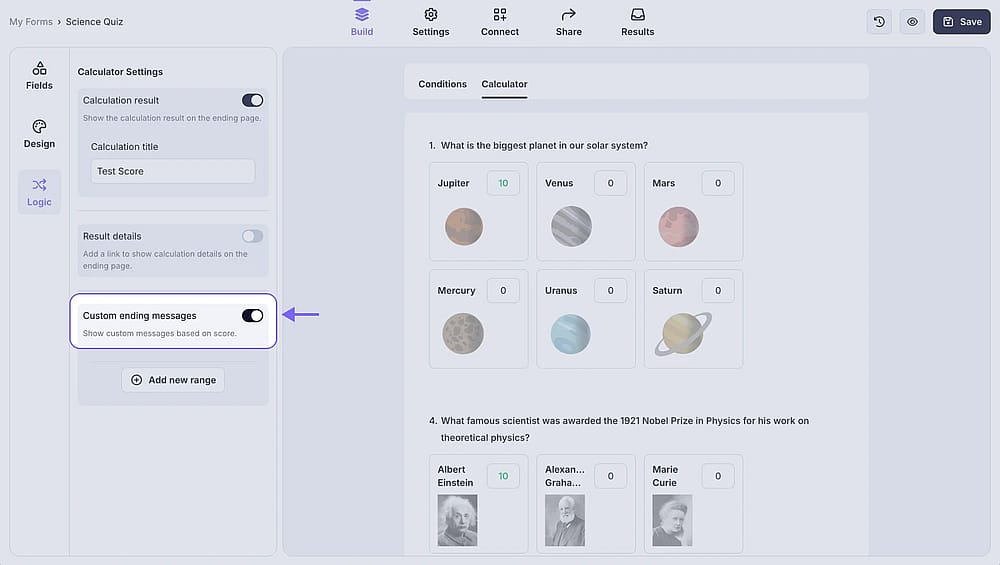
An image showing where you can enable the “Custom ending messages” option from the menu on the left side
2. Then, click the +Add new range button:
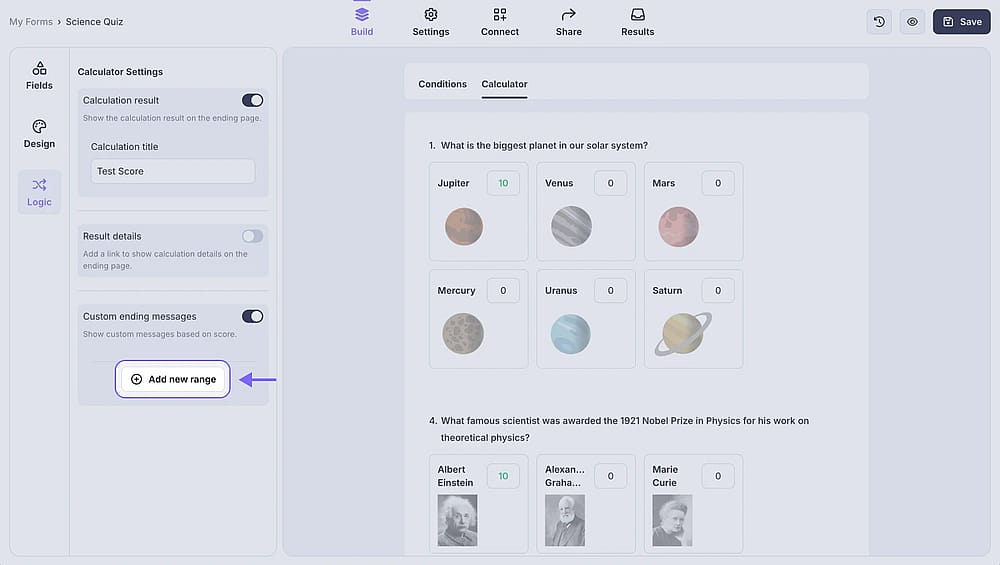
An image showing the “Add new range” button, which you need to click to add ranges
3. Define a score range and enter a text that is appropriate for this score range:
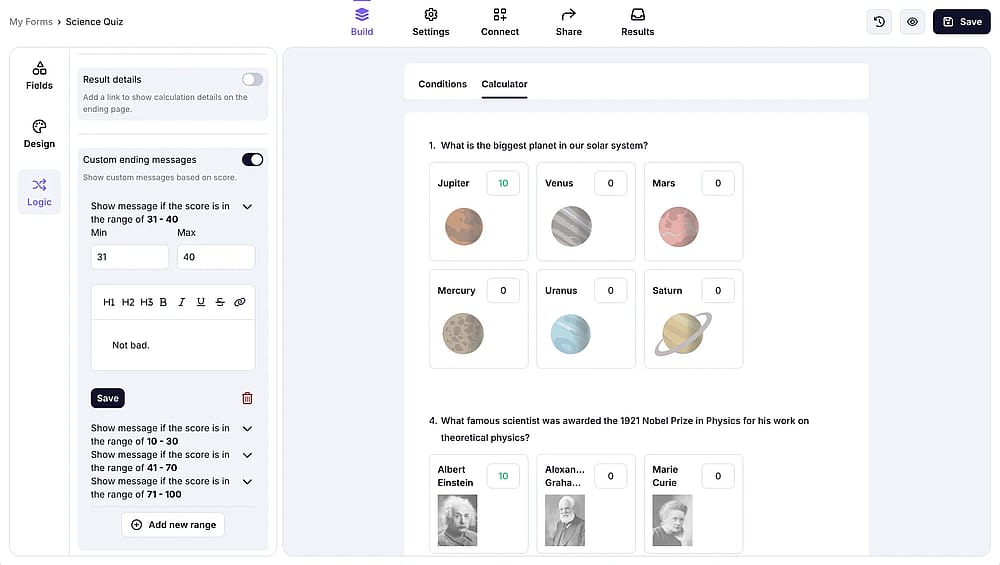
An image showing an example of the added range and the custom message for this particular range result
4. Click on the Save button under the custom message editor to save your score range:
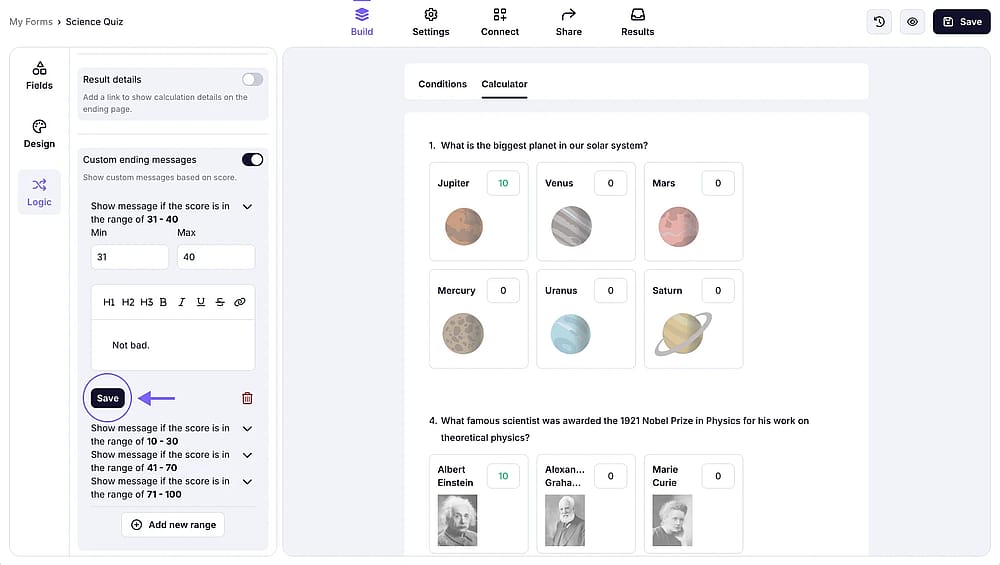
An image showing where you can find the “Save” button to save your range
Yes, you can add decimal values to your scores along with whole numbers. This allows you to use both standard numbers and decimals (e.g., 1.5) when setting up your scores.
Currently, we offer customization options for the calculation ending message, such as editing the text content and adding hyperlinks. However, it is not possible to insert an image at the moment.
Yes. If you enable the Notify Respondents option, your audience will be able to view their calculation score results directly within the email message. However, please note that respondents will not be able to view the custom ending message you set.
At the moment, you can only use one variable to calculate scores.