Best autofill techniques for Google Sheets
No matter how fast you type, manually entering data can get tiring. Luckily, Google Sheets has autofill techniques that make your work easier. With different autofill options based on your data type, you can use shortcuts to speed up your tasks. Google Sheets offers these tools to simplify both professional and personal tasks.
Today, we’ll show you simple examples and easy steps to autofill in Google Sheets. You’ll learn how to autofill numbers in Google Sheets, along with tips and answers to common questions. With these quick tricks, you can save time and fill your data in seconds, making manual entry a thing of the past.
How to autofill the cells in Google Sheets (5 different ways)
In Google Sheets, you can use autofill differently depending on your data and rules. Once you enter your data and select the correct cells, you can complete the task with just one action. Here, we’ll show you 5 different autofill techniques using various data types:
1. Series fill
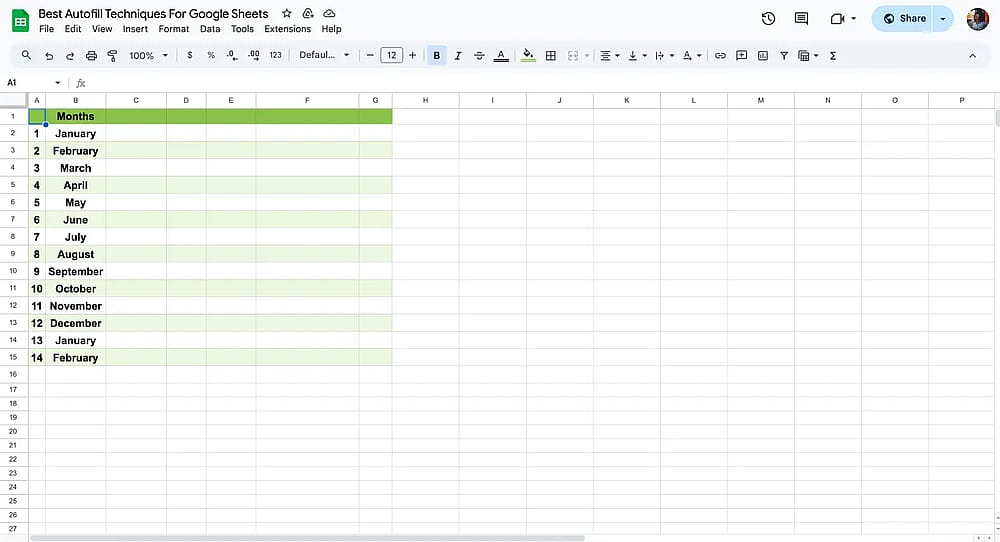
Series Fill lets you quickly create a sequence of data, like numbers or months. For example, in our sheet, we used it to number the A column starting from 1 and to list the months in the B column starting with January. You can also use strings and numbers in cells, as seen in the C column. You must select two related cells or a range and drag the small blue square at the bottom right corner to extend the series.

Series fill before
If you want to create a sequence starting from a specific number, you should enter your reference number in one cell and then add 1 to it in the cell below (or next to it). Otherwise, if you try to autofill with just one cell, Google Sheets will simply copy the same value instead of creating a sequence.
Series fill after
This technique is perfect for anyone needing to fill series in Google Sheets for reports or schedules.
2. Custom series fills
Custom series fill helps you create a personalized list of items. For our example, in the C column, we listed product types starting with "Release" and "Beta" Google Sheets. We just need to choose these 2 cells and drag them to the cell we want to bring to our list. Your reference cells repeat until the last one.
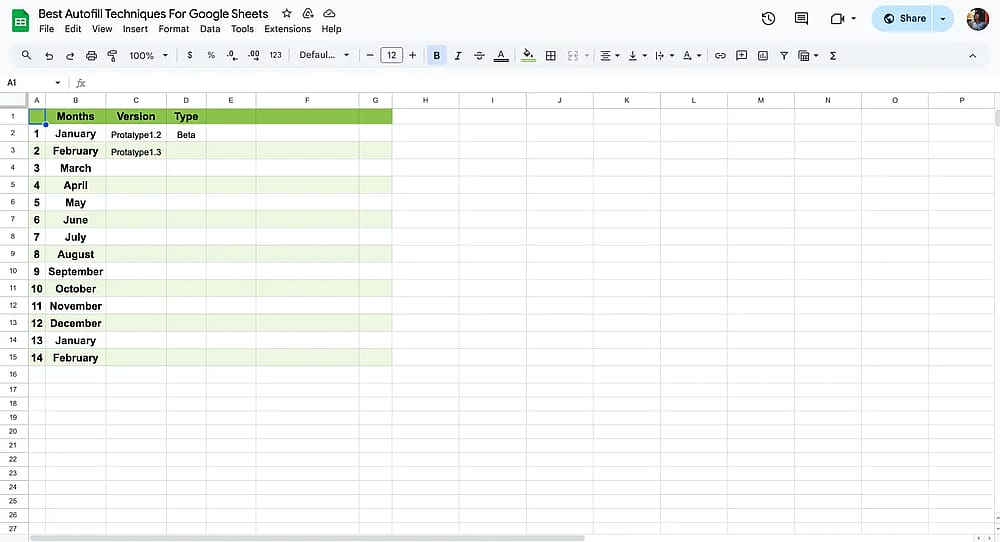
Before page of custom series
We can also use it try it for the D column; version types start with Protype1.1. If we just drag it down, we can see incrementing each version number sequentially until "Protype1.15.
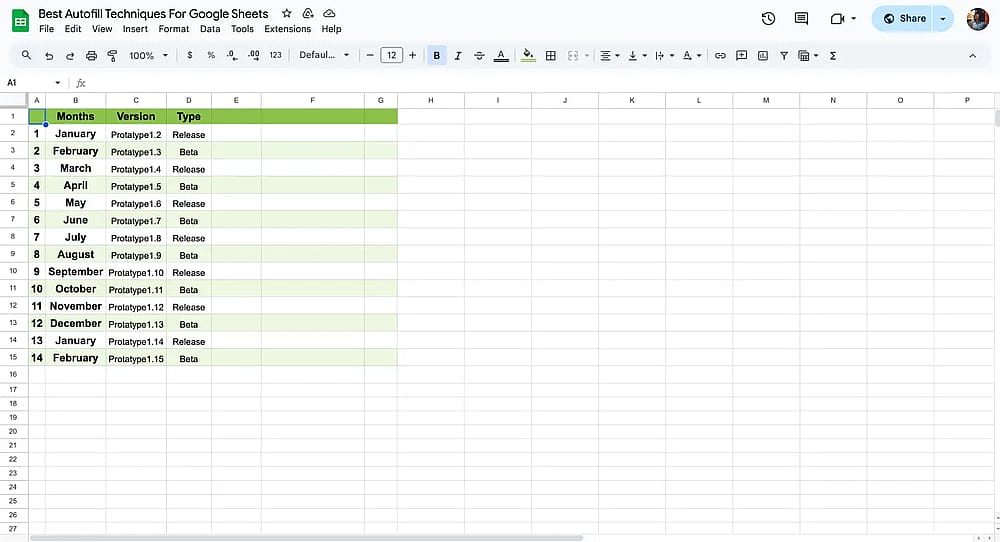
After page of custom series
This is ideal for organizing custom data, like product catalogs or event schedules, without repeating entries manually.
3. Autofill based on the patterns
Autofill based on data patterns automatically continues a pattern in your data. In our example, the E column shows how we used it to fill in sales quantities, starting with 15 and 20.
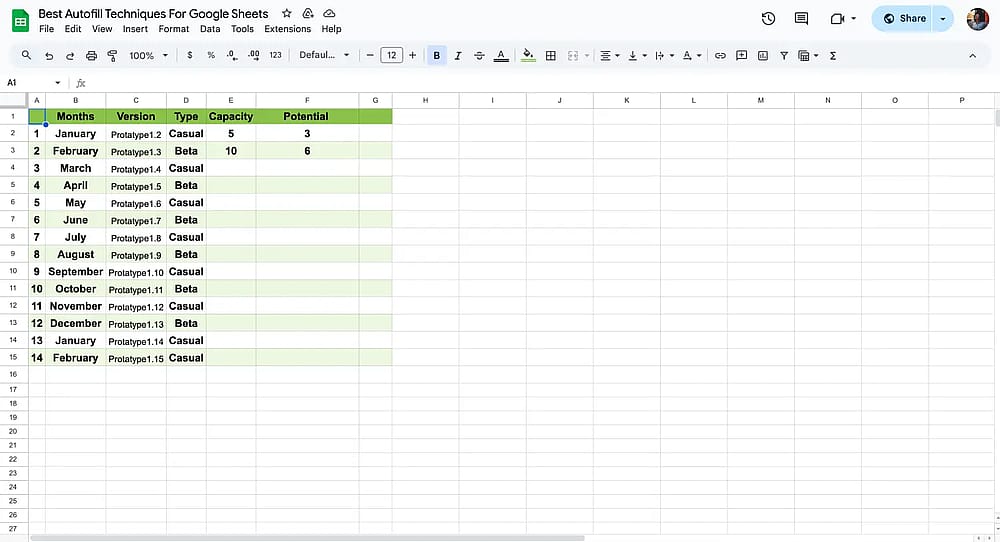
Before page of based on patterns
Google Sheets understands the relation between ranges, just like you see in the D column too. It is enough to put under a minimum of two data.
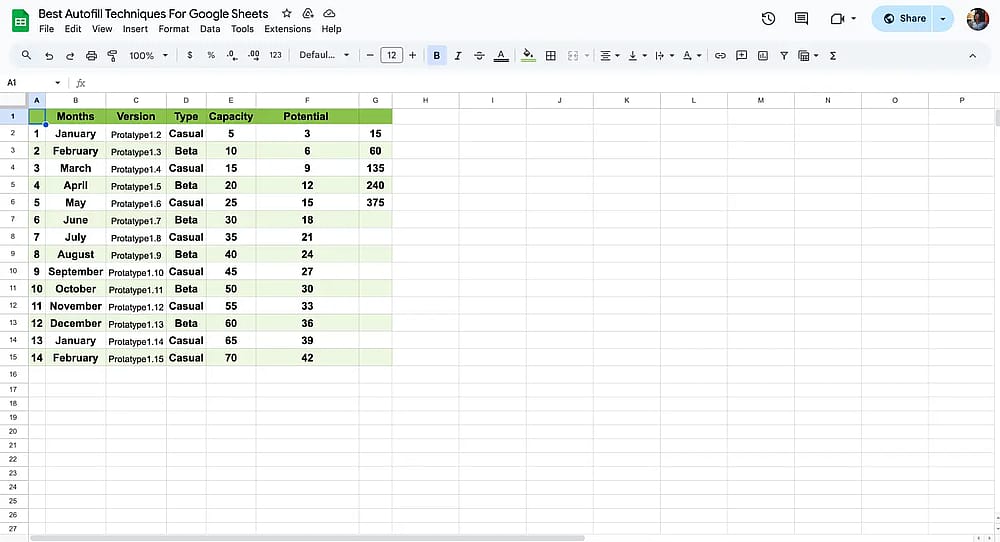
After page of based on patterns
This is great for projects where you need consistent data, like budgeting or inventory tracking.
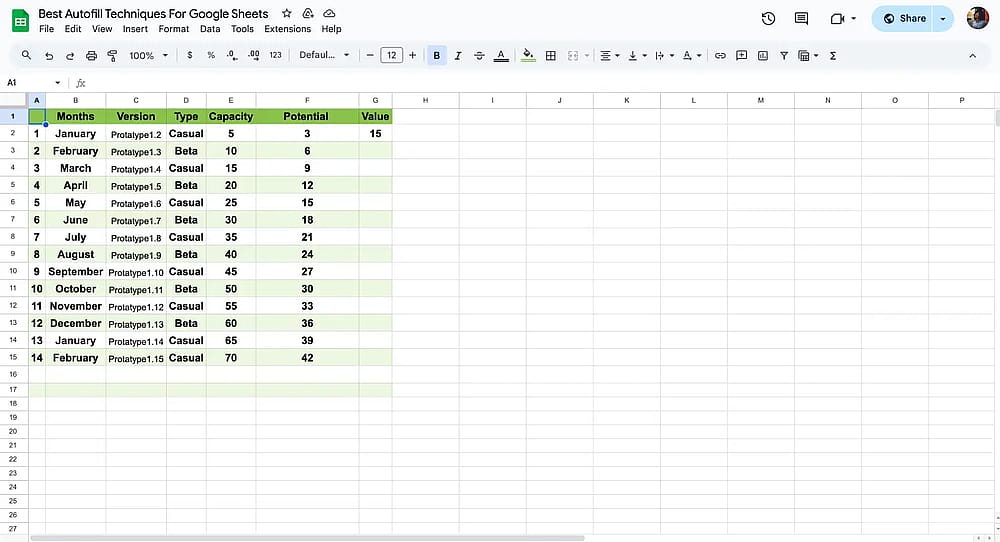
4. Autofilling formulas
Autofilling Formulas apply the same formula across multiple cells. In our sheet, the “ G “column calculates total revenue using the formula =E2*F2. By dragging the fill handle down, Google Sheets automatically updates the formula for each row.
Autofilling formulas
This technique is useful for anyone working with Google Sheets formulas to calculate totals in financial reports quickly.
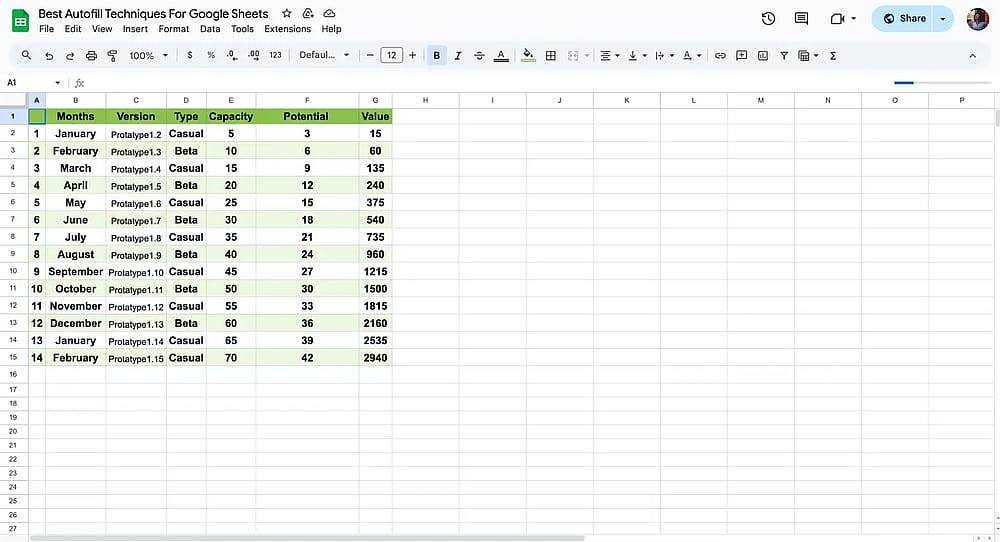
Final version
Frequently asked questions about auto-filling Google Sheets
Of course, even though these techniques are easy to apply, they can still raise some questions. Google Sheets offers many options to autofill data, and it’s normal to wonder about the best methods or shortcuts. Let’s address some common questions to help you use the autofill feature more effectively.
If you want to autofill data without dragging, you can use an autofill Google Sheets shortcut. First, enter the data in the first cell of the range. Then, select the range of cells you want to fill, press Ctrl (or Command for Mac) + Enter, and Google Sheets will fill the selected cells automatically. This is great for saving time and effort.
To get suggested autofill in Google Sheets, just start typing in a cell. As you type, Google Sheets might suggest something based on what you’ve entered before, especially if it’s similar to previous dates, numbers, or patterns. If the suggestion looks good, press Tab to accept it. It’s an easy way to keep your data consistent without much effort.
To fill cells quickly, you can use the autofill feature with a simple click and drag. After typing your data in the first cell, grab the small blue square at the bottom right corner and drag it down or across. This method is a fast way to streamline data entry and save time.
Customizing autofill in Google Sheets is also easy. You can adjust it to match perfectly what you’re working on. For example, if you’re using formulas, Google Sheets will update the cell references automatically as you fill cells. Just enter your formula and drag, just like basic data.
Wrapping it up
We’ve explored some handy autofill techniques in Google Sheets that can make your work quicker and easier. Whether you're handling budgets, managing lists, or working with formulas, these tricks can help you get things done faster. They’re great for anyone looking to streamline their data tasks.
Google Sheets offers an ocean of functionality with depths you might not have explored yet. In our content, we share easy examples and practical tips to help you navigate this ocean smoothly. Our goal is to make sure you’re swimming confidently through all that Google Sheets ocean.
Contributors
forms.app, your free form builder
- Unlimited views
- Unlimited questions
- Unlimited notifications