As a business, you should always be prepared to meet the general needs of your sector or any emergency that you might have to deal with within your organization. In order to meet these issues head-on, having the right tools is crucial, and you should also know where to get or create these tools. One of the tools that you should have in your inventory is a general application form.
In this article, we will look at why it is essential to share your application form, how to create a Microsoft Forms application form, 10 must-ask questions in your application form, and a better option to create the best application form possible with the help of forms.app’s advanced features. We will also give you 8 expert tips to make the most use of your application form.
Why to share an application form
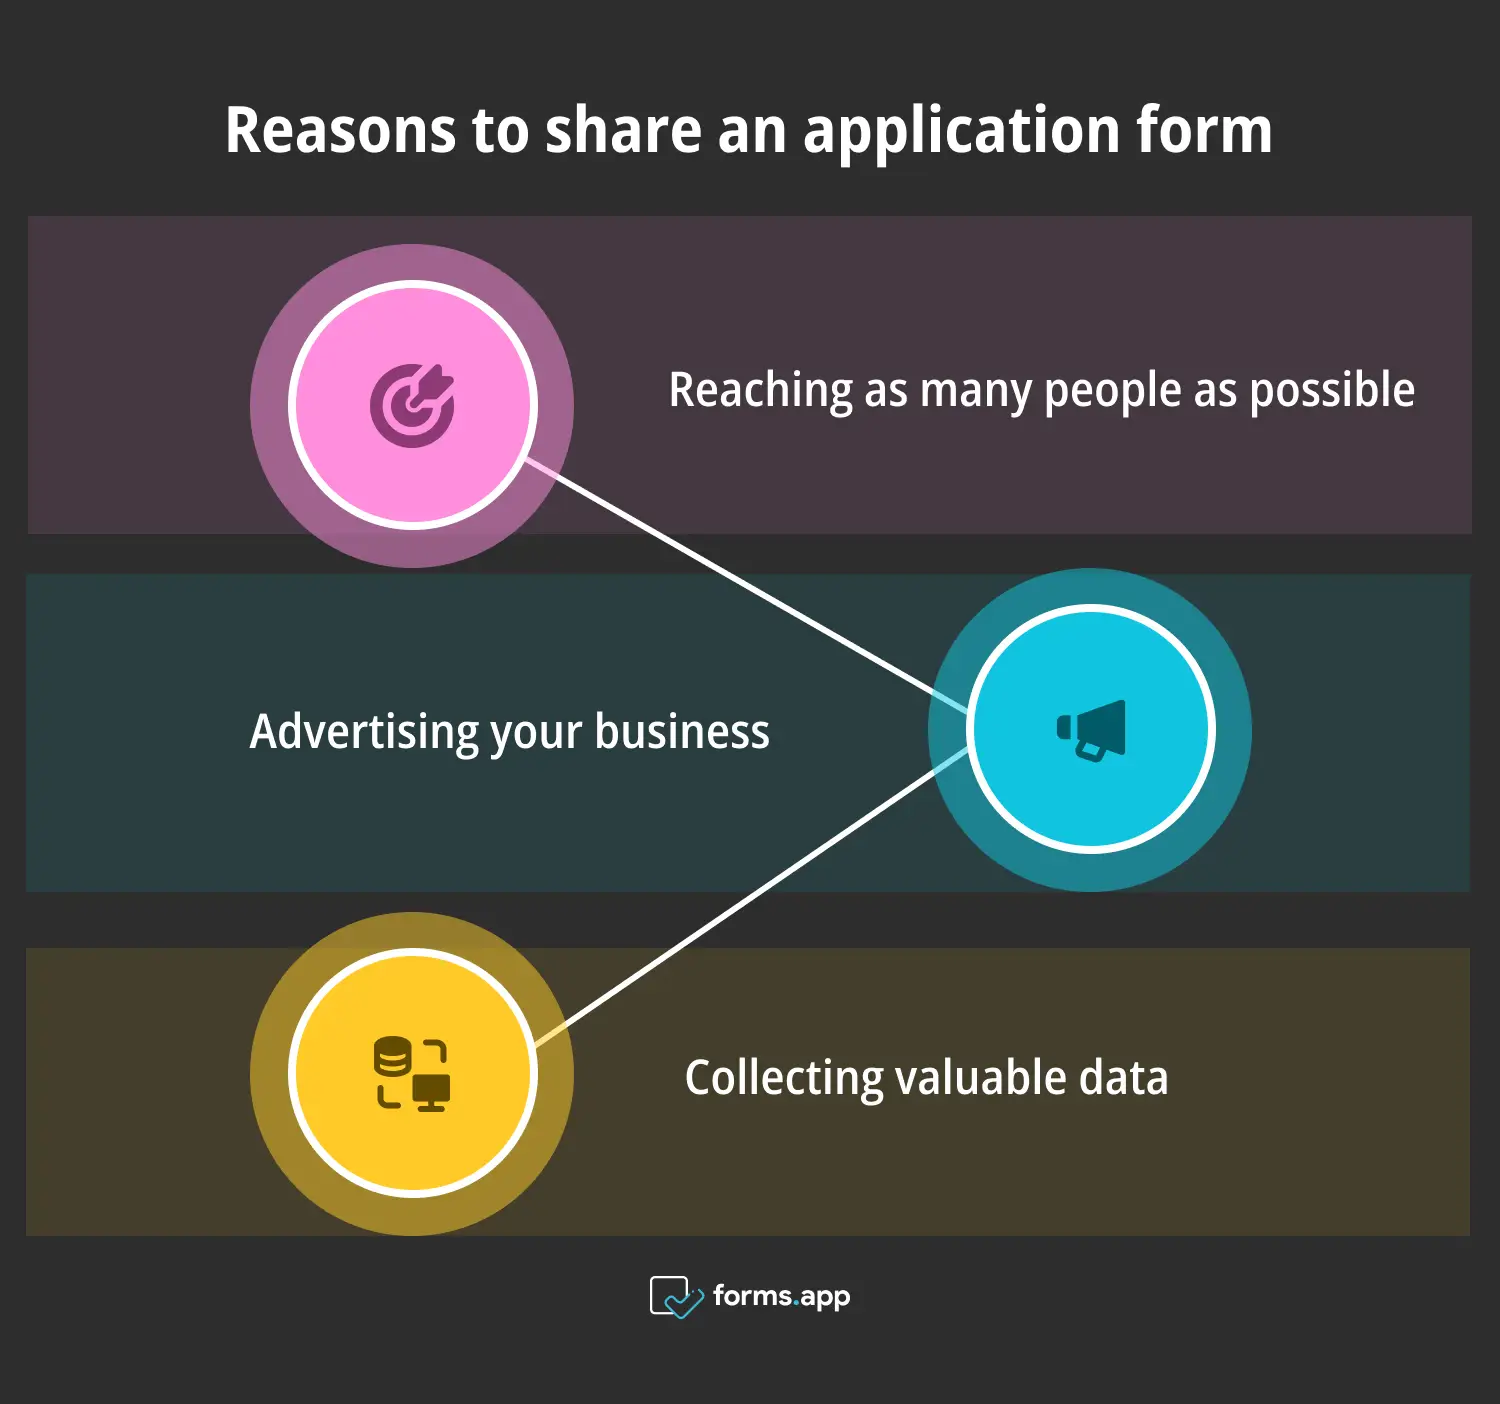
In order to reach the right applicant, you must know how to use the tools to reach them. That is why sharing your application form in the right places is highly effective in finding the right person for a job or a volunteering program. Several of the other advantages of sharing your application form with the world are:
Benefits of using online application forms
🚀 Reaching as many people as possible: By sharing your form, especially on social media platforms, you can reach as many people as possible. This increases your chances of finding the right applicant.
🚀 Advertising your business: You can also use your application form as a means to advertise your business and increase the number of potential customers.
🚀 Collecting valuable data: After sharing your form, you can track the participation data closely and use it to improve areas that underperform.
10 Must-ask questions to use in your application form
When creating a successful application form, the key aspect is to ask the right questions. The reason that you must ask the right questions is you can save a lot of time by choosing between the right candidates. That is why we have gathered 10 of the must-ask questions to use in your following application form.
- What is your full name?
- What is your e-mail address?
- What are you looking to get out of this role?
- What would you say is your greatest strength and weakness?
- What is your source of motivation?
- What do you think you would add to our organization?
- Do you have any experience in a similar position?
- How do you fill your free time?
- How do you keep up with the trends in your line of work?
- What is your education and/or training background?
How to make an application form on Microsoft Forms
Microsoft Forms is a great tool to go for a professional look when it comes to creating your application form. Furthermore, there are several different question options, so if you would like to create a fillable form that attracts the attention of applicants, simply follow this step-by-step guide.
1. Start from scratch or use a template
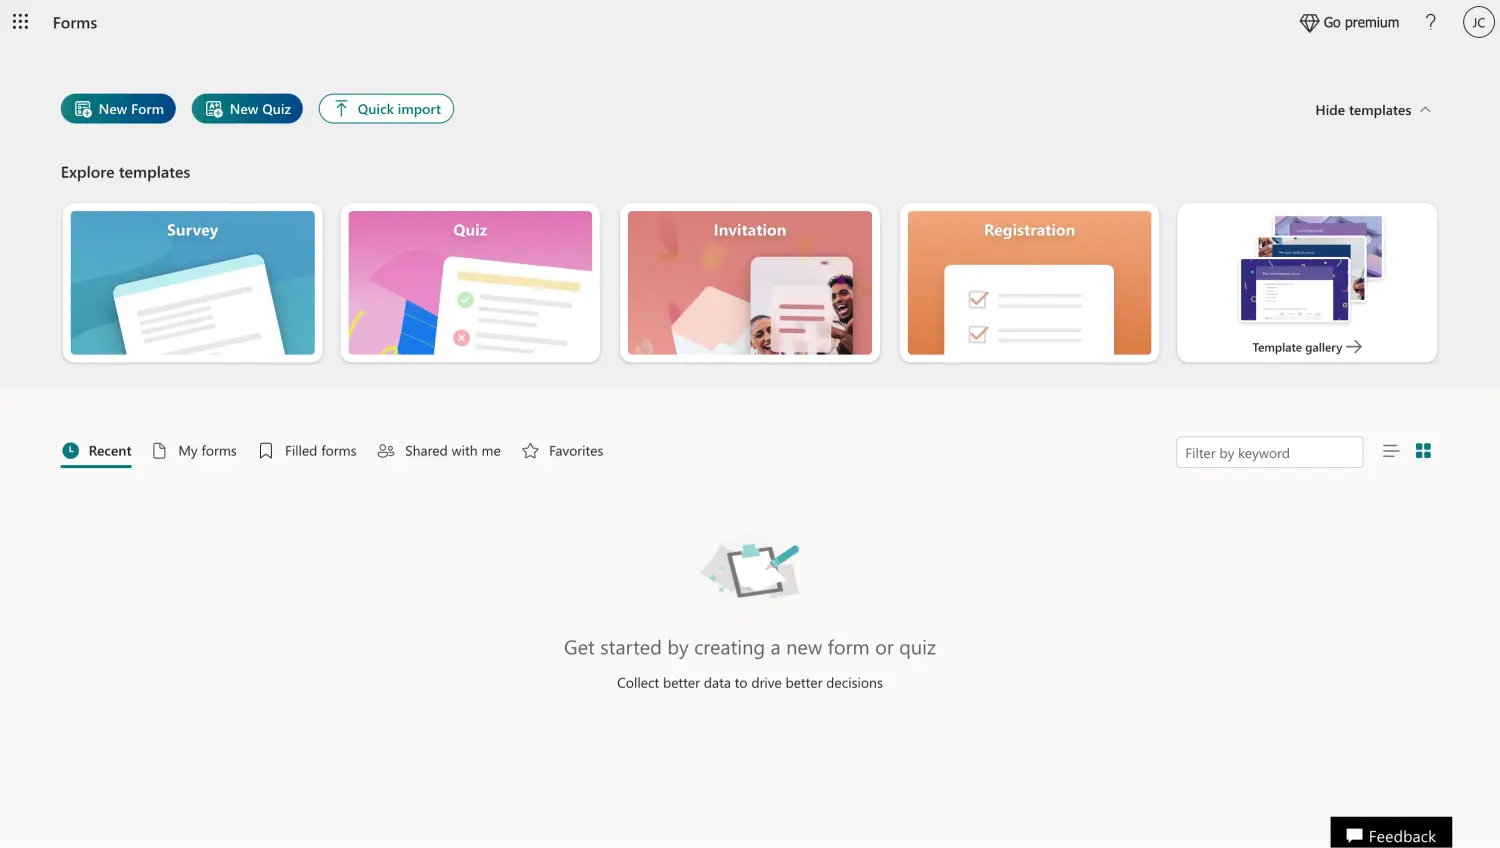
When starting with your base in Microsoft Forms, you have two options: Start with a blank document or use a template. Microsoft Forms does not offer a direct template for an application form.
Choose a template or start from scratch
You can simply click on New Form to start from scratch with a blank form or choose between template options by clicking on Template gallery.
2. Add your questions and answers
After choosing which base you would like to start with, it is time to start adding your questions and answer options. The types of questions, such as checkboxes, date pickers, and text boxes, will differ depending on which type of application form you will create.
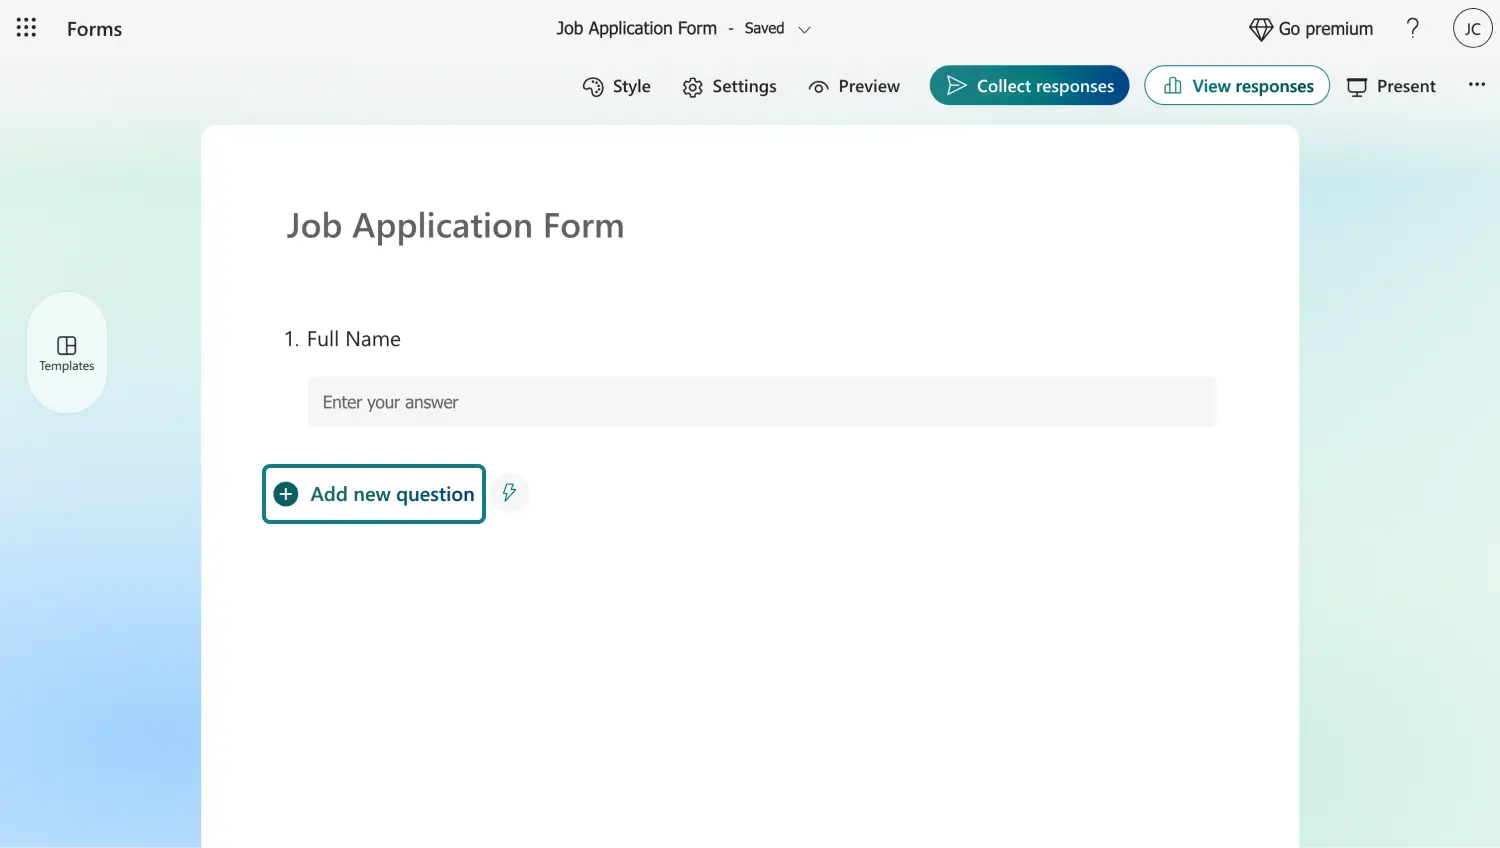
Add your own questions
Microsoft Forms offers different question types that meet your needs. To start, click on one of the question options and click on Add new question to add another.
3. Customize your application form
Once you are done with adding your questions and answer options, it is time to edit the visuals of your application form. Often overlooked, the visuals are just as crucial for grabbing the attention of the applicants.
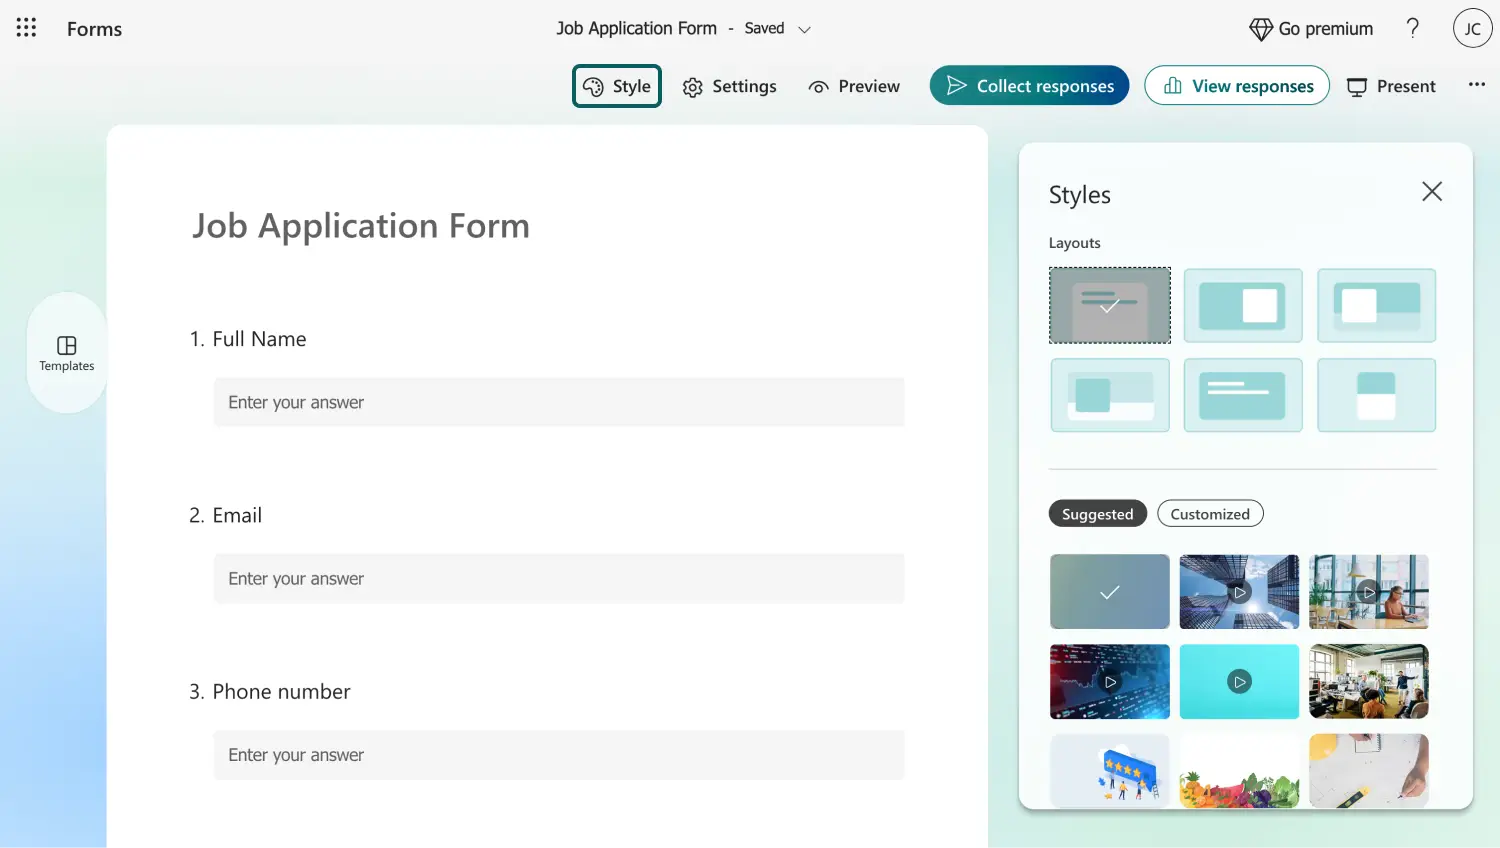
Customize the look of the application form
To start the customization process, simply click on the palette icon. The Styles menu allows you to choose between themes or add background music.
4. Change the settings and preview your form
After you share your form with potential applicants, we recommend clicking on the gear icon at the top right corner of the page and looking for any specific setting that should be toggled on or off.
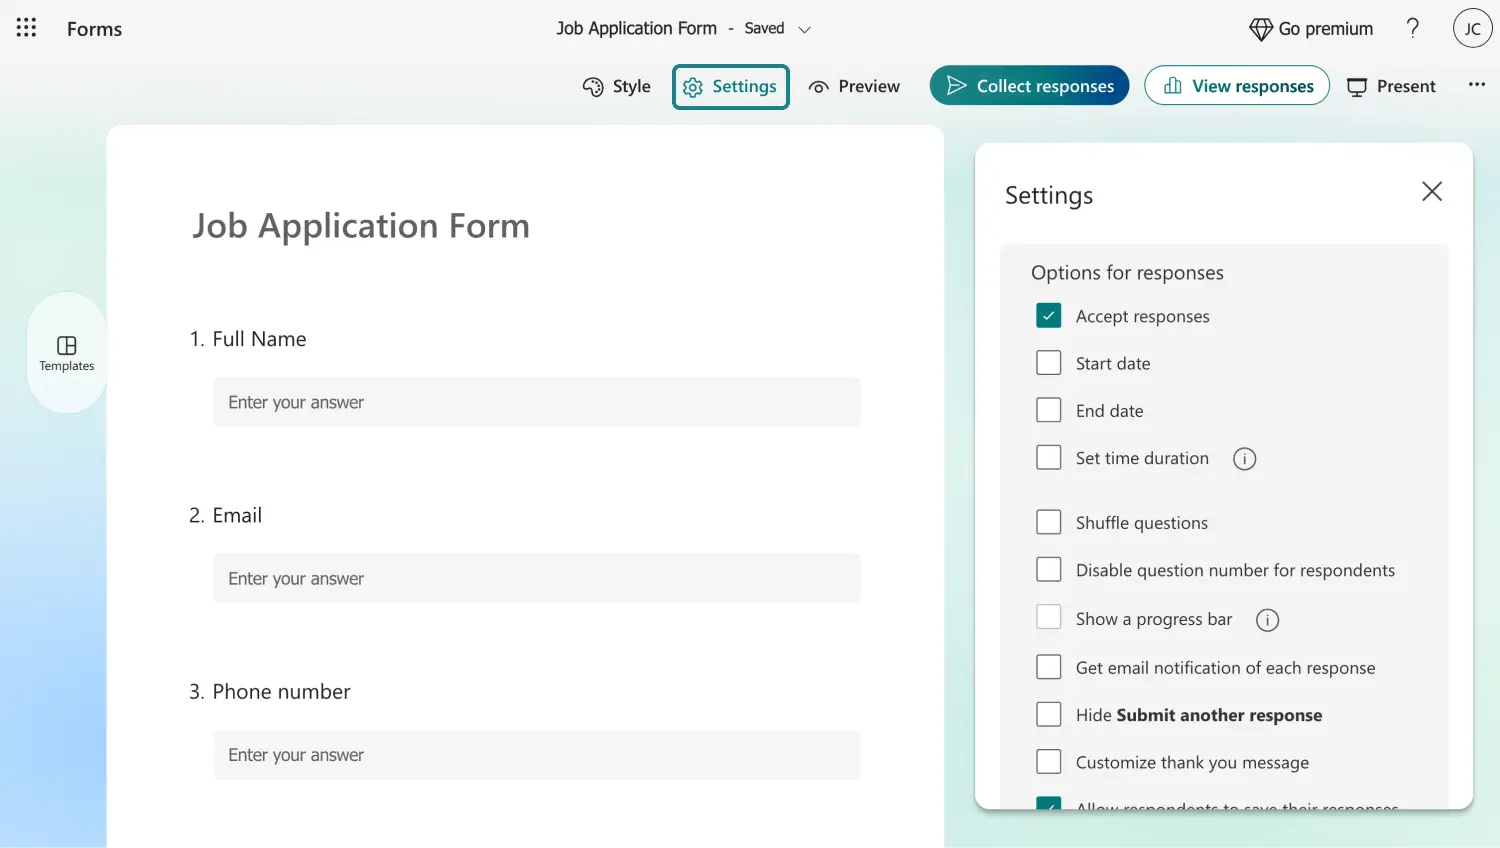
Customize the settings
Afterward, click on Preview next to the gear icon. This action allows you to see how your form looks on a computer or a mobile device.
5. Collect responses and view analytics
Once you are finished creating your form, simply head to the Collect responses section and share it. This section also allows you to change small settings in your sharing process.
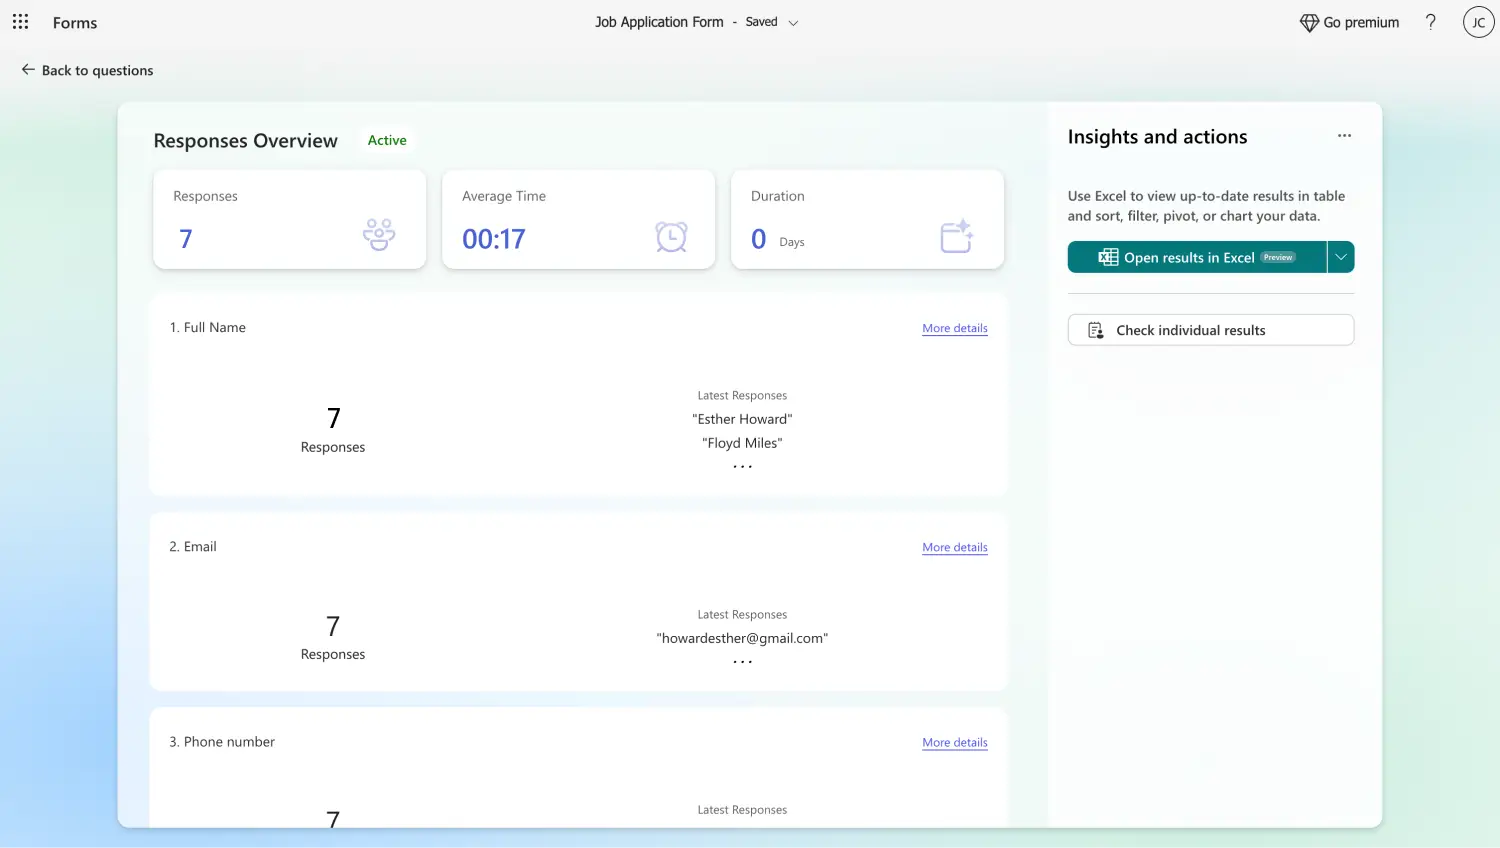
Check the responses
After your form is out in the world, you can head to the Responses section to see the details about the participation process.
You have a better option: forms.app
If you want to unlock the full potential of creating an online application form, we recommend experimenting with the advanced features of forms.app. It has features that can help you get the best visuals or create a form with just a sentence or forms.app offers the best experience possible for both you and your applicants.
1. Choose a template, start from scratch, or use forms.app AI
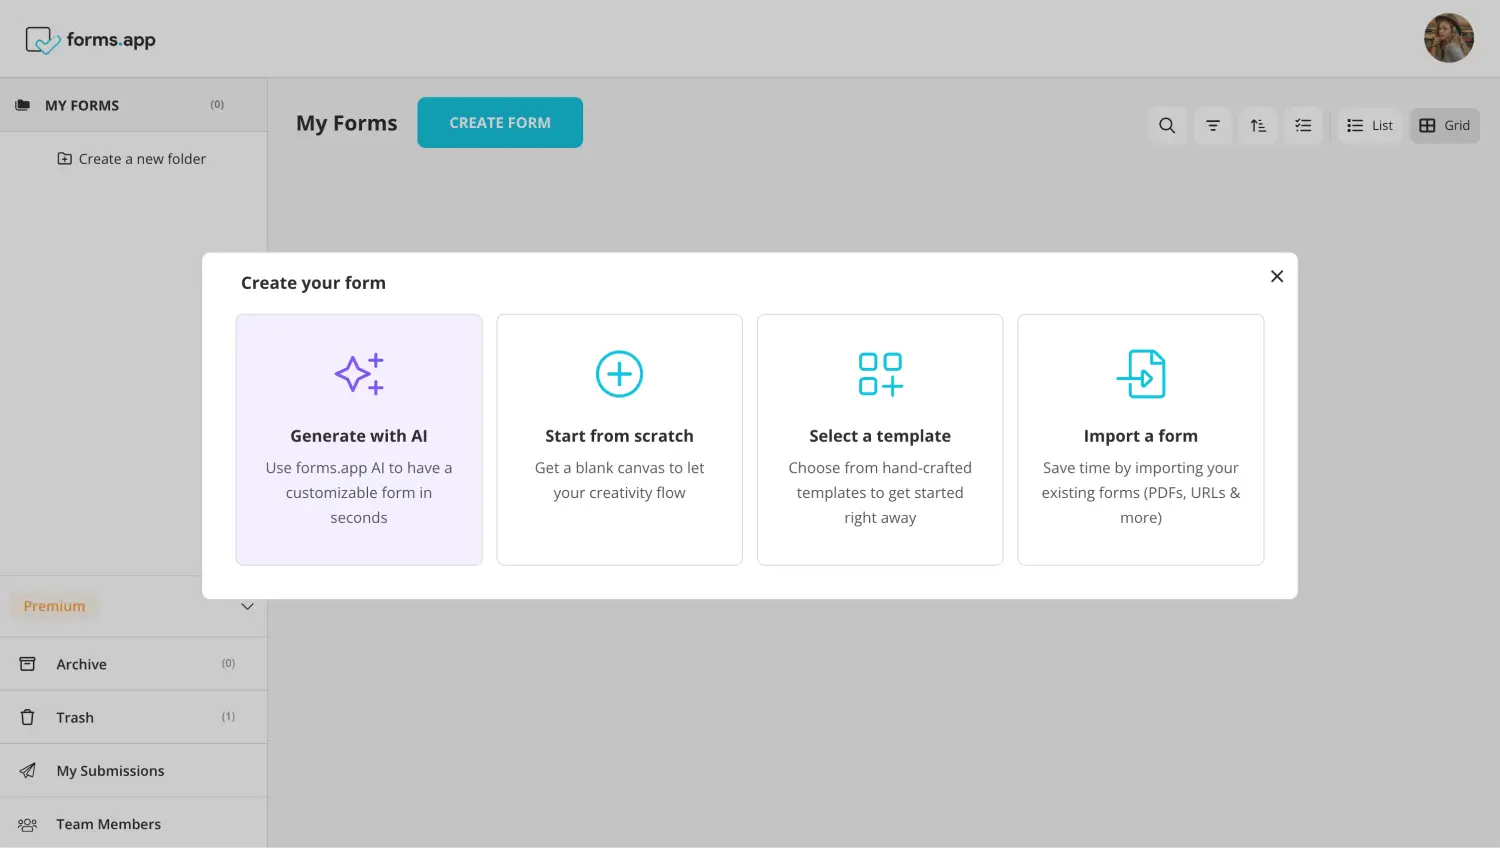
Choose a beginning option
When choosing the base of your form with forms.app, you can start from scratch with a blank form, choose between our various application form templates, or use forms.app AI. Our revolutionary AI can help you create a personalized form with just the type of a sentence.
2. Edit the questions or add your own
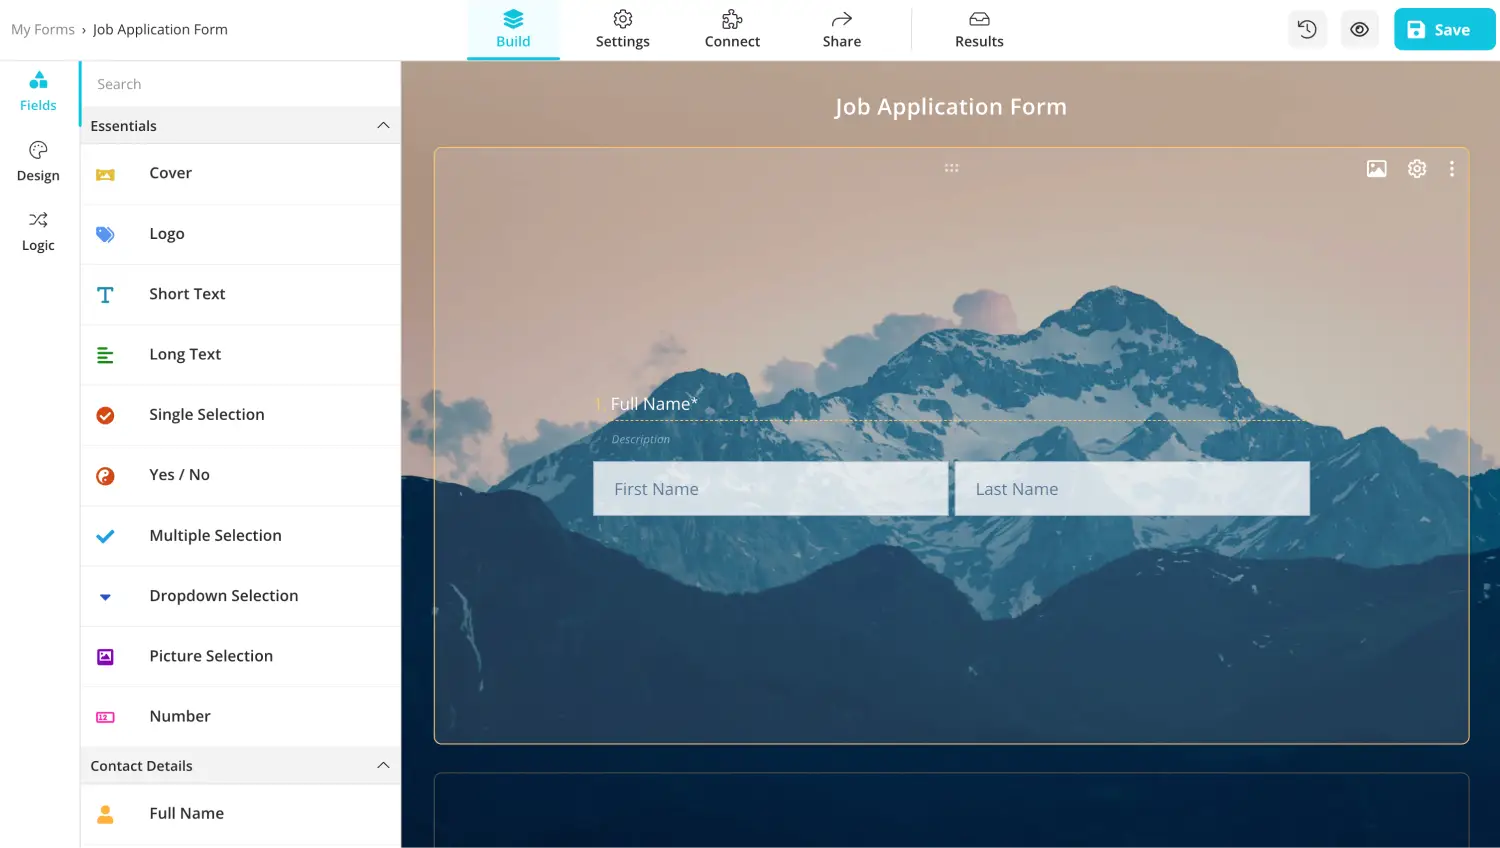
Choose a beginning option
Once you choose which base you want to start with, you can add or edit your questions and answer options. You can add your questions to the Fields tab within the Build section. To edit your questions, simply click on the questions and make the necessary changes.
💡 You can also use forms.app AI to edit questions. Click the colorful icon next to your question title to rephrase or rewrite your question using forms.app AI.
3. Use dedicated fields
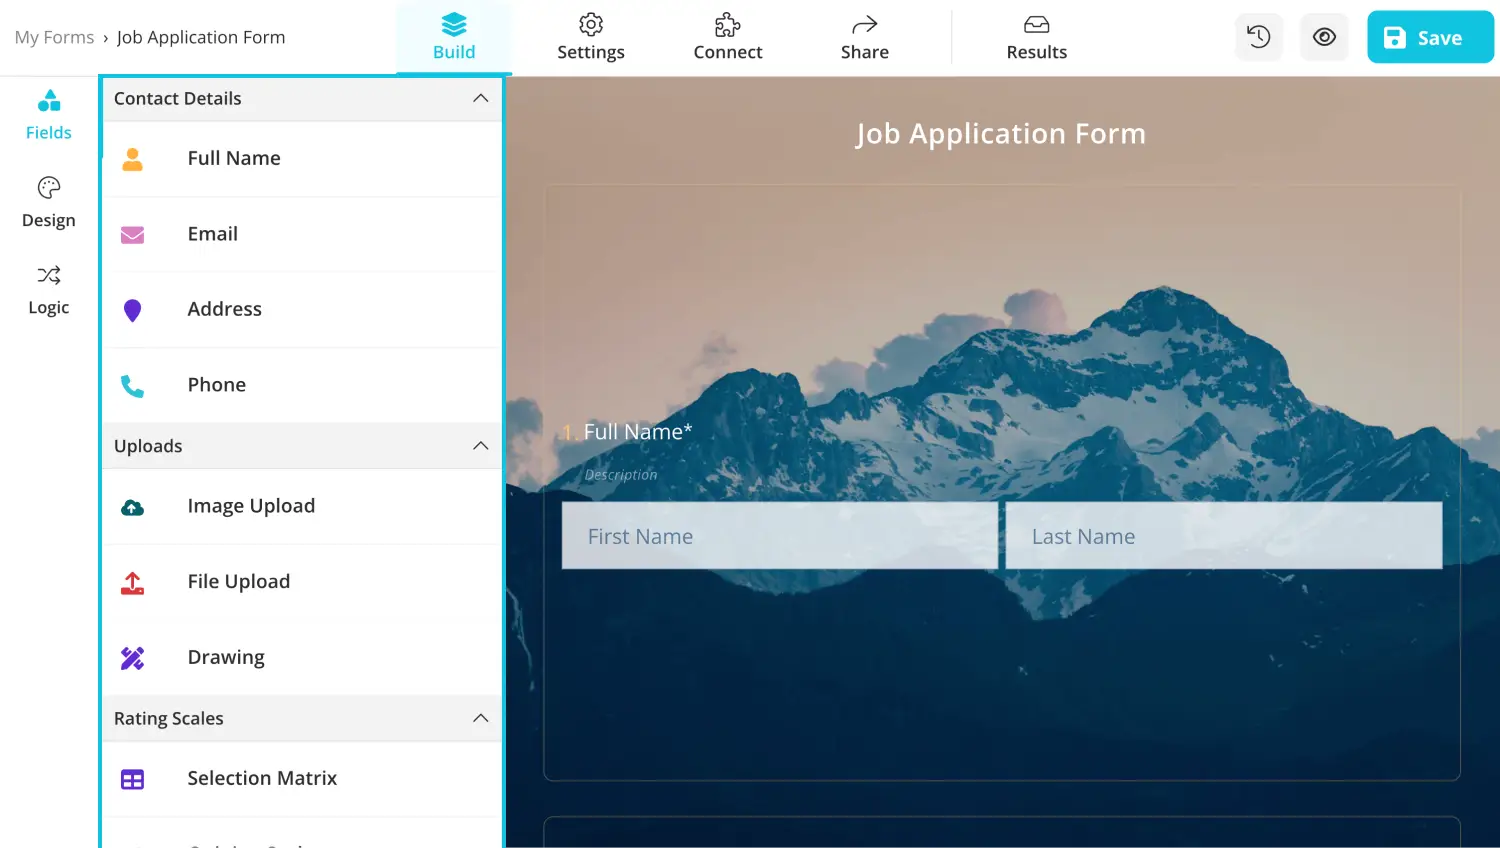
Add various fields
If you would like to stand out from the competition and grab the applicant's attention with unique question types, we recommend using dedicated fields. To add dedicated fields, such as drop-down lists, selection matrix, or terms and conditions fields, simply head to the Fields tab within the Build section.
💡 forms.app also allows you to add your business’s logo to the form. Head to the Fields tab and choose the Logo field.
4. Customize the form design
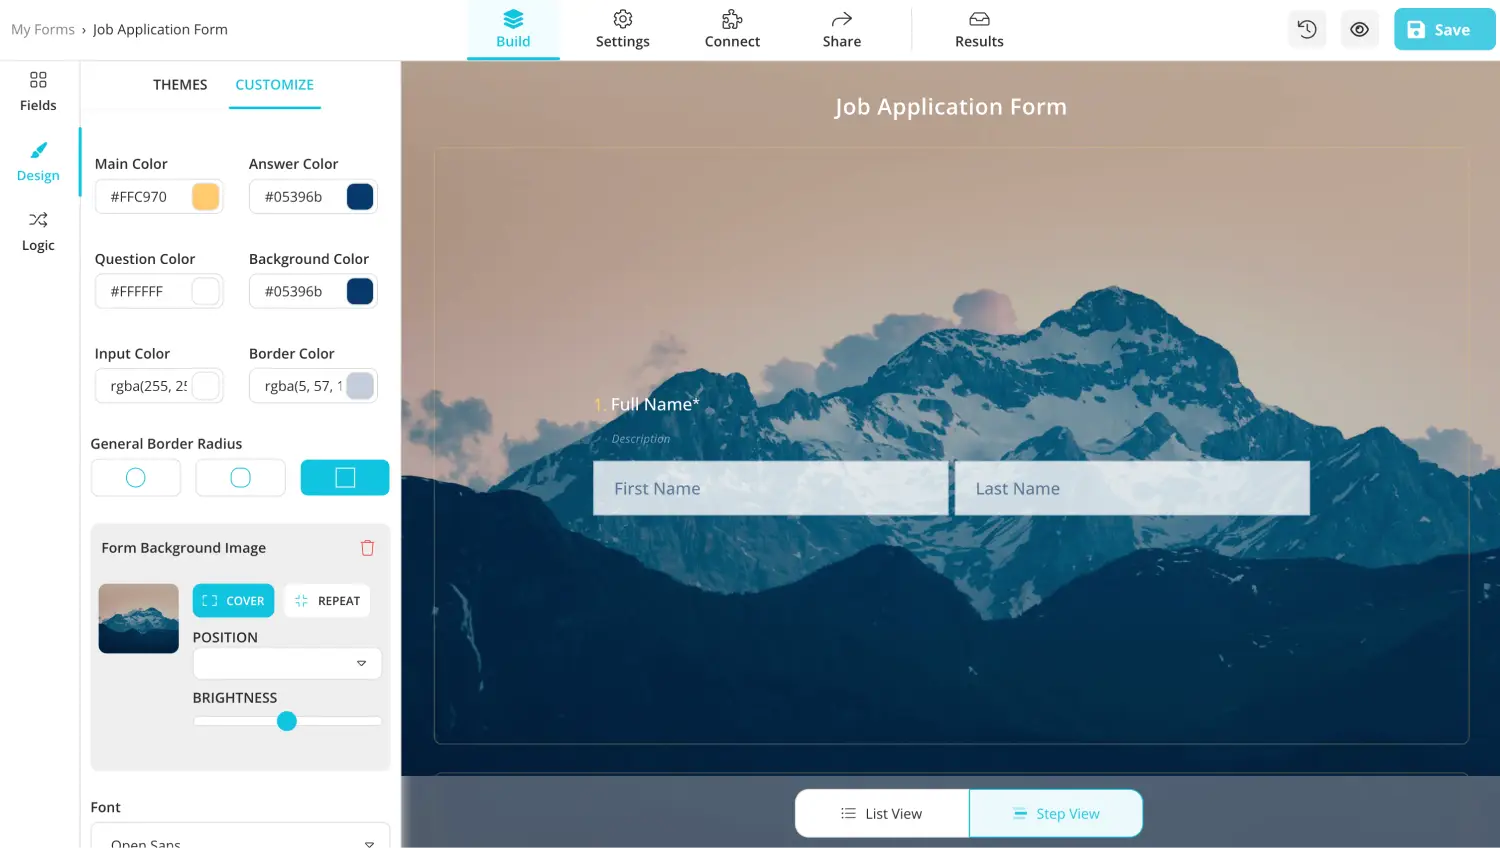
Style your form
Once you have added all of the questions and answer options, it is time to customize the visuals of your form. To customize the visuals of the form, go to the Design tab within the Build section and make any visual changes to the theme. You can change other things, such as font colors, border radiuses, and many other settings, from the Customize section within the Design tab.
5. Preview your application form and connect to databases
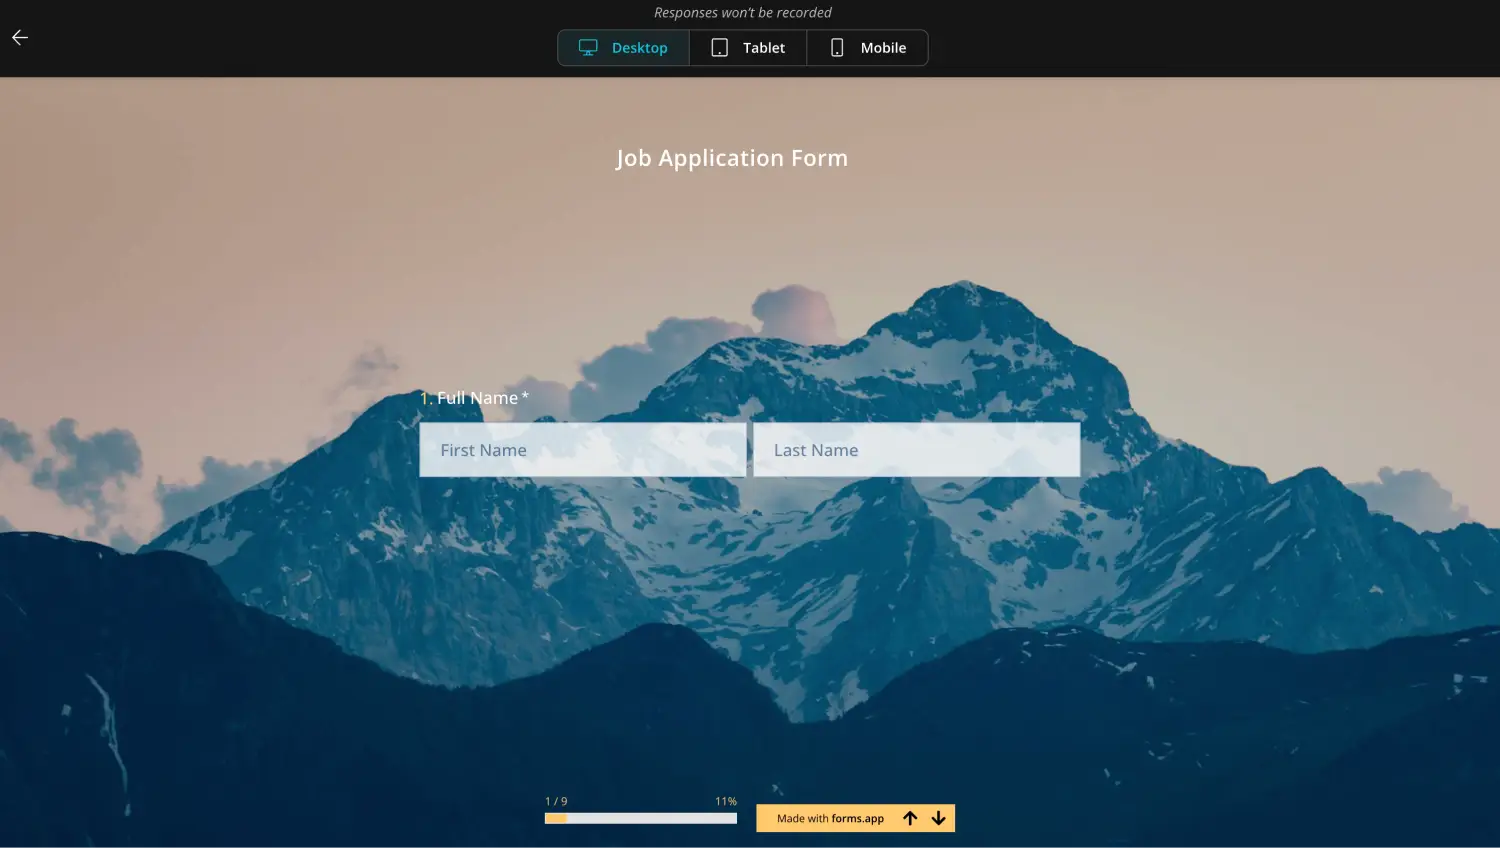
Check your form
Before you are done creating your application form from forms.app, we recommend hitting the preview button next to the Done button as an eye icon. The preview action allows you to see your form from an applicant’s perspective and make any necessary changes.
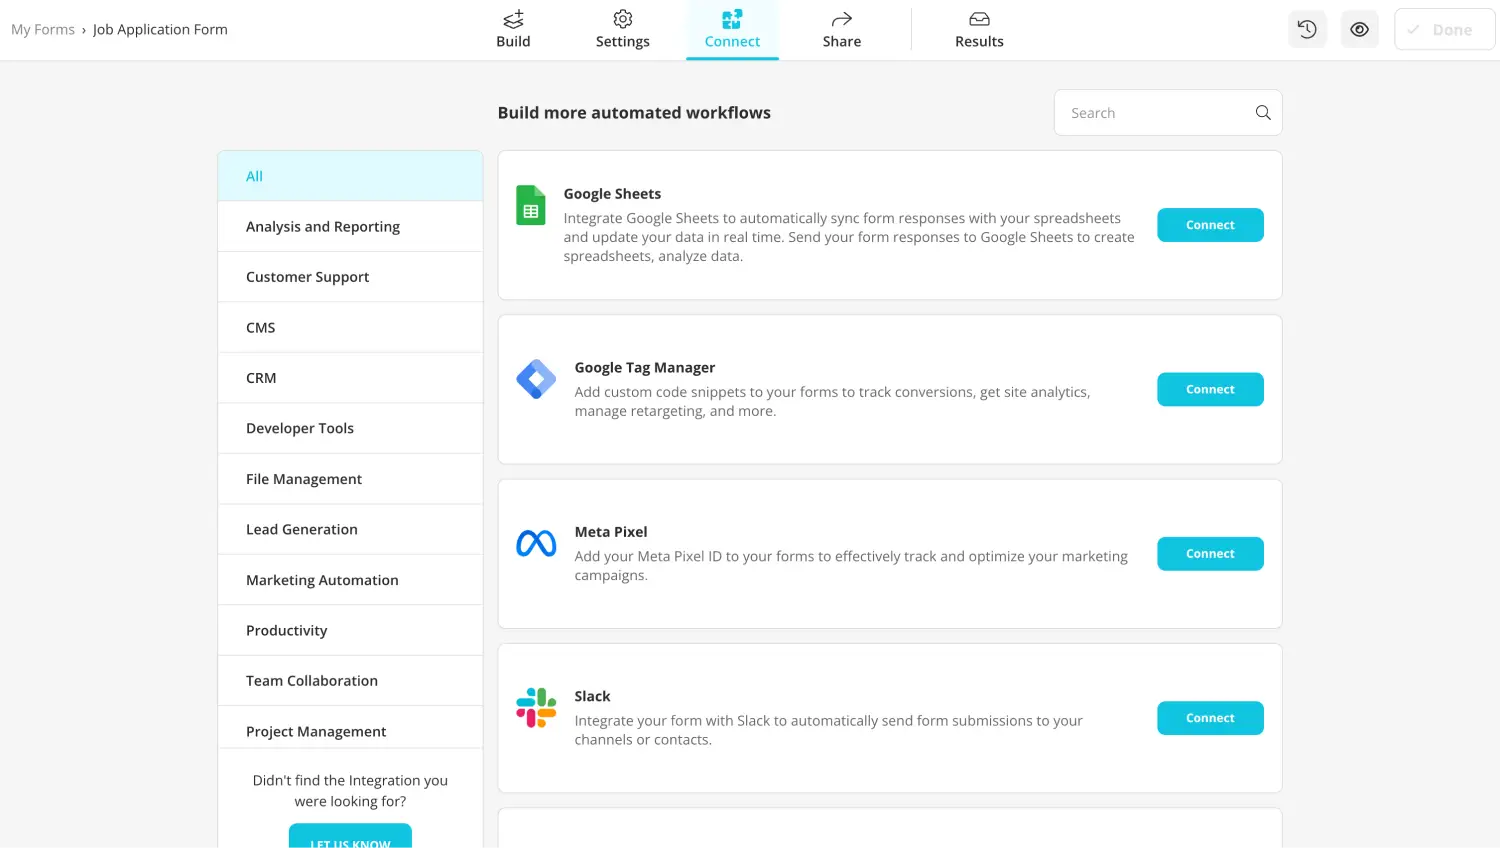
Integrate your form with other apps
Before you share your form, head to the Connect section to link your form to any database your business uses, such as Google Sheets or Microsoft 365. The data you collect is updated automatically within your workflow. You can also choose to link your form to multiple workflows.
6. Customize the email notifications
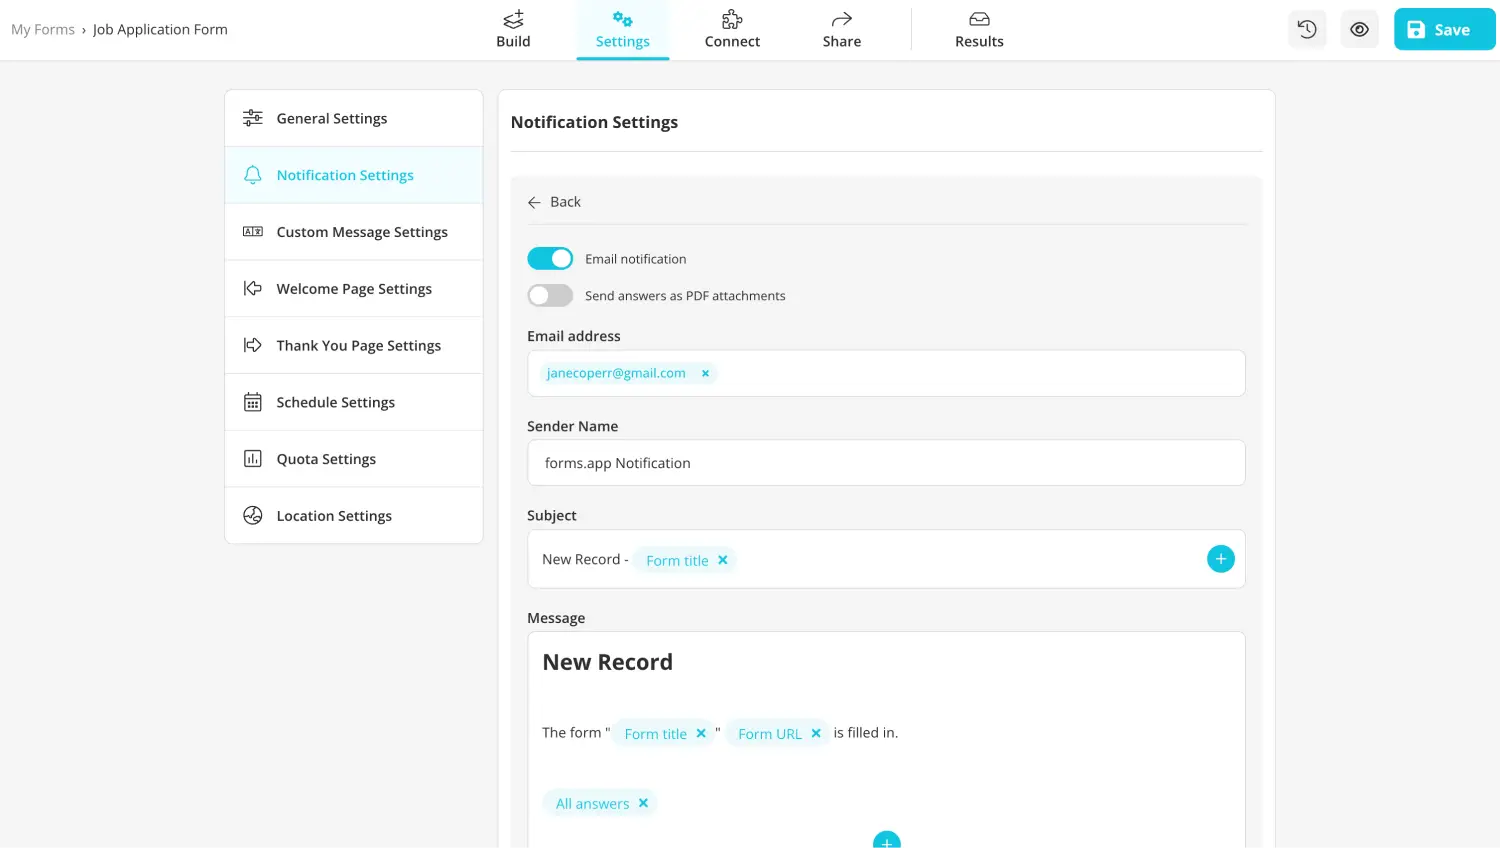
Customize the email settings
If you want to be notified when you receive a new application, you can turn on your email notifications. Especially useful for job application or volunteering application forms where you need to fill a position as quickly as possible, this feature notifies you by emailing you whenever a new application form is filled.
7. Share your application form and analyze the results
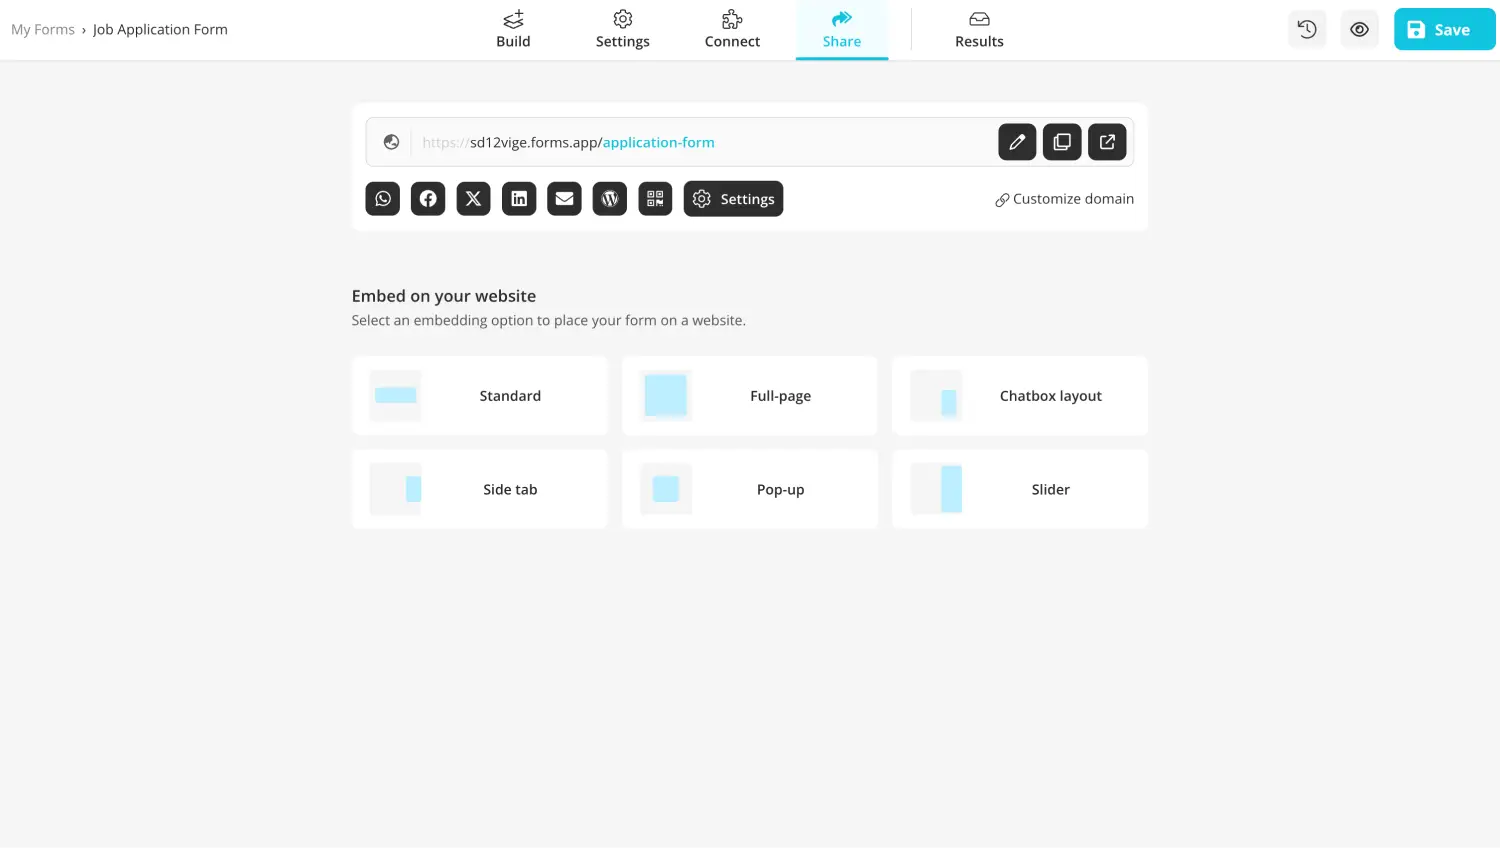
Share your application form
Once you finish everything, simply head to the Share section to make the last sharing changes and share your form with potential applicants. Once you share your form and start collecting responses, you can see detailed statistics about your form by heading to the Results section.
8 Expert tips for application forms
Whether you are creating an application form in Google Forms, Microsoft Forms, or forms.app, several expert tips are necessary to create the best possible application form. These 8 expert tips ensure that your applicants have the best experience possible and that the data you collect is as plentiful and high-quality as possible.
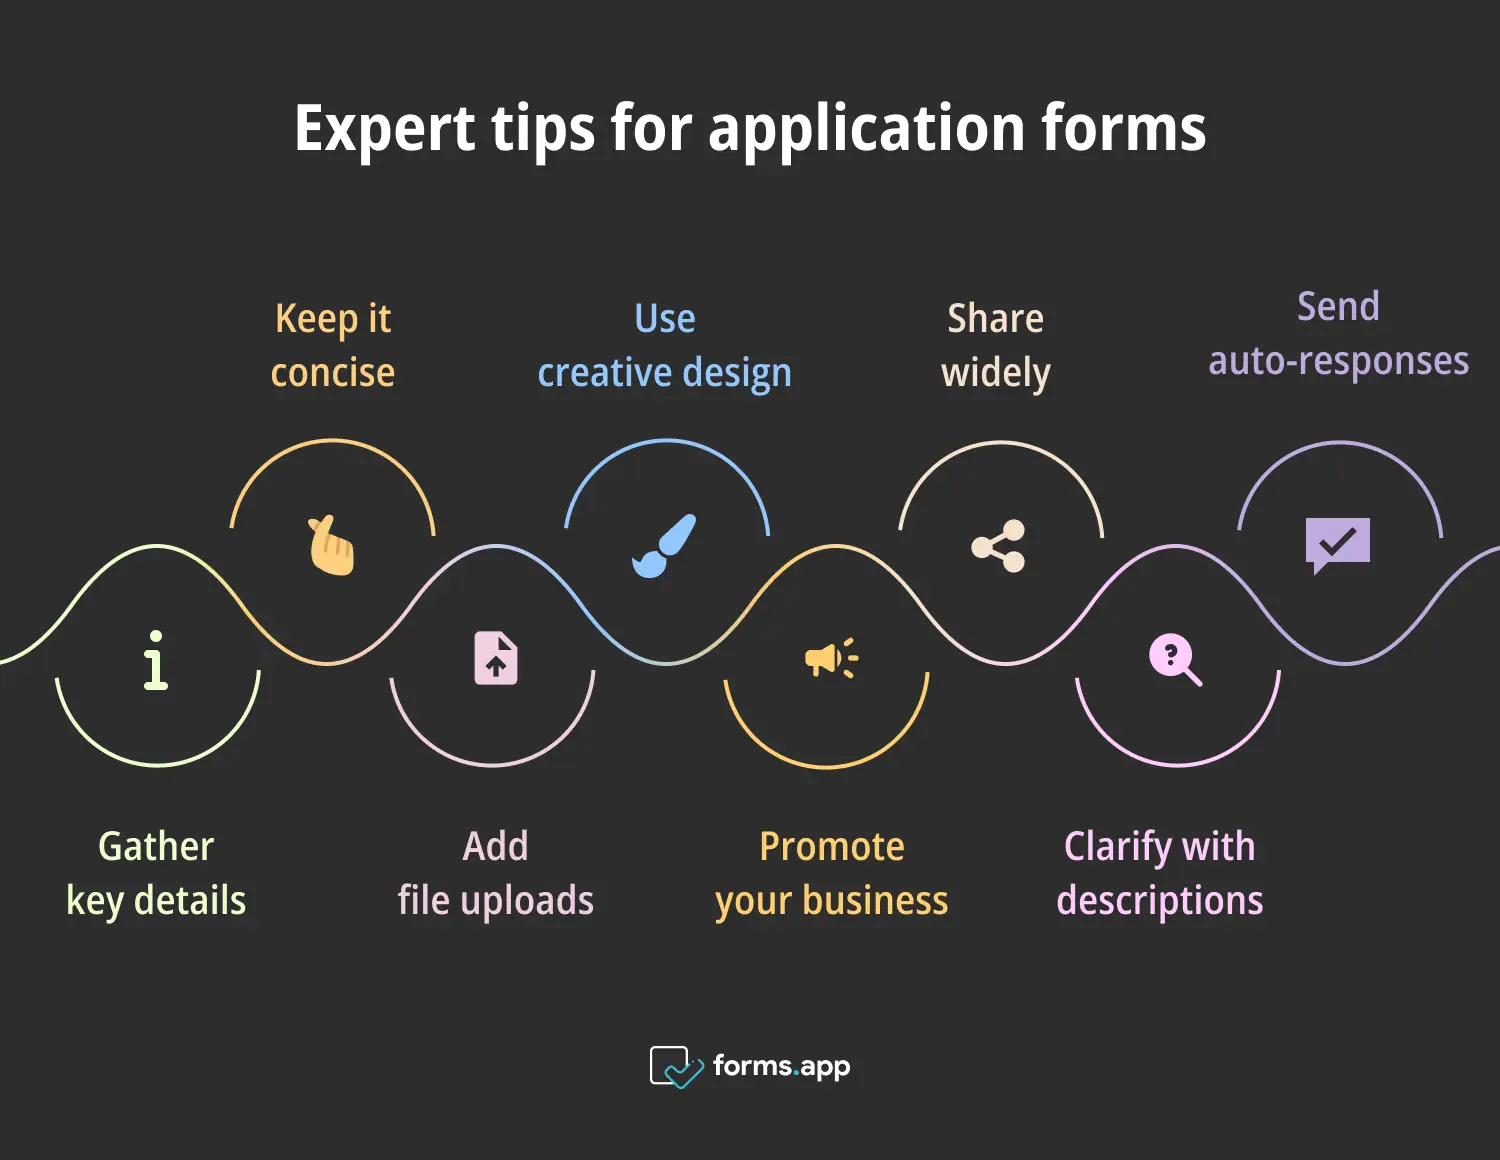
Pro tips for application forms
🎯 Gather vital information: If necessary, gather vital information such as email addresses, names, phone numbers, and social media accounts.
🎯 Try to keep it short: Try to keep the form short and to the point to avoid any mistakes out of boredom.
🎯 Include a file upload section: If you require additional information, such as a CV, include a file upload section.
🎯 Go for a creative form design: Pay attention to the form's design and choose visuals that align with the overall theme of the questions.
🎯 Advertise your business within the form: Advertise the contact information, social media accounts, and the website of your business within the form.
🎯 Share your form, use social media: Make sure to share your form on every channel possible, especially social media platforms, to gather as many applications as possible.
🎯 Add descriptions to avoid misunderstandings: If you have to ask complicated questions to the applicant, make sure to add question descriptions to avoid misunderstandings.
🎯 Send an automated response e-mail: Send an automated response e-mail to show your professionalism to the applicants.
Wrapping it up
In summary, it is essential to know which tools you should use to add a crucial form, such as an application form, to your inventory. If you would like to have a professional experience with the necessary features, head to Microsoft Forms to create your application form.
In this article, we have examined why it is important to share your application form, a step-by-step process for creating an application form in Microsoft Forms, 10 must-ask questions in your application form, a better way to create your forms with the advanced features of forms.app, and 8 expert tips for the best application form possible. Armed with this new knowledge, create your application form for your business.
Yakup is a content writer at forms.app. He is also a skilled translator. His hobbies include reading, learning about different languages, and different branches of sports. Yakup's expertise lies in translation, NoCode tools, and Google Forms.
