Endings
Adding an ending to your form is a great way to let your audience know you have received their submission and thank them for their time. Here, you will learn how to add one or multiple endings to your forms. 🖼️
How can you add an ending to your form?
Adding an ending is quite easy and takes only a few clicks.
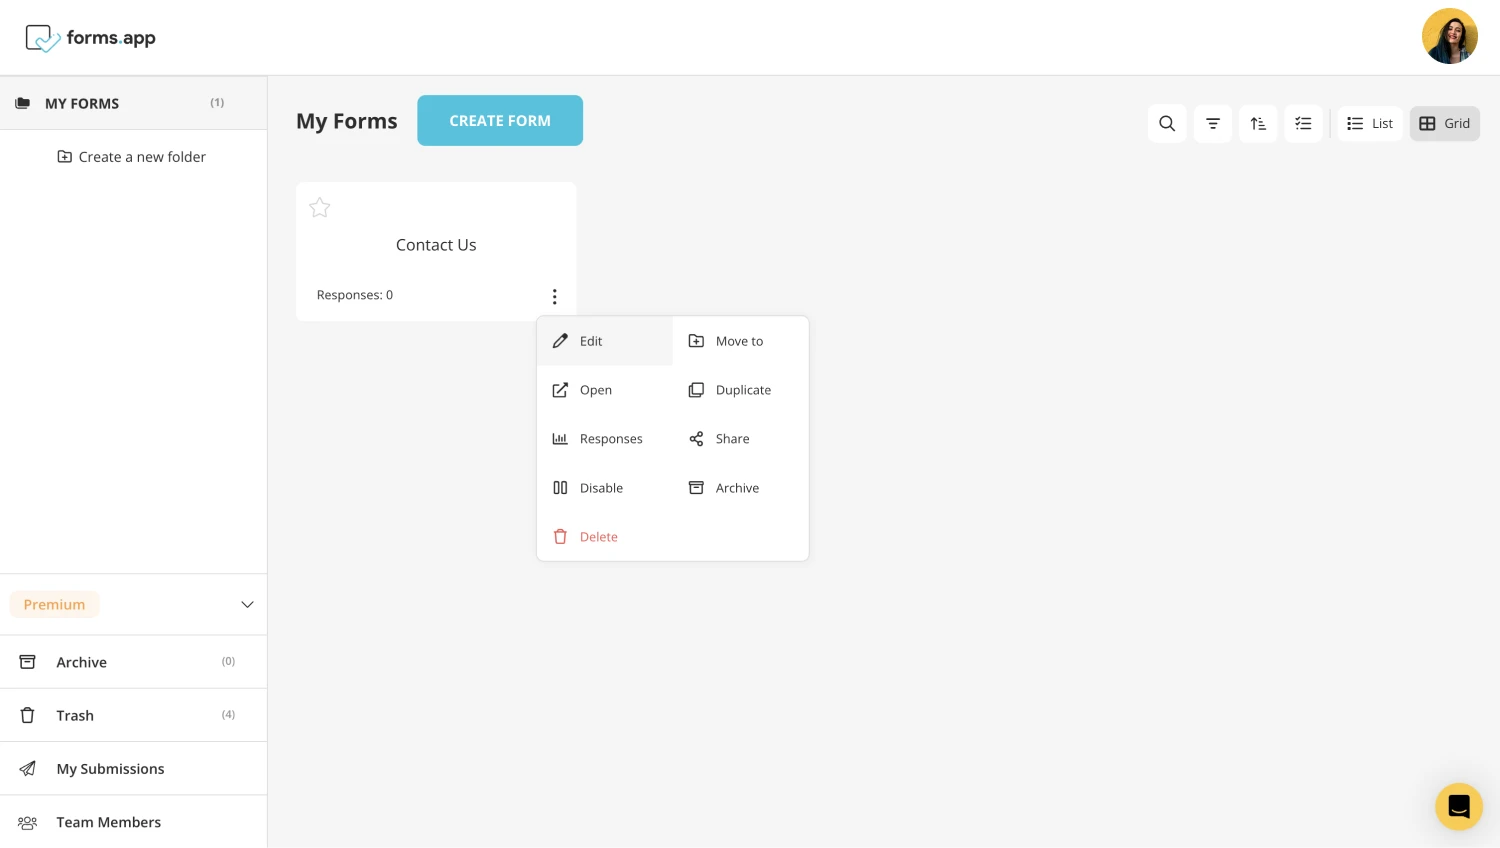
1. Open your form:
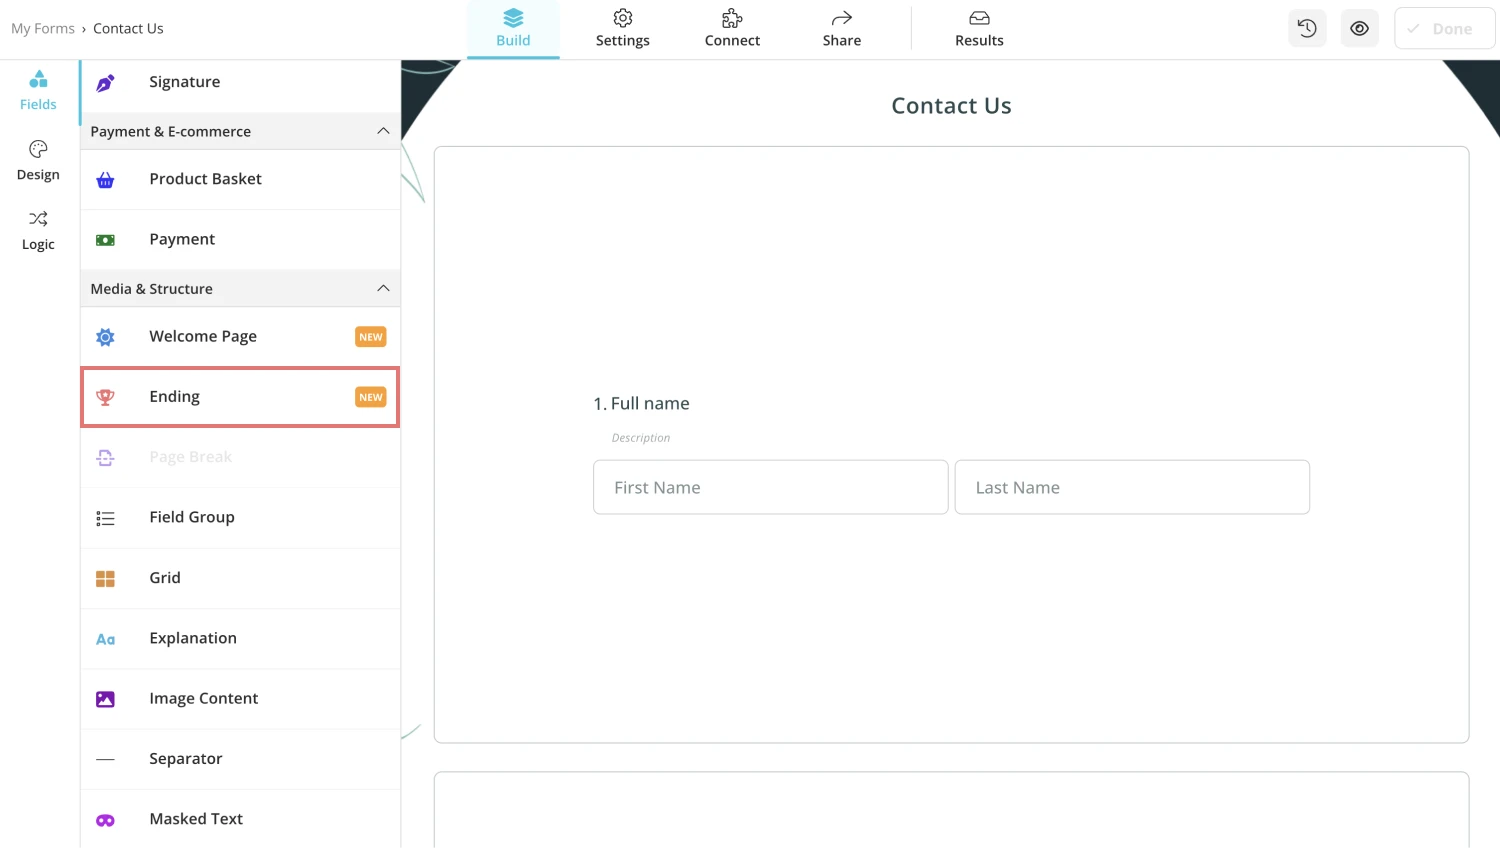
2. Scroll down to find “ending” on the left menu:
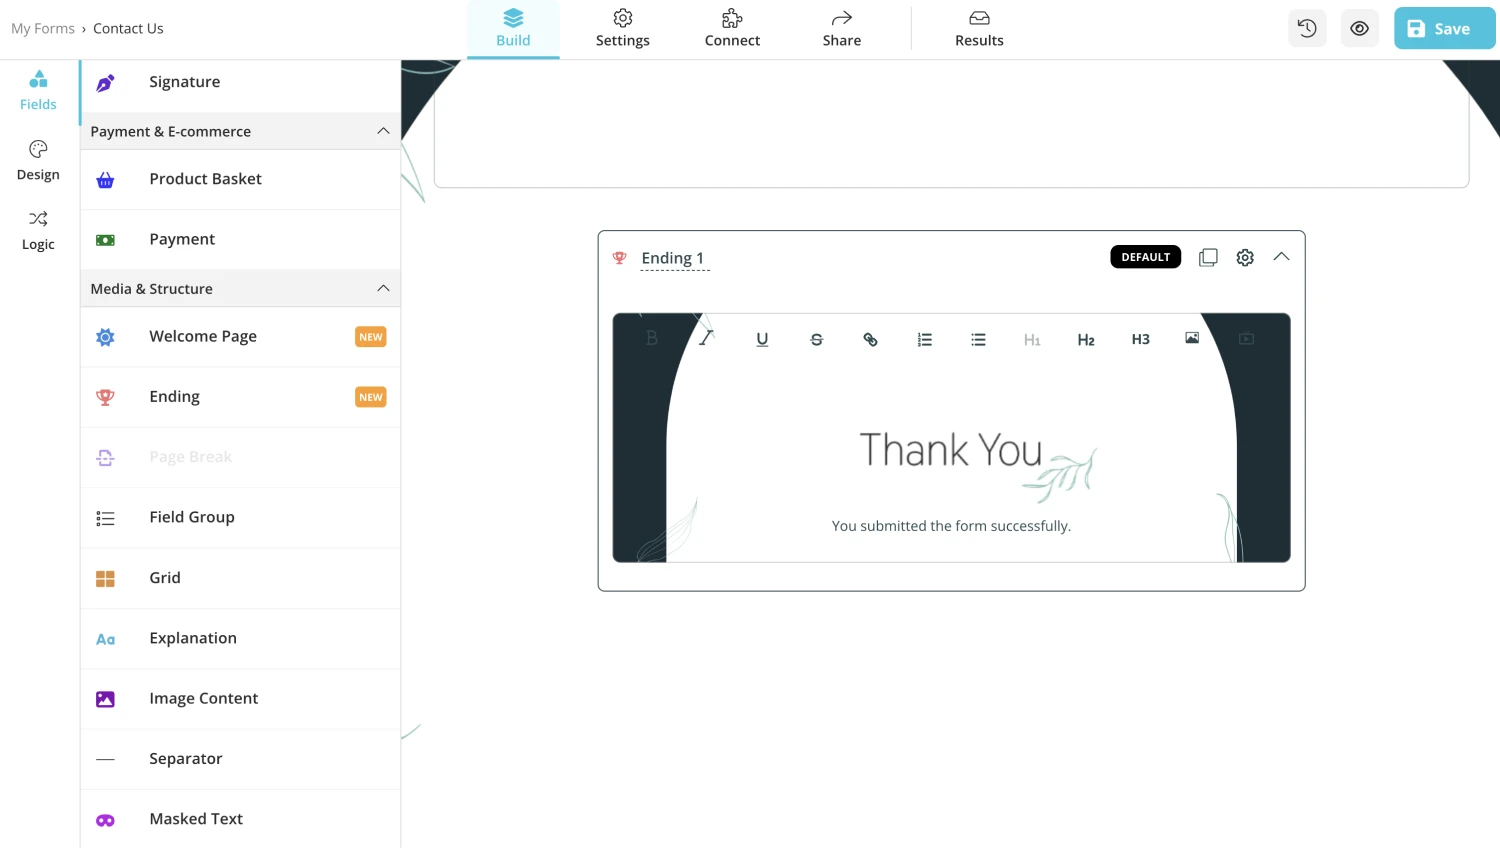
3. Add it to your form and customize it:
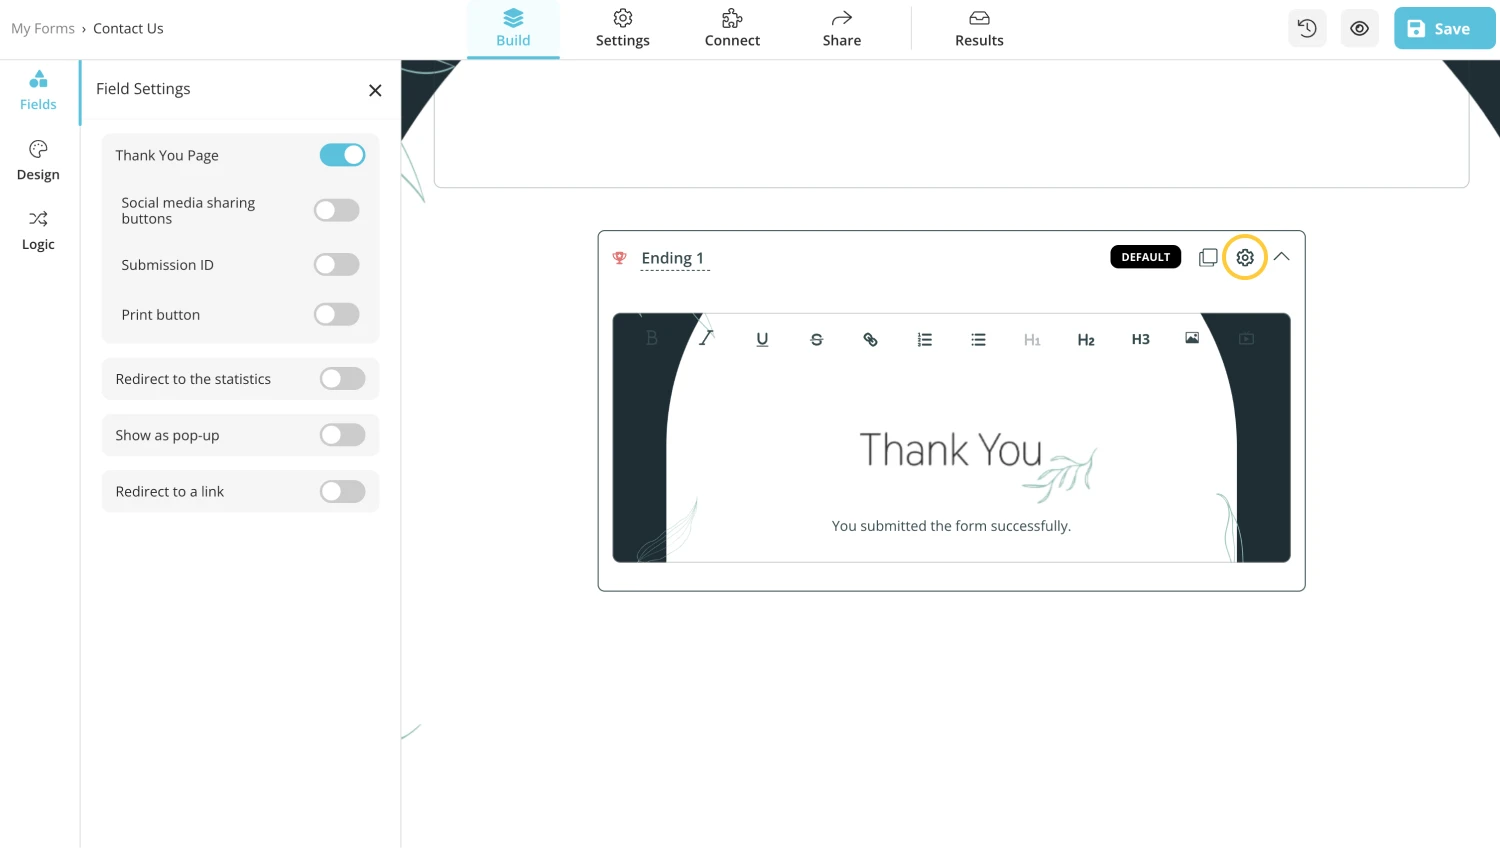
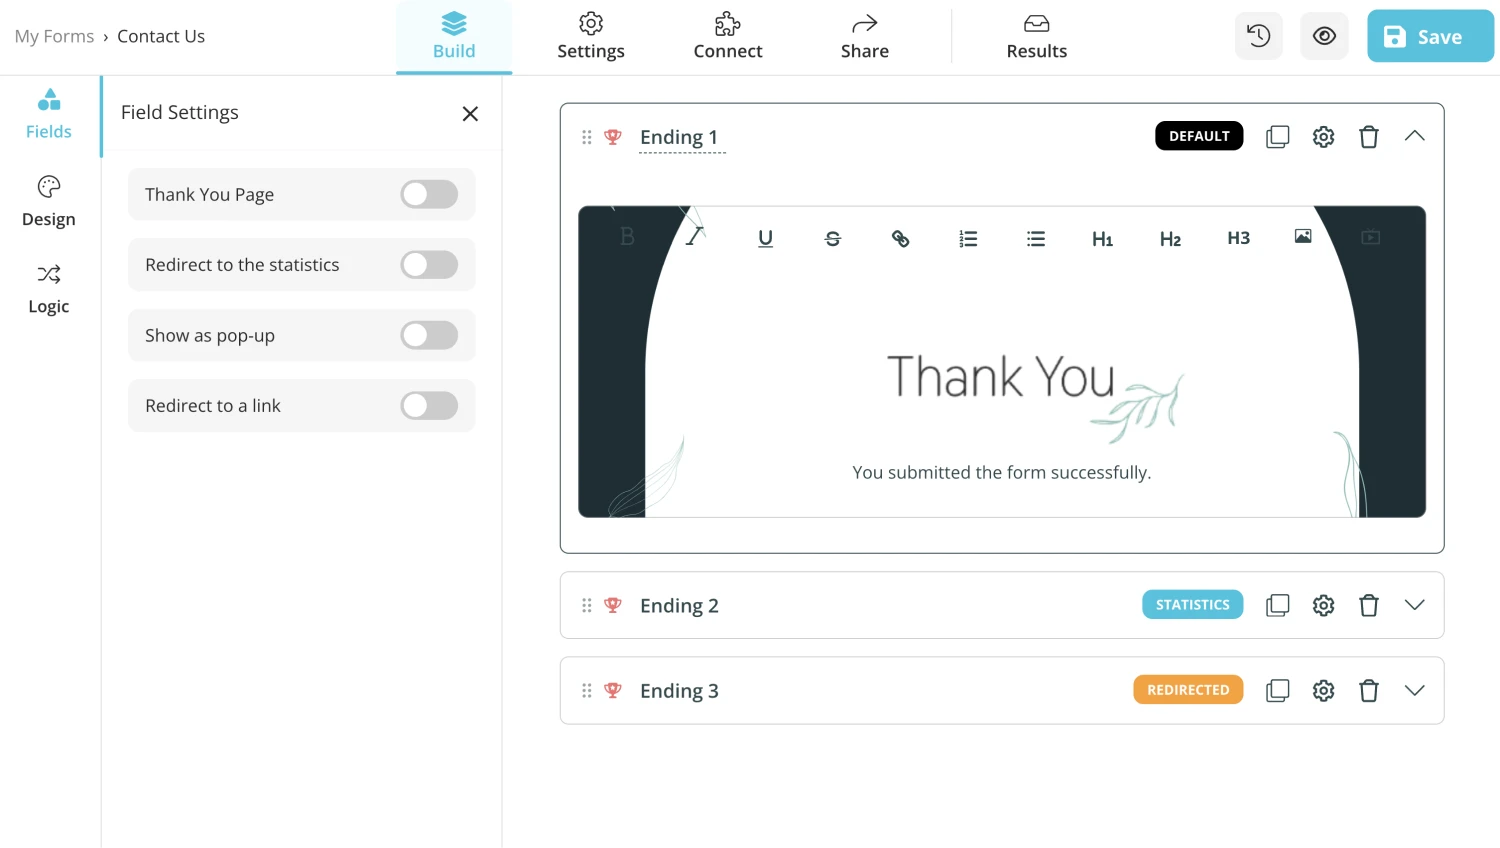
4. Click on the gear icon to access additional ending page settings:
Best ways to add and use endings
The last impression does last. On forms.app, you have many options for your endings– many scenarios, one might say. Here’s some options to tune your endings for your audience:
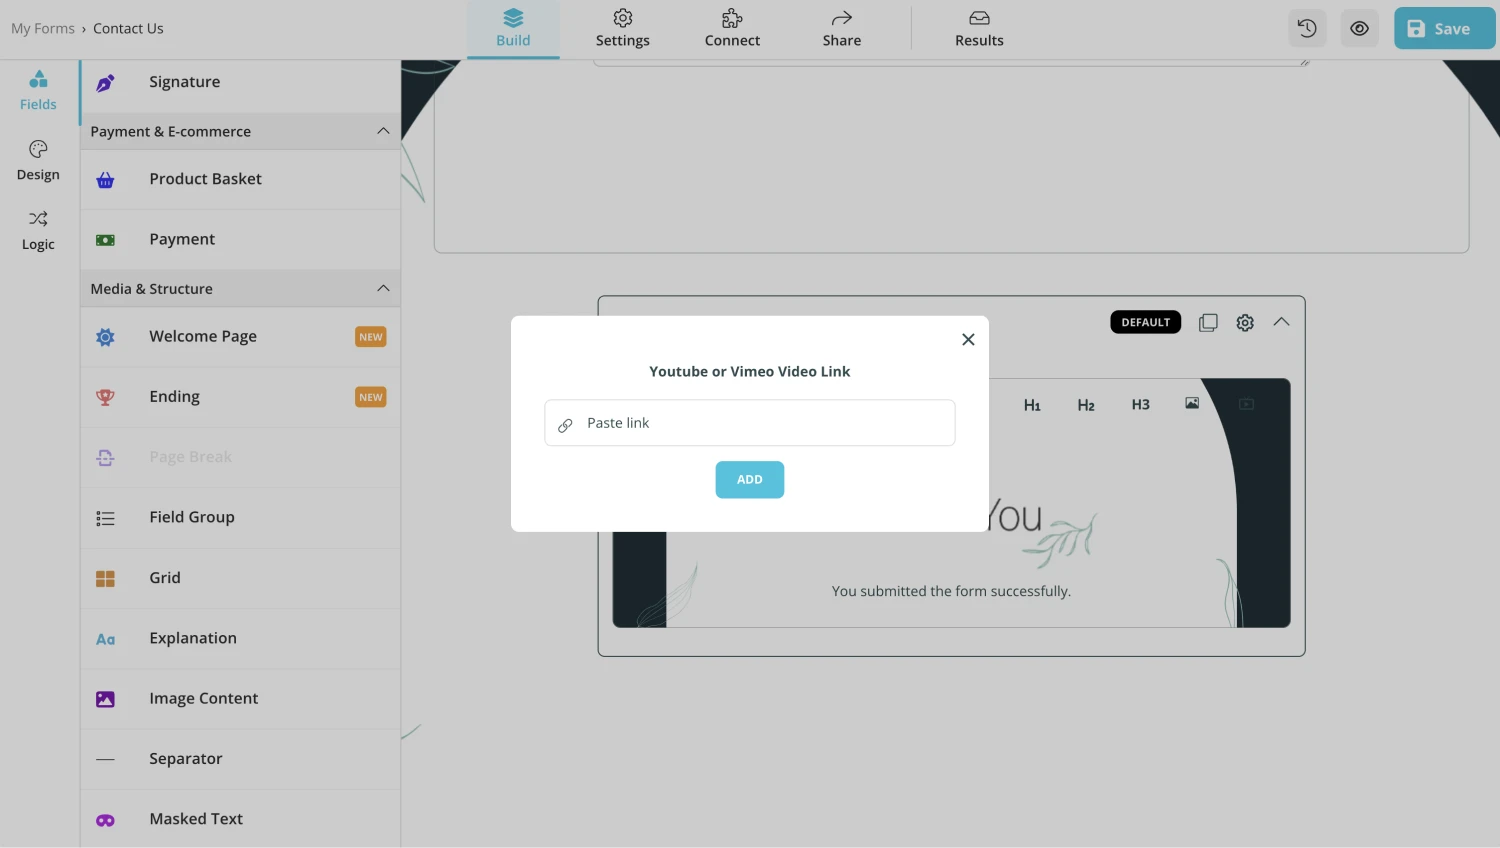
1. Level up your ending message with images
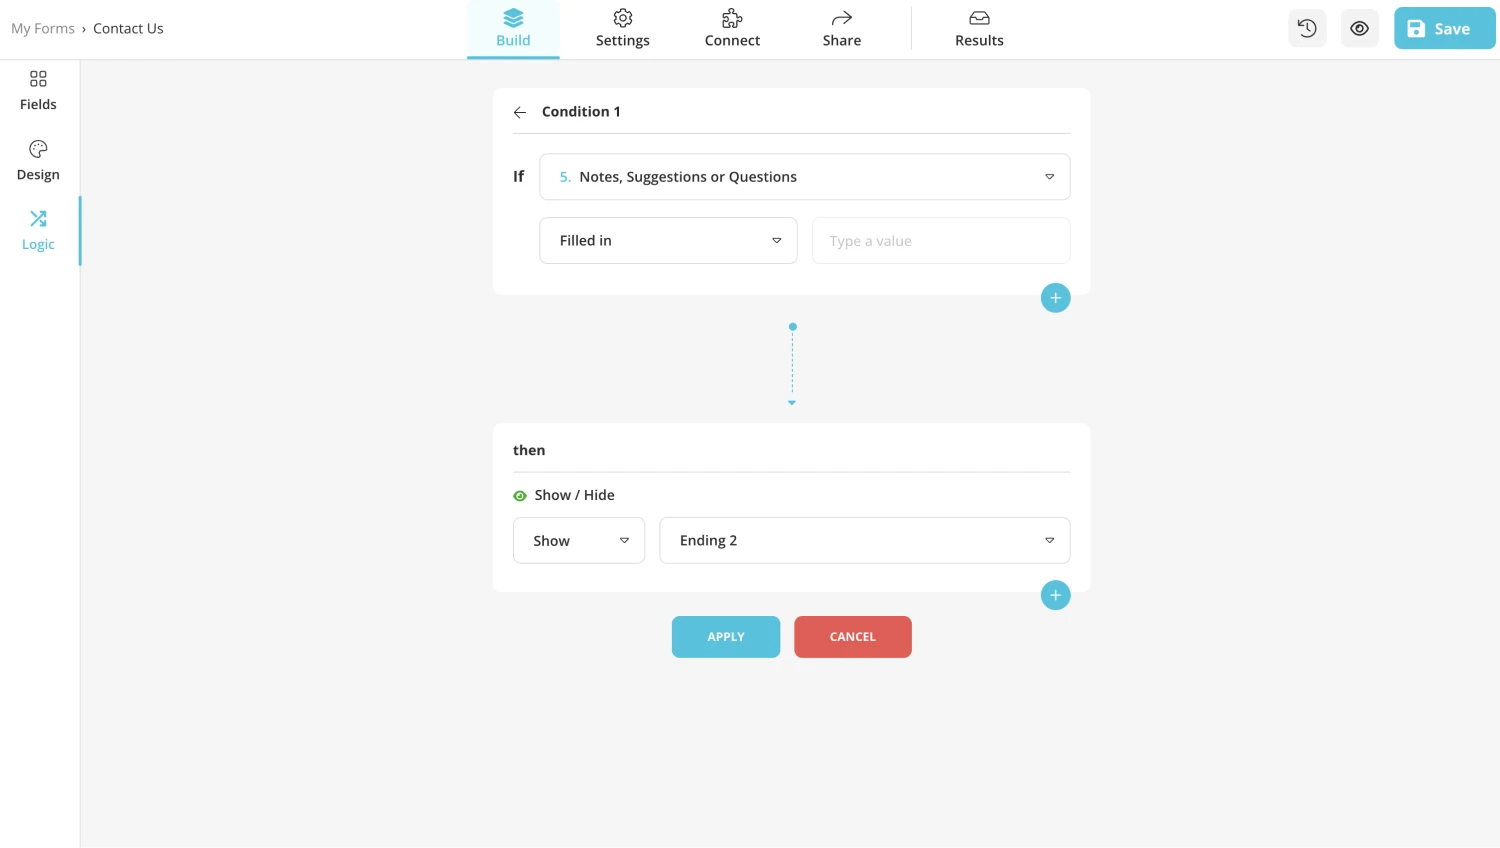
2. Add multiple endings and wire them to specific conditions
You can add more than one ending and choose which one to show based on your respondent’s answers.
If you have multiple endings and the respondent’s answers don’t fulfill any of the conditions, the default ending will be shown after submission.
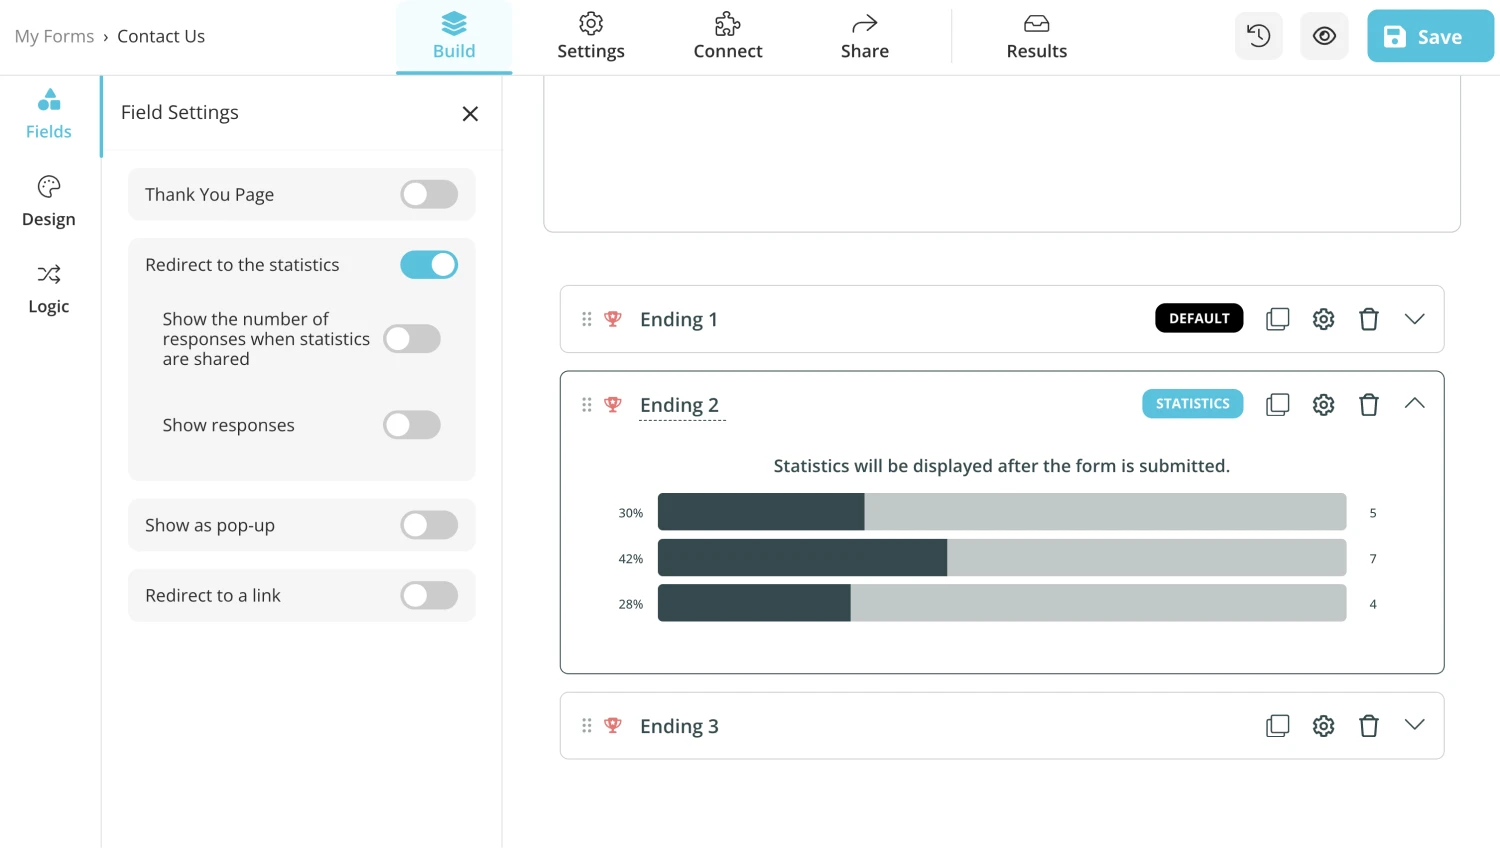
3. Show form, survey or quiz statistics on submission.
If your form statistics are something you want to share with your audience, you can easily do so by toggling the statistics option under ending settings.
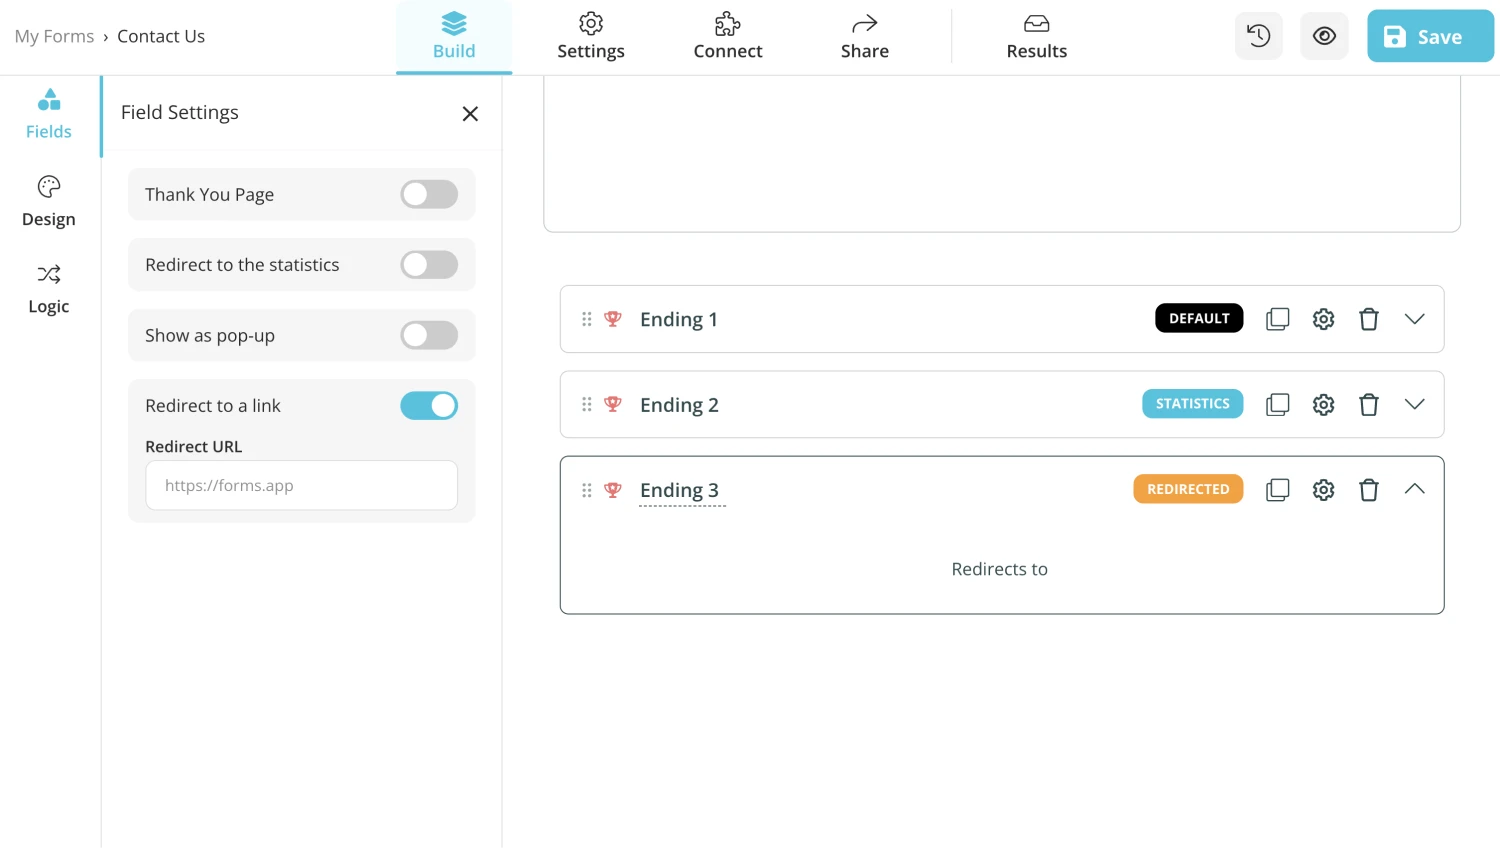
4. Redirect your respondents to an external URL after they submit their responses.
You may want to take your respondents to a specific page after they complete your form. This is possible with forms.app’s basic or higher plans. Just open the ending settings and enter the URL to which you want to redirect your audience.
5. Allow respondents to print answers, share your form link or see their submission ID.
If you like to show a unique submission ID for your respondents allow them to print their answers, or show them sharing buttons, you can easily do so by toggling the options as shown below.
Now you are all set with your Thank you page. Don’t forget to add a Welcome page to your forms, too!