How to easily collect payments on Google Forms

Online forms have been a game-changer across different industries. They are useful for various purposes, such as submitting requests, raising objections, conducting evaluations, and more. The best thing about these forms is that they save a lot of time by making the data collection process faster. But have you ever wondered if there's anything else these forms can do besides gathering data?
You can use a form also as a payment collector and manage your payments using a form integrated with payment options. Well, one of the first platforms that come to mind for creating forms is Google Forms. This article will cover the steps on how to add a payment method to the form you created on Google Forms, some tips, and alternatives.
Can you collect payments with a Google Form?
If you are looking to collect payments on Google Forms, in this case, you will have to make some effort. You will see three different methods when you want to add a payment field in your Google Form. To receive payments via Google Forms, this is required to follow the prescribed methods as the platform currently does not offer its payment collection feature.
How to add payment method in Google Forms (3 methods)
You have three ways to collect payments through Google Forms: Redirecting to a website, peer-to-peer payments, and using add-ons. By taking a look at the Google Forms payment options below, you can choose the perfect payment solution for your business needs and integrate it seamlessly into your Google Form:
1 - Redirecting to a payment website
Receiving payments can sometimes be a hassle. But you can always provide your respondents with the payment link to complete the payment process on another website. It's an easy and convenient solution that can save you time and effort.
- First, go to the settings after creating your Google Form.
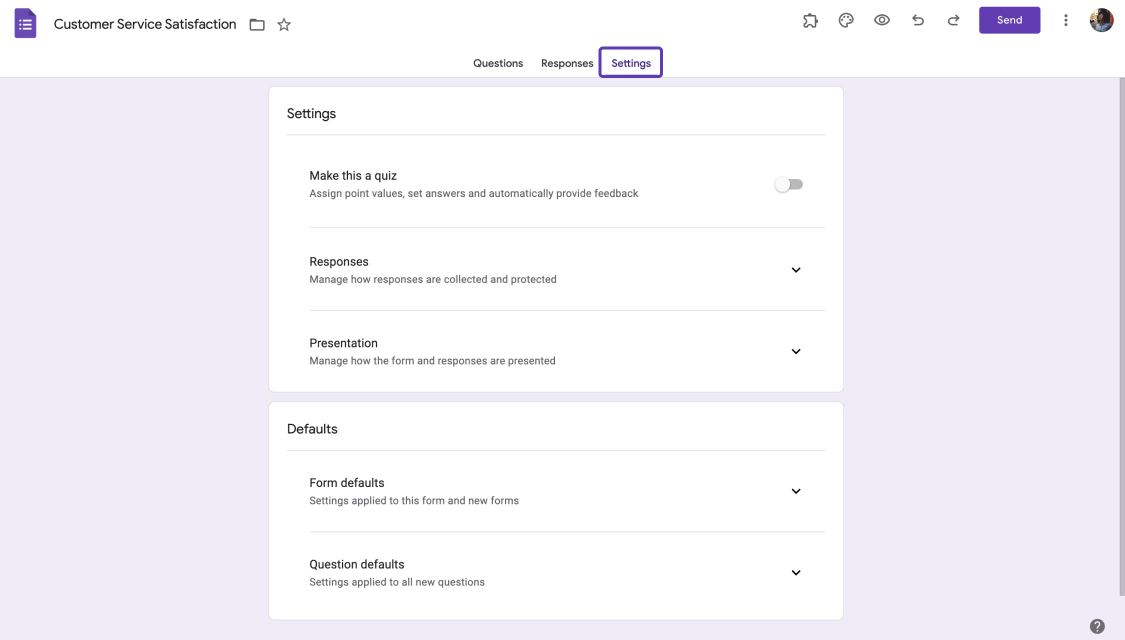
Go to settings on Google Forms
- Click on “Presentation” and then the edit button next to “Confirmation message”
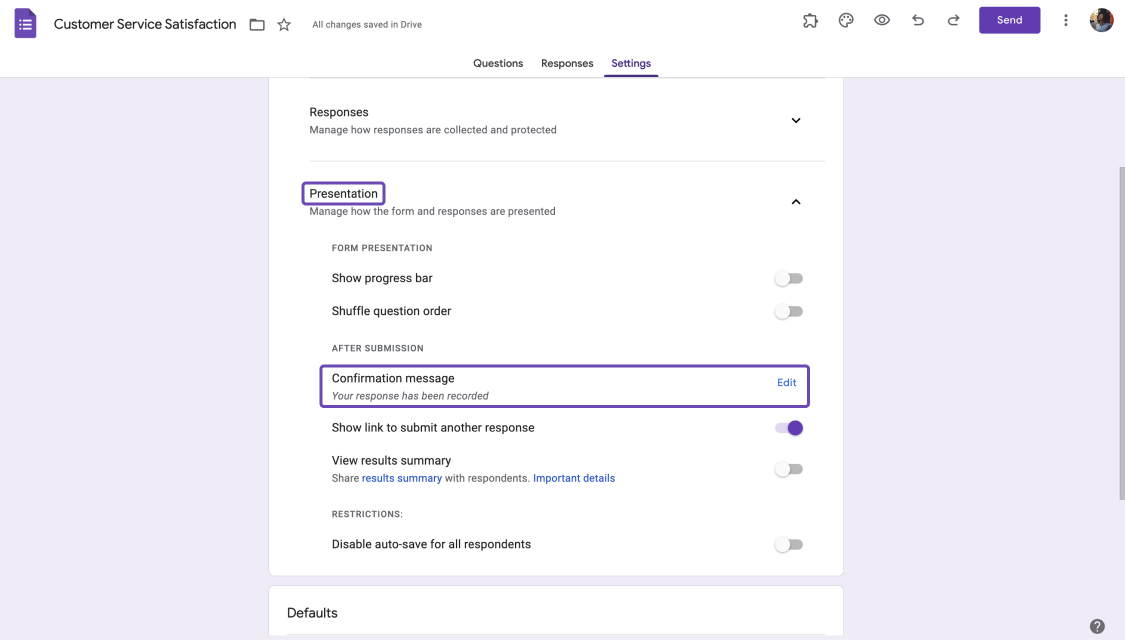
Open “Confirmation message”
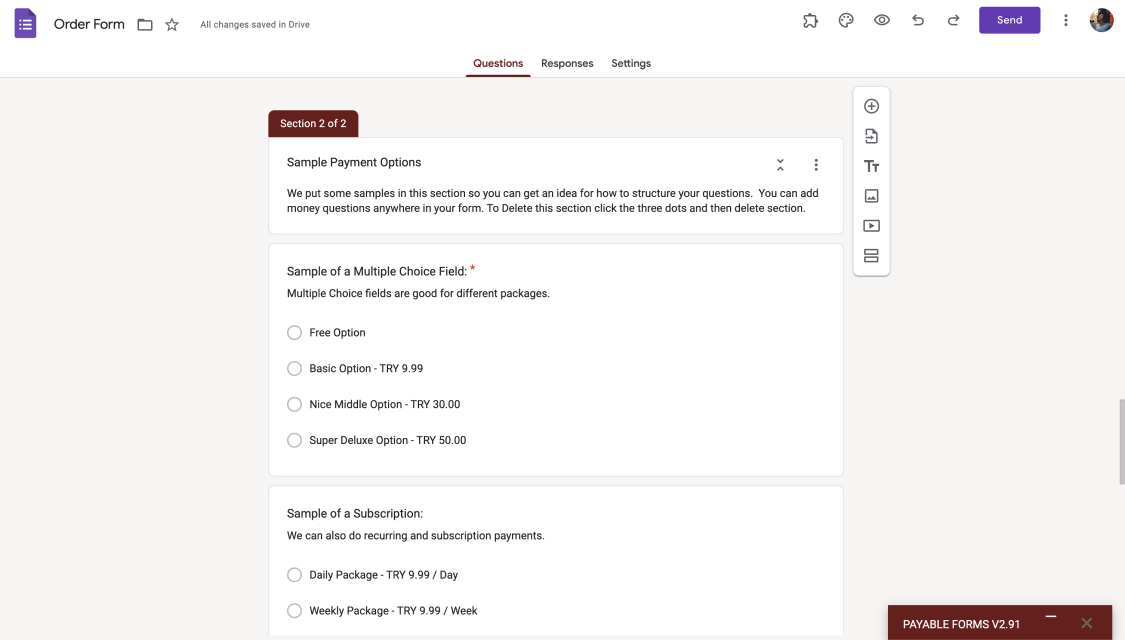
- Here you can show a specific text when they fill out your form. This will allow you to paste the link that will direct customers to the payment method (such as Google Pay or Google Forms PayPal option).
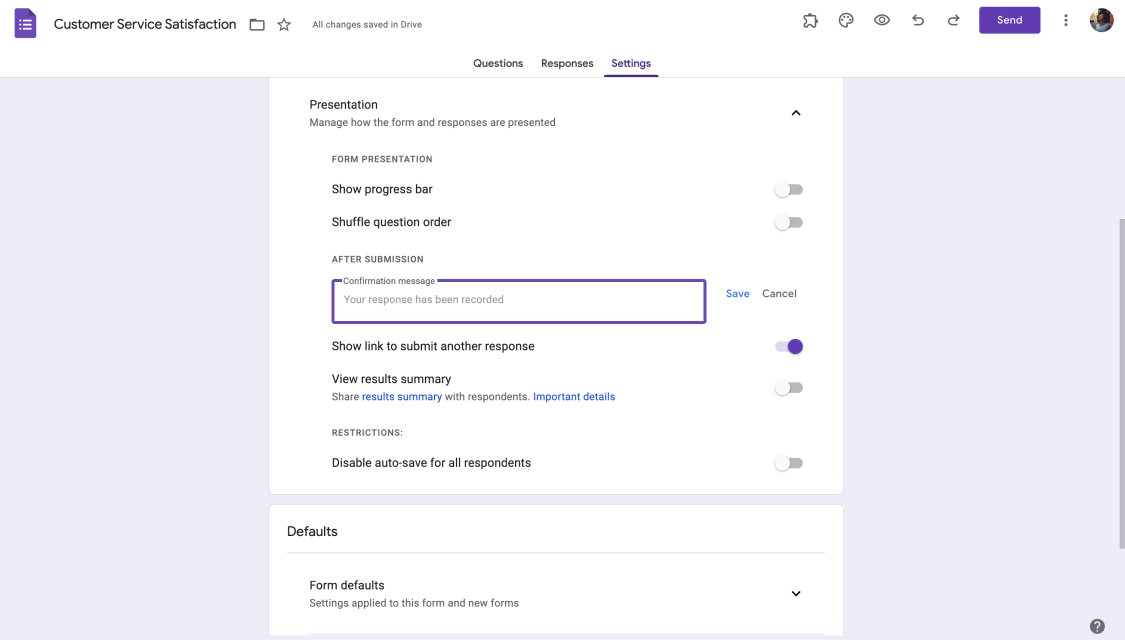
Add a customized text with a payment link
- Once you have pressed the save button, you can begin collecting payments through your Google Form.
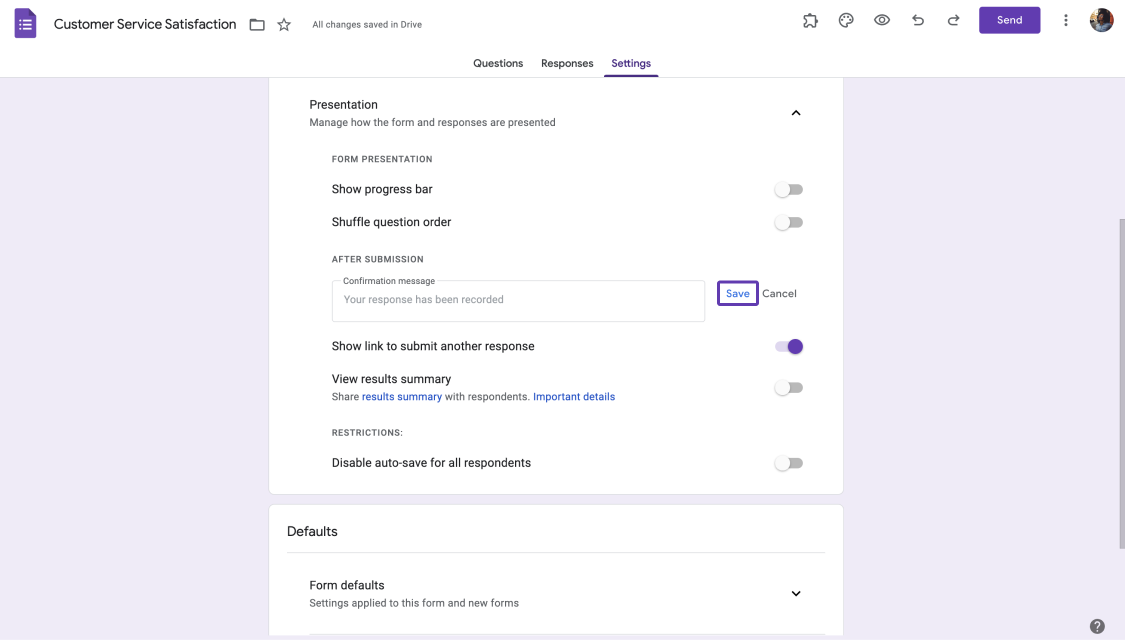
Save and exit
2 - Collect payments via peer-to-peer payment platforms
A peer-to-peer payment platform is a great solution for those seeking a more effortless way to handle payments. These platforms are useful for streamlining the payment process and increasing organization. Whether sending money to a company or paying for a service, peer-to-peer payment processors (Square, Paypal, Venmo, and Google Pay) can simplify the process.
To redirect your customers to peer-to-peer platforms, you can place QR codes on your Google Forms. Here's how to do it:
- Create a QR code for payment in a peer-to-peer payment platform.

Create a QR code for collecting payments
- On the Questions page, click the Add an Image icon on the right and upload the picture of your QR code.
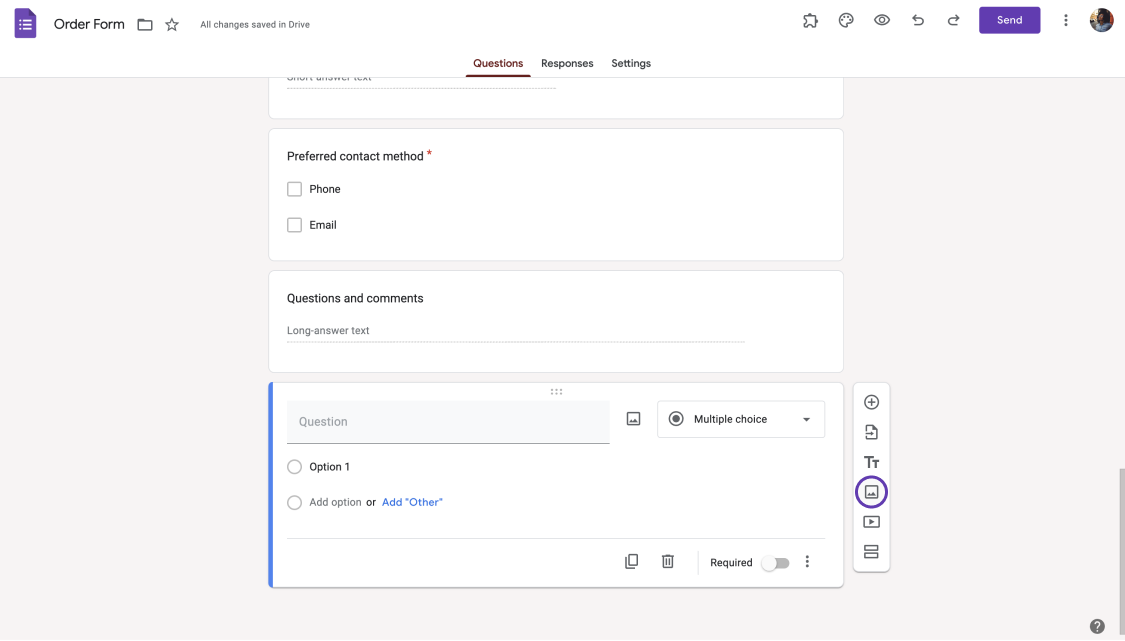
Add your QR code as an image
- Now your visitors can scan the QR code and make payments instantly.
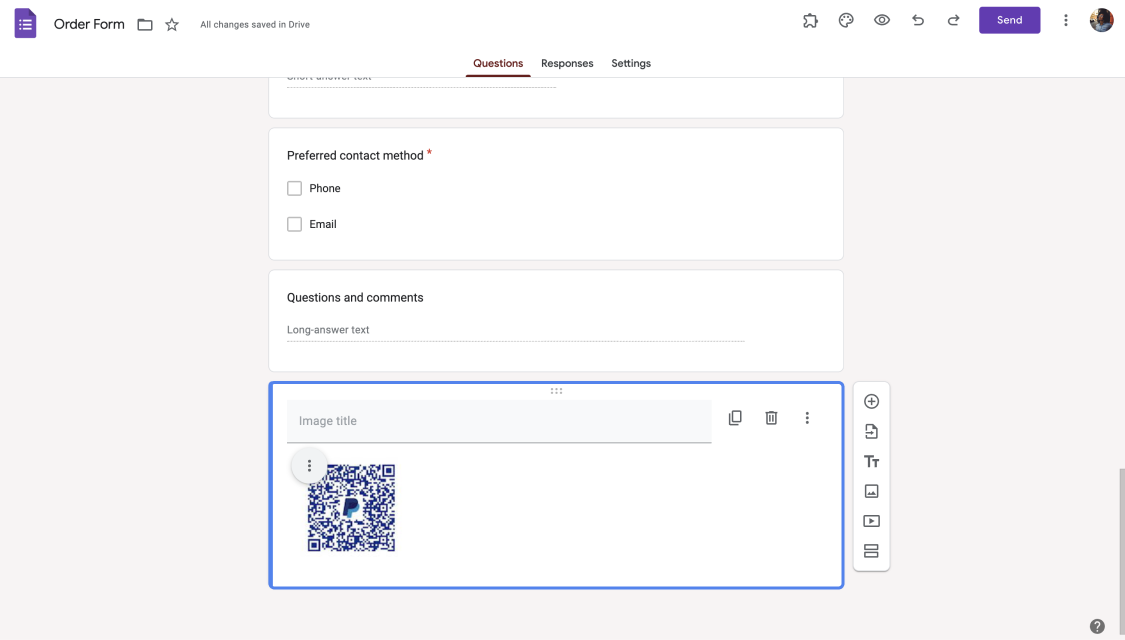
Start collecting payments
3 - Integrating with add-on apps
If you're looking to accept payments directly via Google Forms, you have a solution. You can simply go to the Google Workspace Marketplace and browse through the various Google Workspace add-ons until you find a Google Forms payment gateway that suits your needs.
With these add-ons, you'll be able to seamlessly integrate payment processing into your forms, streamlining the entire process for you and your customers alike.
- First, open your form and click on the three dots in the right-upper corner.
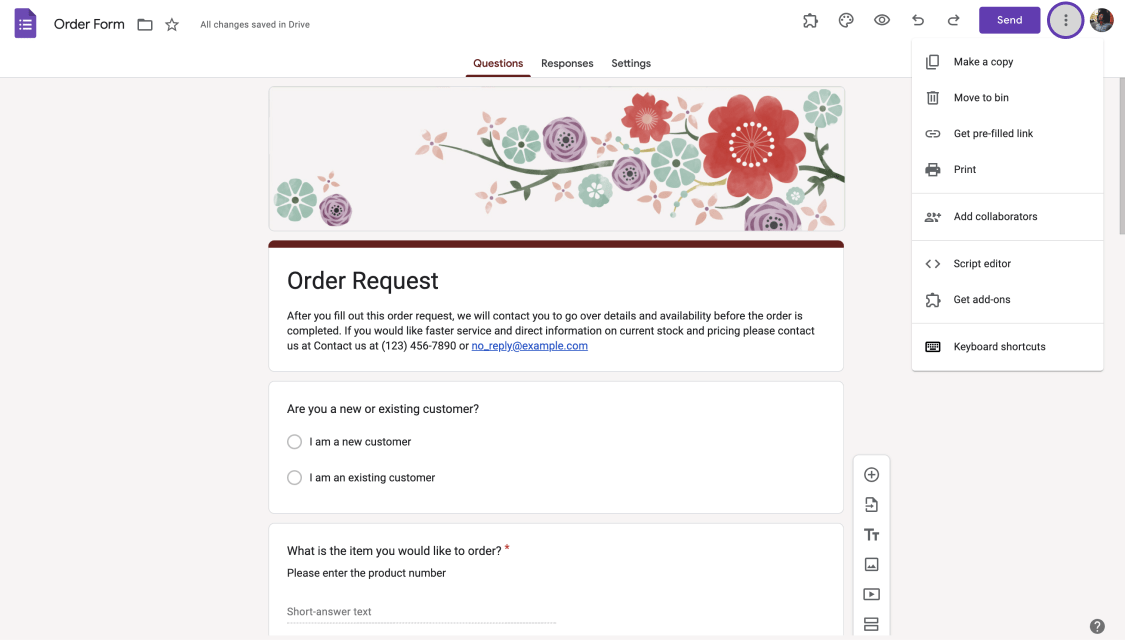
Open Google Marketplace
- Then simply type “Payable” or “Payment” and press enter.
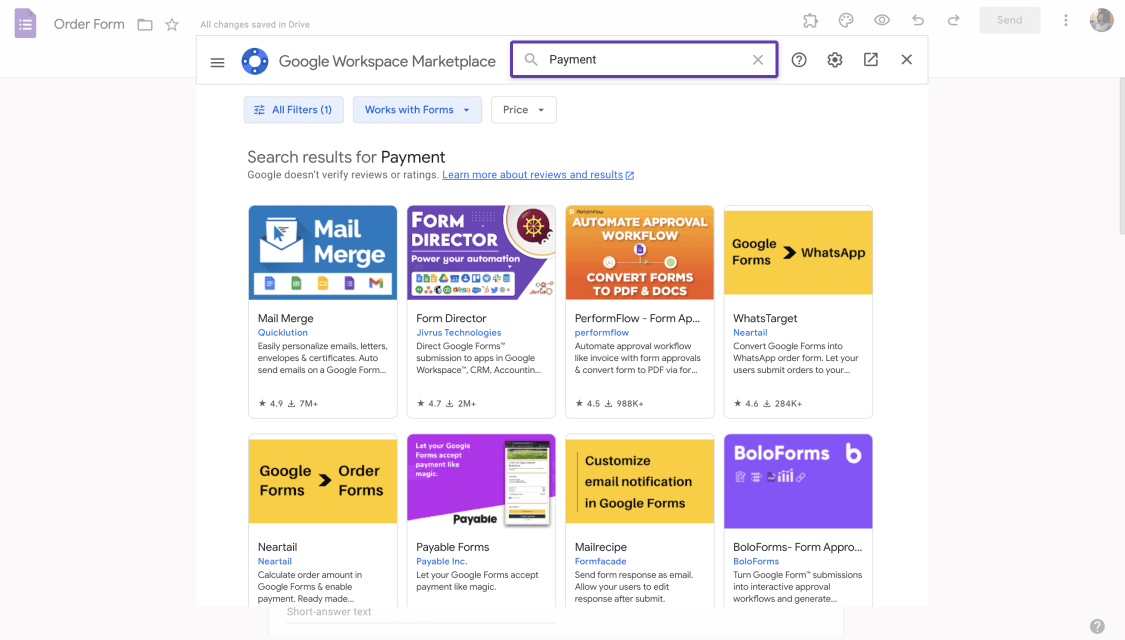
Type payment to find relevant add-ons
- After choosing an add-on, click Install to set it up.

Choose an add-on and install
- Lastly, use the add-on to add a payment provider such as Paypal, Stipe, and Square to your Google form.
Use this new add-on to collect payments
Do I have a more easy method to collect payments with a form?
forms.app is an excellent tool that allows you to effortlessly collect payments and present your products or services to your audience. With its comprehensive range of form fields and features, you can easily create custom forms tailored to your specific needs.
Whether you're looking to collect customer information, process payments, or gather feedback, forms.app has got you covered.
Displaying your products/services with a product basket field
For example, if you are interested in selling online but don't have a website, you can simply create a form, display your products, and collect payments. forms.app’s features allow you to create order forms easily and include a convenient product basket form field, making selling online without a website possible.
Product Basket is a popular feature of forms.app that lets you easily showcase your products on your order form. With Product Basket, you can include prices, photos, and details of each product, categorize them, keep track of your inventory, and perform other tasks efficiently.
You can add a product basket field to your form and add products to your basket by following the steps below:
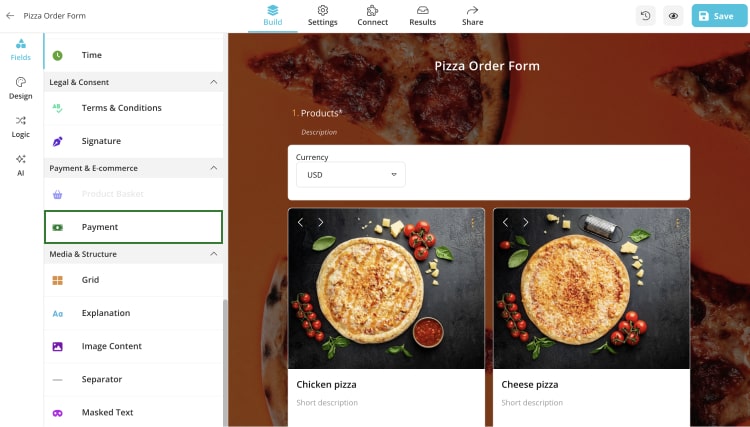
- Simply open the form fields menu and select the product basket field under Payments&E-Commerce.
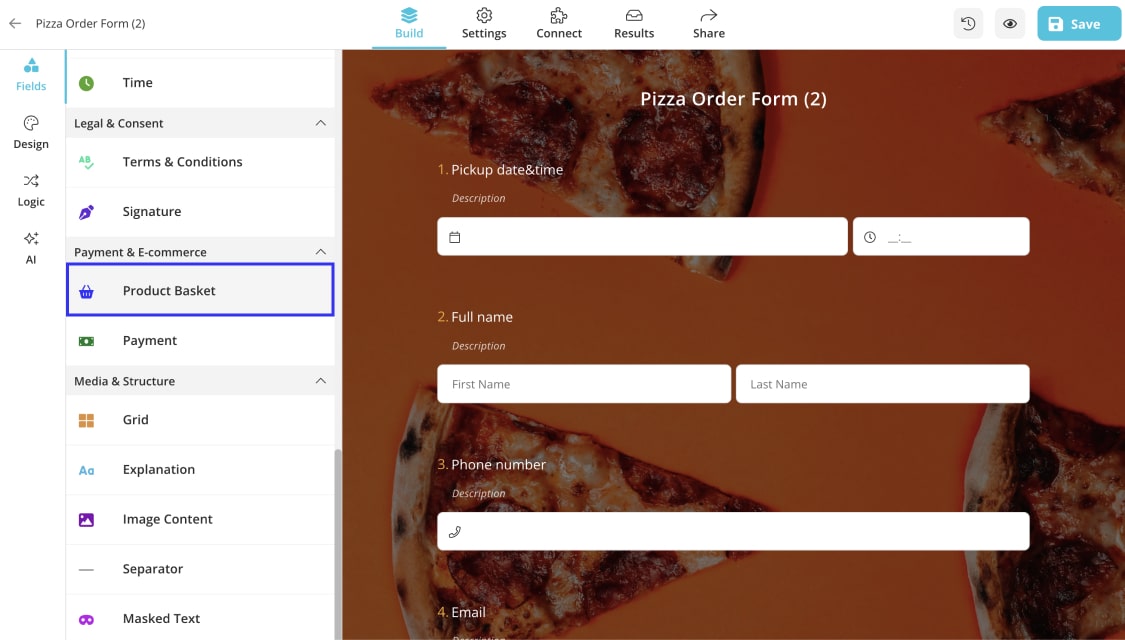
Drag and drop the product basket field
- To include more items in your form's Product Basket field, simply click on the " + add product" button at the bottom.
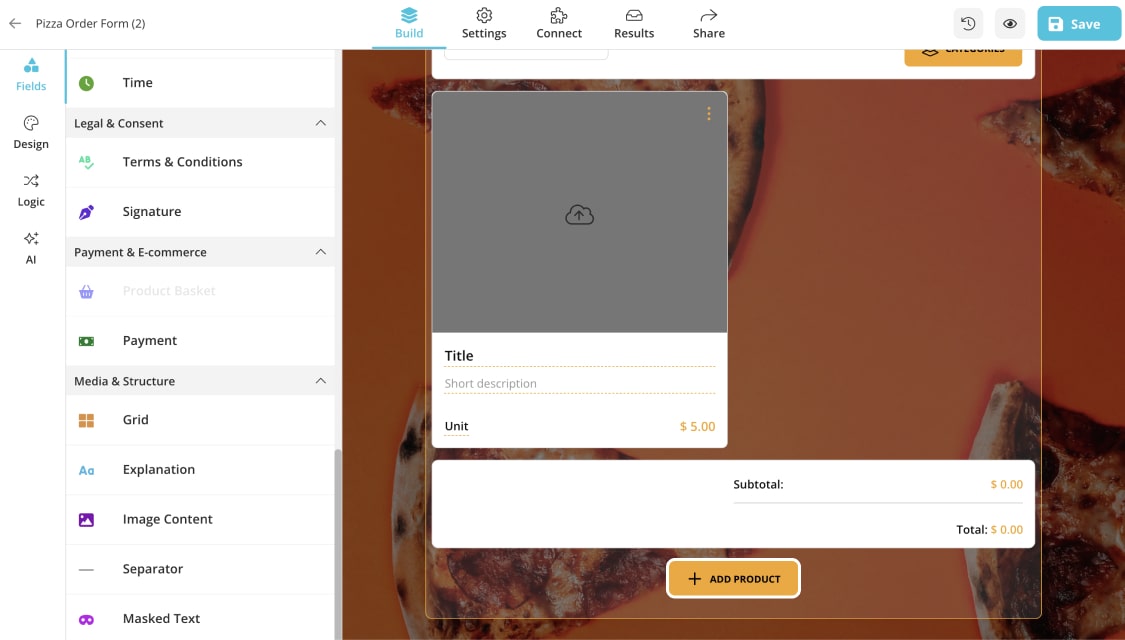
Add your products to display
- To tailor your Product Basket to your specific needs, simply access the field settings. You'll be able to modify details such as the currency and shipment fees and adjust the layout to your liking. Furthermore, you can add a payment field to the order form, which can open up optimizing your experience.
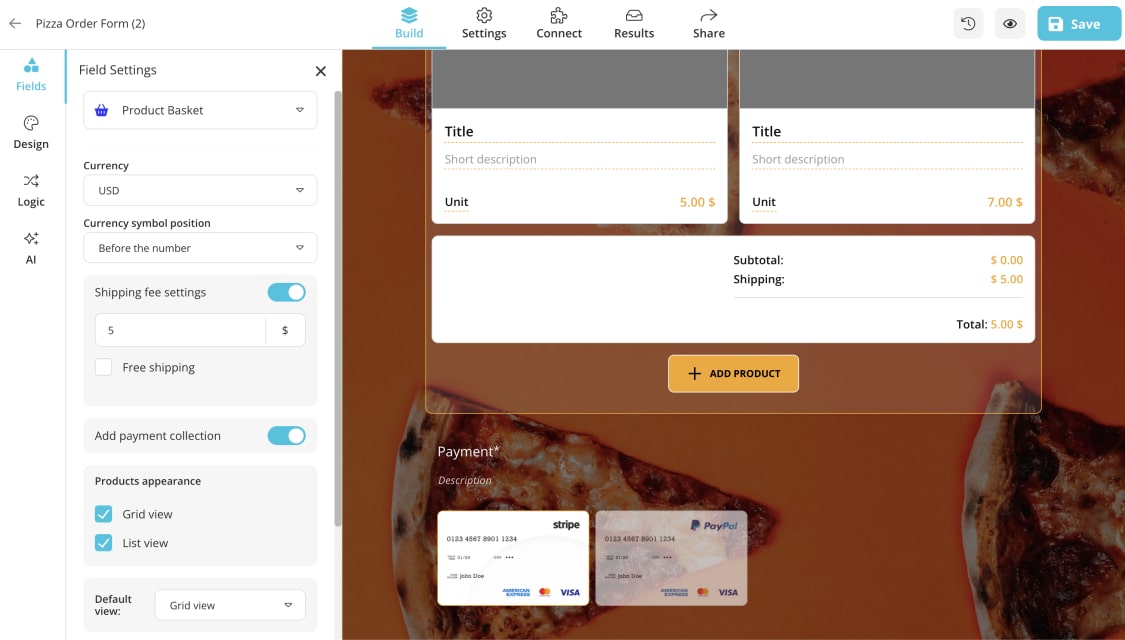
Make some adjustments to currency, shipment fees, and so on
- Adding product images: Each product can have up to four images, which can be visible from various angles or showcase each size option. The following are the recommended image sizes for product images.
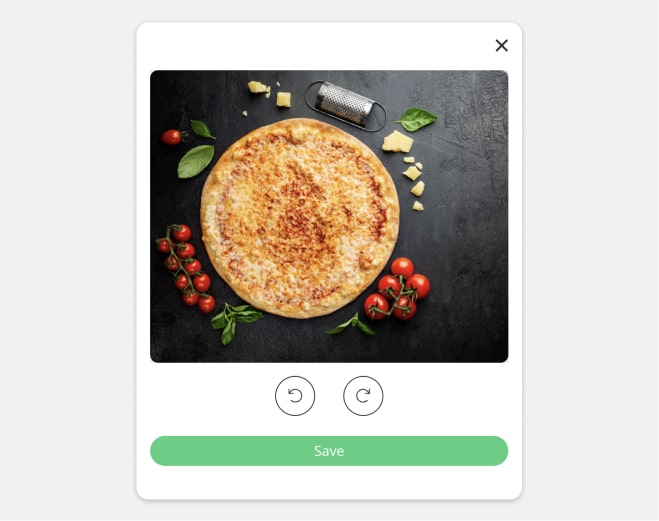
Adding product images
- Product settings: In addition to the basic field settings, there are numerous other features available through your product settings. Select “settings” after clicking on the three dots icon at the top right of the product. There, you will find all the necessary fields to fill out, including title, price, description, and more.
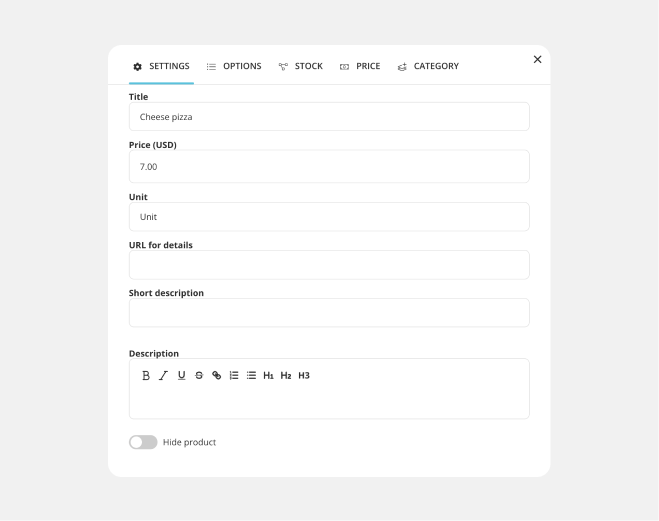
Product settings
- Product options: To add options like size and color for a specific product, simply go to the "options" menu located on the right side of your product settings.
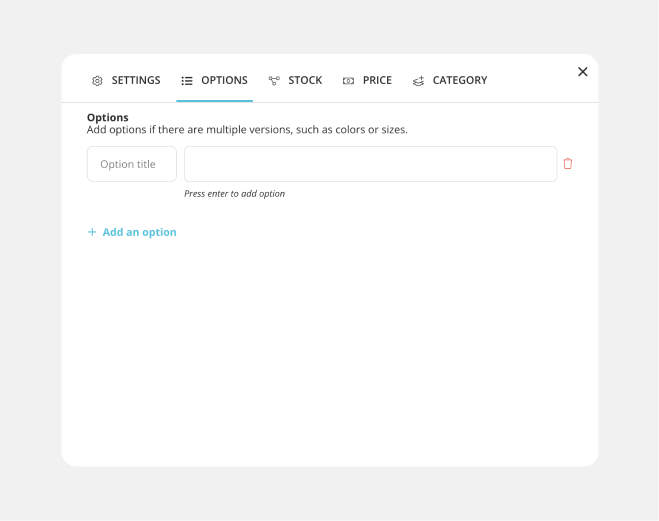
Product options
- Stock options: Use this menu to set the amount of stock for your product and decide what action to take when the stock runs out, such as hiding, disabling, or continuing to offer the product.
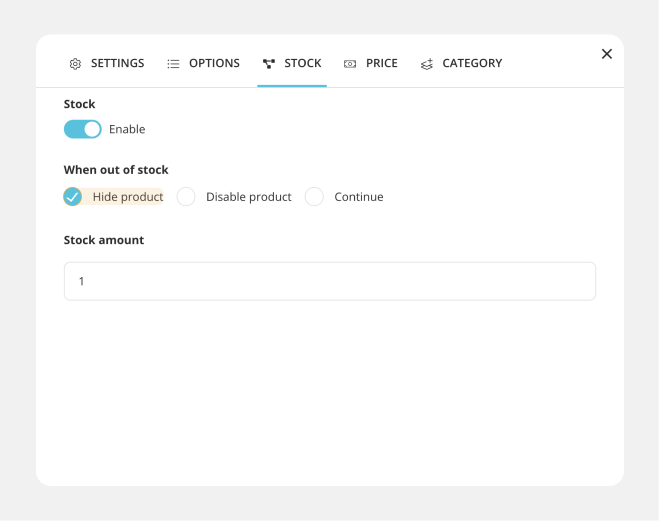
Stock options
- Price options: You can customize the price options for each product by setting different prices for each individual option on the menu.
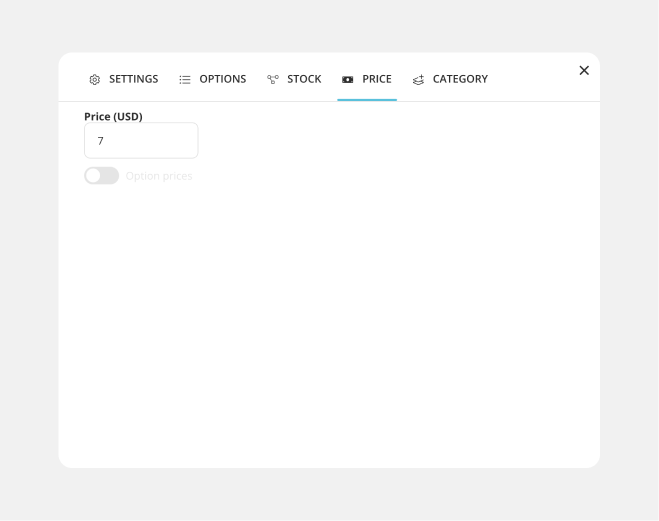
Price options
- Category options: To make your product basket more organized, you can create categories and place your products within them. And you are ready for the form submission.
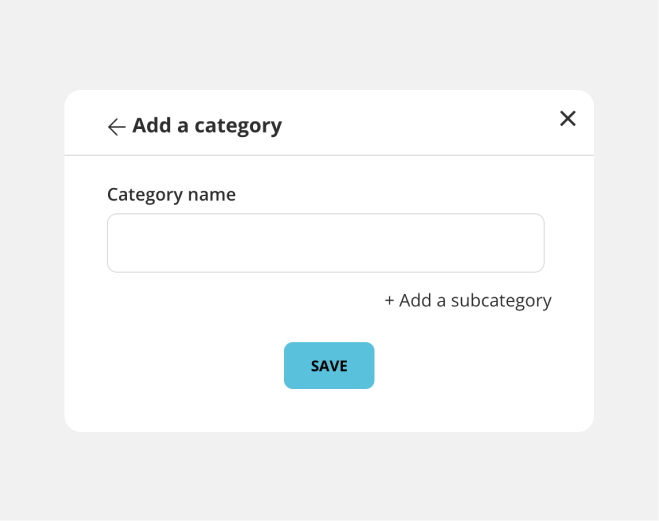
Category options
🪄 You can add up to 300 products in the product basket field.
How to accept payments on forms.app
forms.app offers you a hassle-free way to collect payments through a payment processor. With its user-friendly interface, you can create forms with a product basket field, which lets you showcase your products as in a product catalogue and sell them without needing a website.
This feature also allows you to customize your product options, set prices, and make the payment process easy and convenient for both you and your customers. For all the steps on adding payment methods to your form on forms.app, please see below:
- To add a payment field to your form, simply open the form fields menu and select the payment field. Once you add it, you can then customize the payment field settings to meet your needs.
- When it comes to payment field settings, there are several useful features you can utilize. These include selecting the currency, specifying a fixed payment amount, allowing respondents to enter their own payment amount, enabling testing mode, and activating payment options such as PayPal and Stripe.
💡 For a detailed tutorial on how you can use the payment field, connect Stripe and PayPal to your forms.app account, click on the links to see the related article or watch our video below.
How to collect payments through PayPal
If you're looking to accept payments from people all around the globe, PayPal is an excellent choice. With just a few simple steps, you can quickly utilize this feature on your form. Here's a simple guide to help you activate PayPal as a secure payment option:
- To include PayPal in your payment options, simply add a payment field to your form and select it under the "Payments&E-Commerce" menu.
Add a payment field and add PayPal as a payment option
- To proceed, click on the button labeled "Set client ID and client secret."
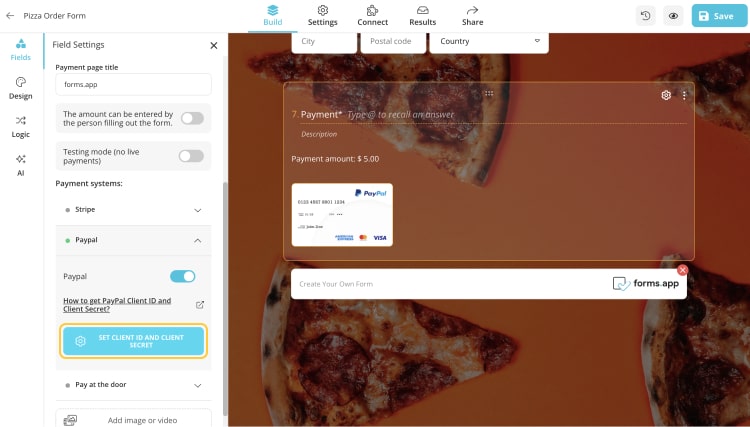
Click on “Set client ID and client secret.”
- Fill in the client ID and client secret boxes (If you are not sure what your client ID and client secret is, please take a look at the article on how to get Client ID and Client secret here).
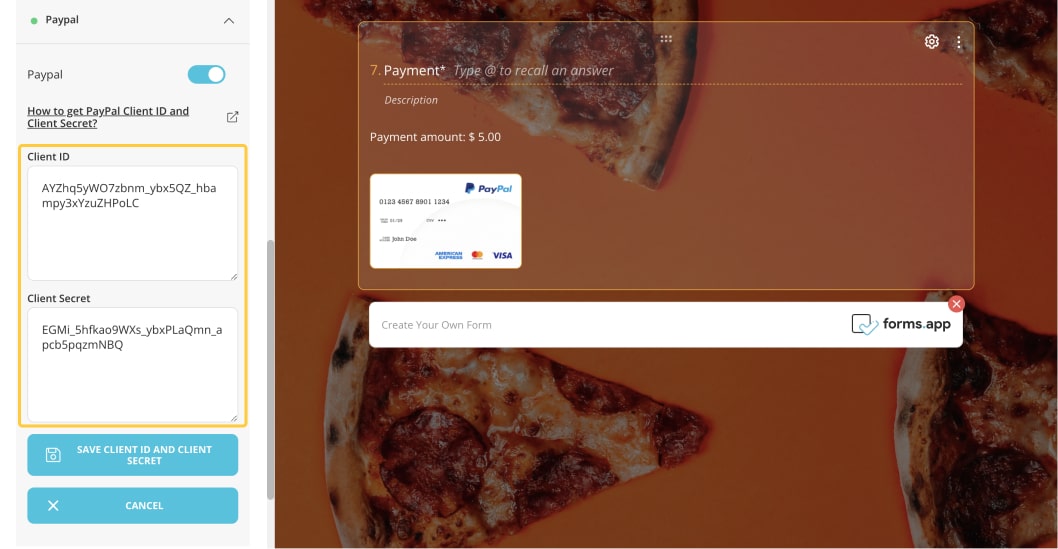
Enter your client ID and client secret key
- And finally, click on ‘’Save client ID and client secret’’ Now, you are ready to collect your payments through PayPal account.
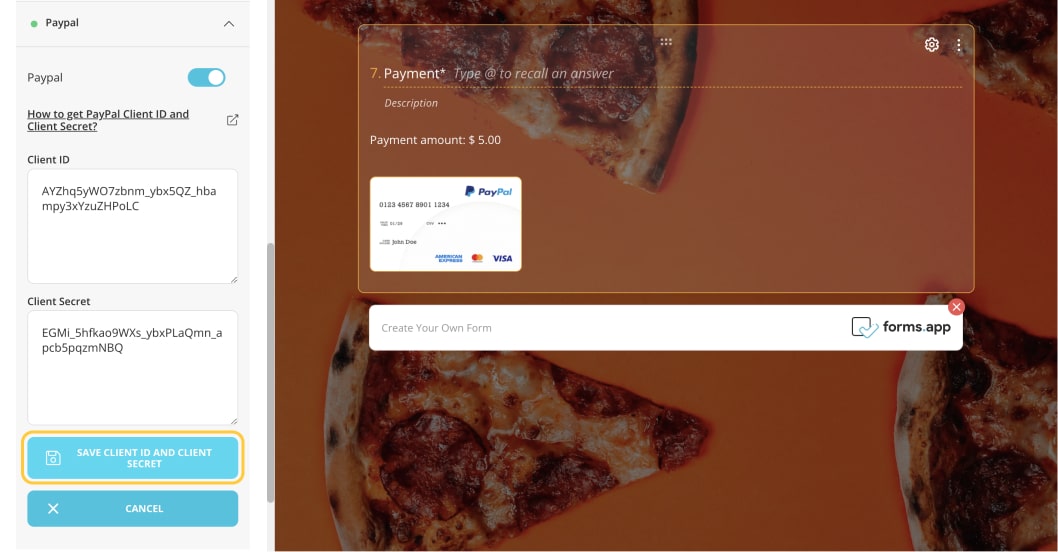
Save and start collecting payments
How to collect payments through Stripe
Another option for collecting online payments quickly and securely is through Stripe, a trusted global payment gateway. By integrating Stripe into your form, visitors can conveniently use their credit or debit cards to make payments or donations. Here’s a guide to help you:
- To enable Stripe, simply add a payment field to your form.

Add a payment field to your form
- Secondly, click the “Connect to Stripe” button.
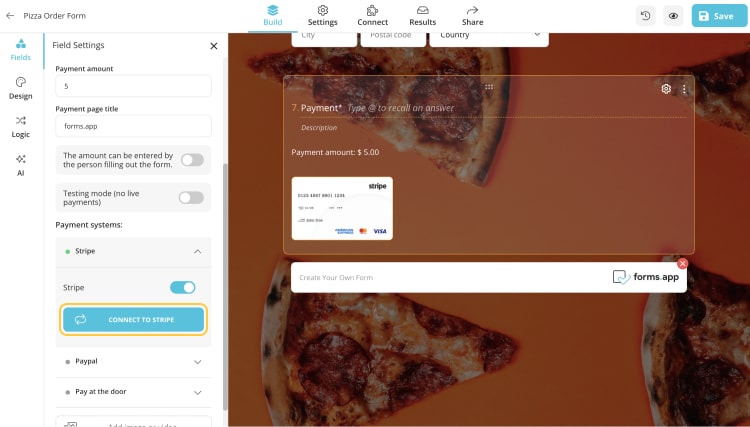
Connect to your Stripe account
- Log in to your Stripe account using the page that appears. Fill in your details; finally, you can collect your payments through Stripe.
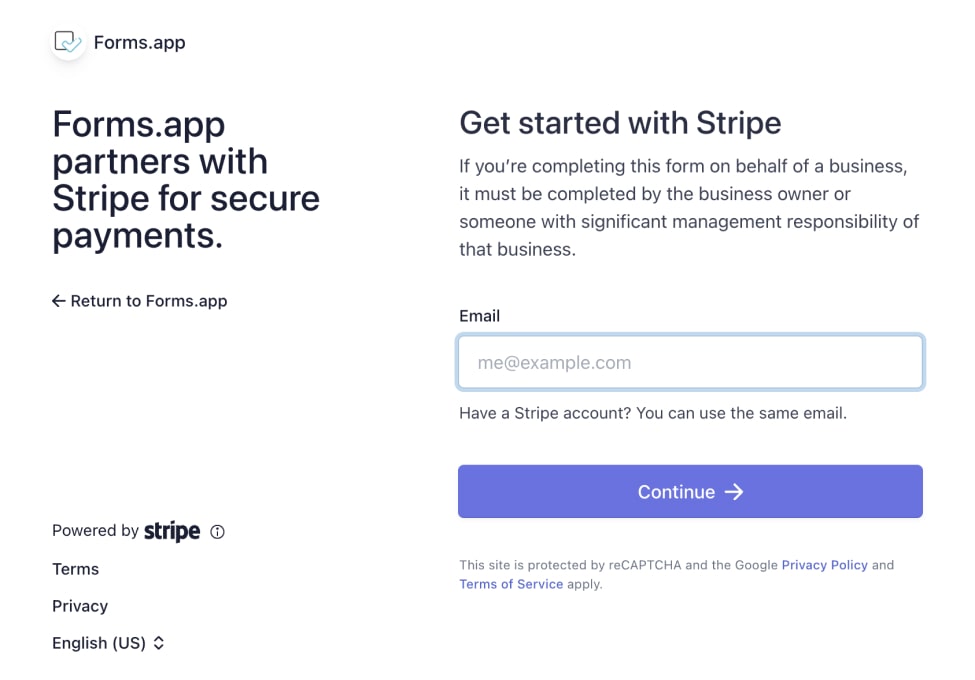
Login and start collecting payments
Final words
In this article, we noted that using Google Forms to collect payments, there are available but limited options for you. However, it's important to note that Google Forms doesn't natively have a built-in payment collection feature. As a result, it may take some time to navigate through various tabs and try different methods for collecting and tracking your payments.
While Google Forms does provide payment collection options, it may be more practical for you to explore other alternatives due to limited payment form fields. Explore the numerous features of forms.app that enables you to collect payments through multiple platforms and create customized sales forms without complicated website setup procedures. Simplify payment collection and sales form generation with forms.app. Manage your business transactions seamlessly. Experience the convenience and ease of forms.app today!