Data collection requires professionalism. As the process of collecting, storing, and analyzing data is an important task for every business, it requires you to use the right tools and the right people. That is why you should pick the right platform for the first step of collecting data: creating forms. With the right platform, you can collect, store, and analyze data at the same place and collect feedback immediately.
In this article, you will learn why it is important to create online forms for your business, how to use Microsoft Forms to create a survey or a form that meets your business needs, a better option for creating forms with forms.app, and several expert tips to get to the next level when it comes to collecting information.
Why create online forms
Online forms are one of the most used ways to collect information in our age of technology. They are accessible tools that can be used by even the smallest businesses and can provide fast and useful data. If you would like to get any information, there is really no better tool to use than online forms. Further advantages of online forms include, but not limited to:
💸 Cost-effectiveness: One of the best advantages of creating online forms is saving money. There are numerous free platforms to create and share a form that can allow you to collect data, and you also do not need any workforce.
📊 Easy to track and analyze: After you share your form, it is quite easy to keep track of the data itself. Furthermore, many platforms analyze the data for you within their platform.
⚙️ Automated workflow: You can integrate your form data with other databases, such as Microsoft 365 or Google Sheets, allowing you to automate your workflow and increase your productivity.
✨ Flexibility in customization: Online forms offer great flexibility when it comes to customizing both the content of questions and the visuals. If you can find or create a template that suits your business needs, you can reuse it by making small changes.
🦾 Simple to build and share: When it comes to being simple to build and easy to share, there are few data collection alternatives to online forms. A short online form takes less than 10 minutes to create, and you can share it everywhere with the click of a button.
How to make a Microsoft Form
Now that you have understood why it is beneficial to have online forms at your disposal for purposes such as collecting customer feedback or project management, it is time to learn how to create MS Forms with a few simple steps. These steps are easy to understand and implement, so do not worry, even if you are a first-time user.
1. Select a new form, new quiz, or a template
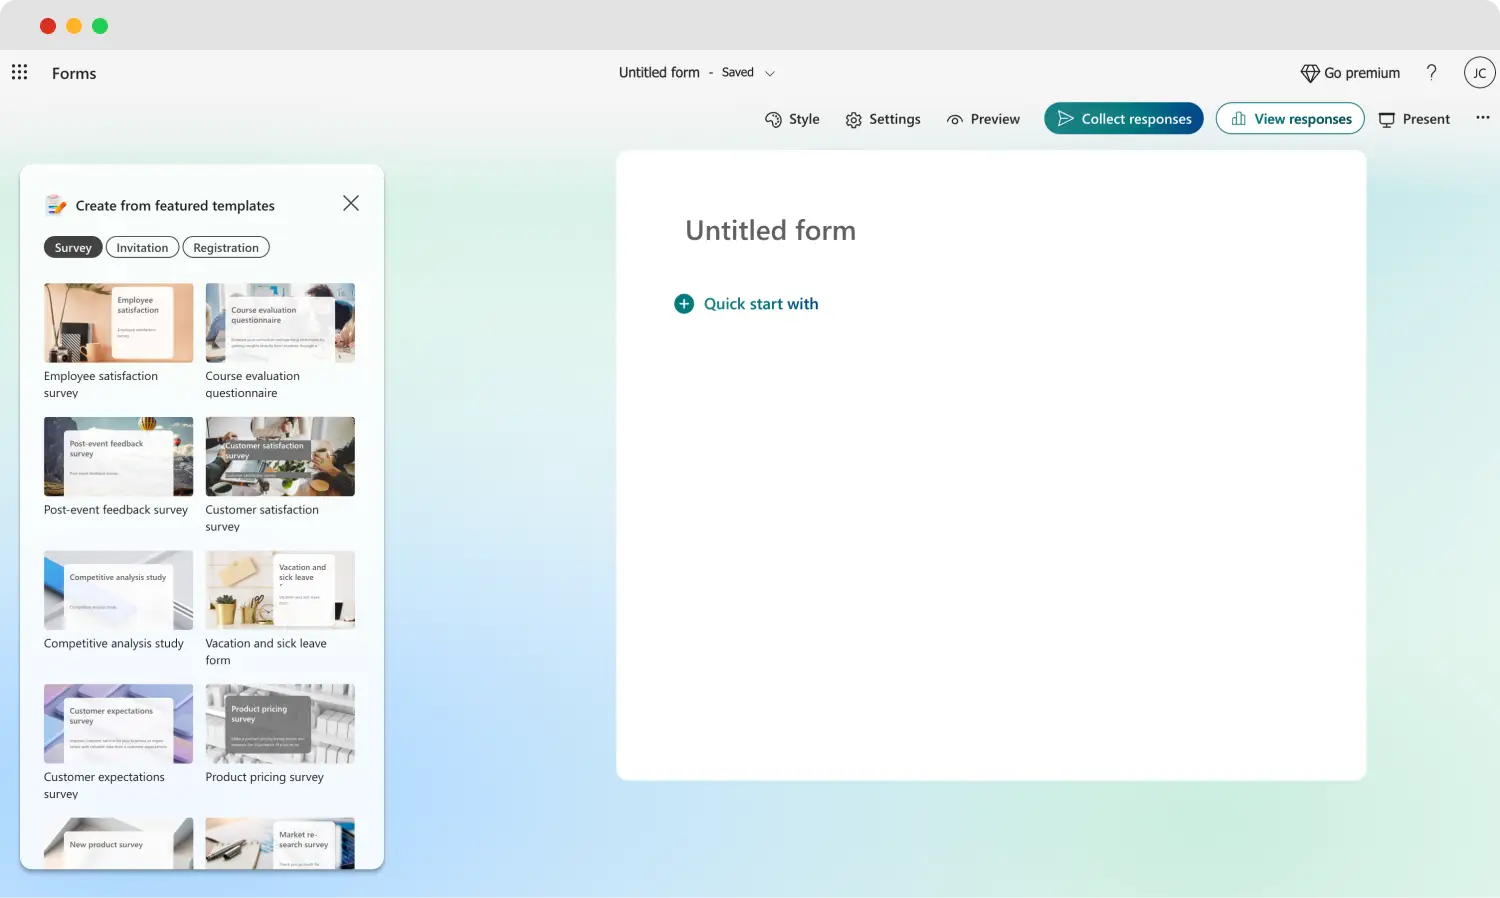
Choose a template
The first step in creating your form with Microsoft Forms is choosing which base to use. Fortunately, there are categories for your business needs: You can start a new form from scratch or a new quiz, or choose one of the Microsoft Forms examples and start with a template.
💡 We recommend signing into your account with Hotmail live or outlook.com address to get the full experience.
2. Add your title & questions
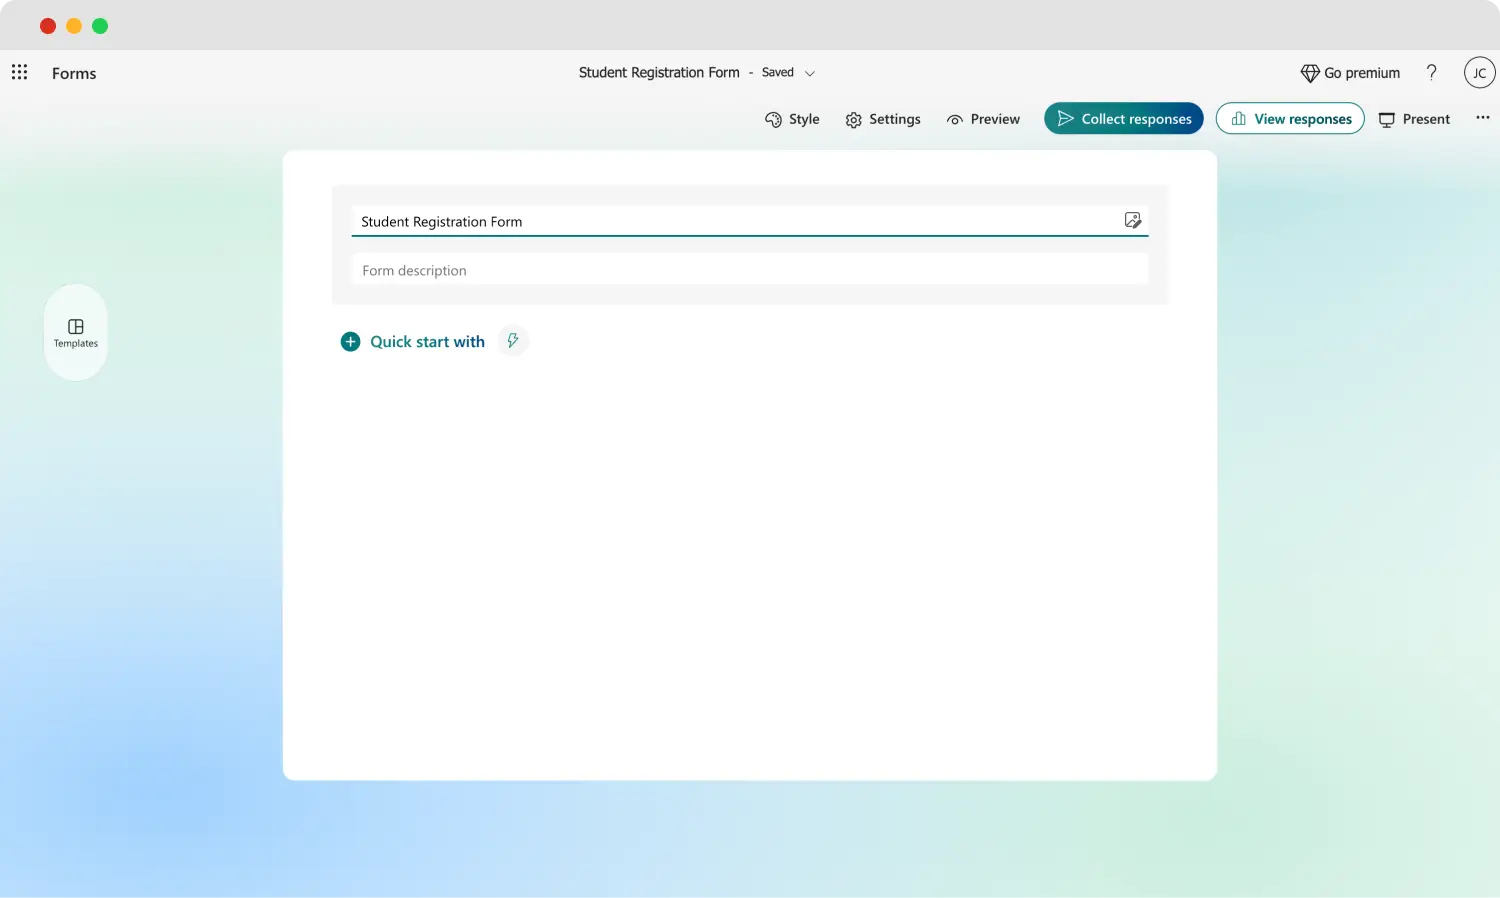
Add questions and title
After you choose which base you will start with, you can start creating. By clicking on the title, you can add a title to your form and add your form description. Afterward, you can click on Add new question to add your questions and choose between different question types such as choice, text, rating, date, or more. You can also insert, paste, or drag media to the form title.
💡 Experiment with different question types to keep the attention of the participant.
3. Edit your questions
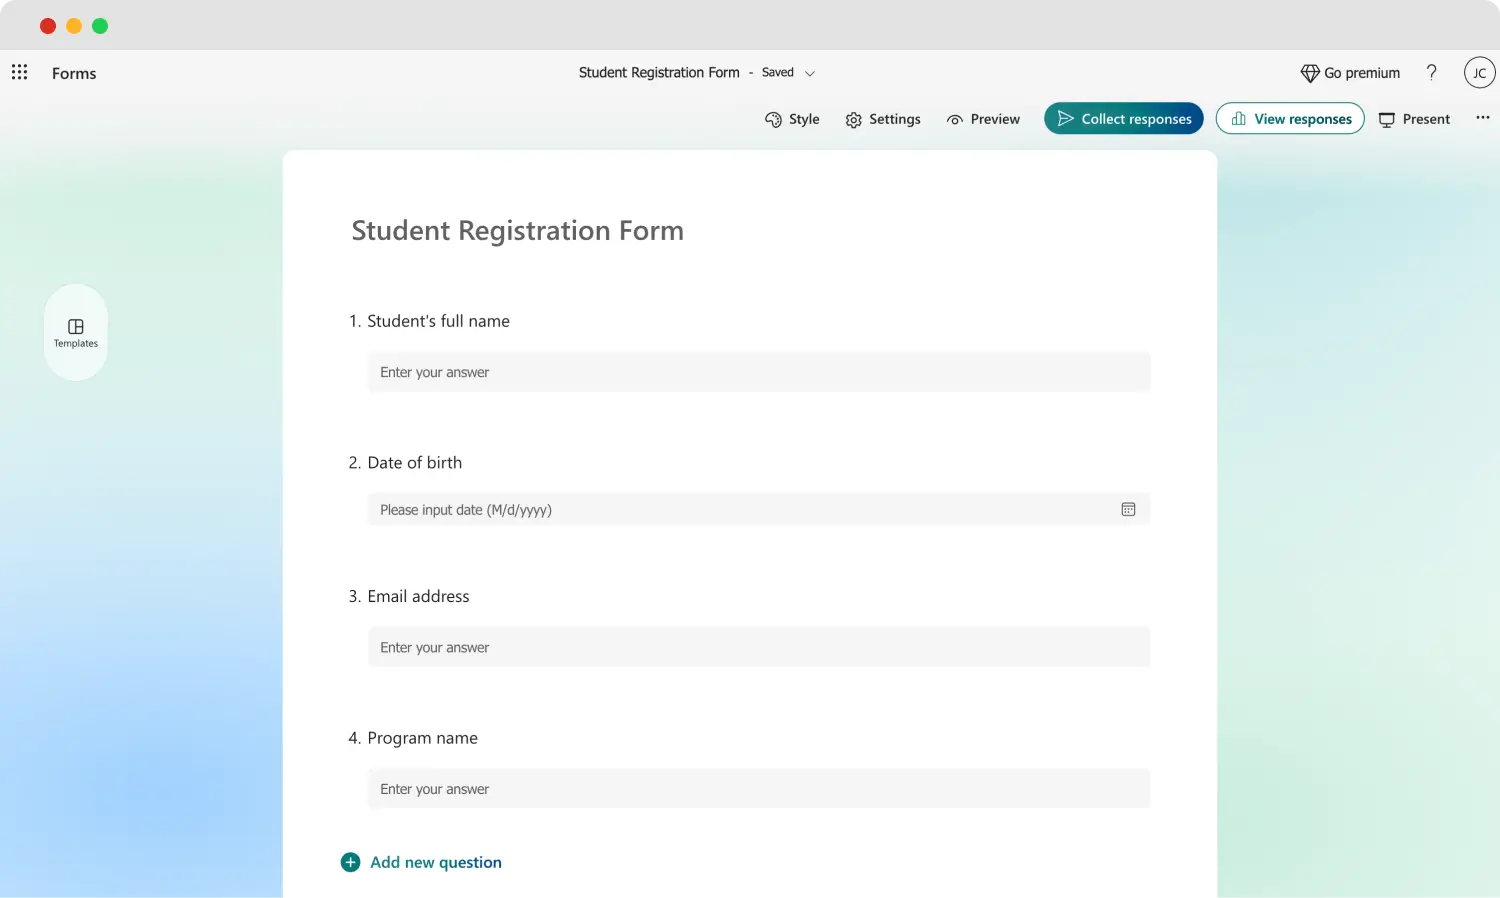
Edit your questions
After you add your questions to your blank form or open the template, you can start editing them. To edit each question, simply click on it, and all editing options are presented to you. You can change the question itself, answer options, add any media, or toggle any specific settings.
💡 You can also access additional settings by clicking on the three vertical dots at the lower right corner of the question.
4. Customize the visuals from the Style menu

Design your form
Once you have added your questions and customized their contents to your liking, it is time to customize the visuals of your form. While the visual aspect is often overlooked, it is just as important as the questions themselves to grab and keep the participant's attention.
You can customize the visuals of your form by clicking on the Style icon at the top right corner of your page. The Style menu allows you to change the theme and the color scheme, and even add background music.
💡 You can also add animated themes from the theme menu.
5. Start collecting responses
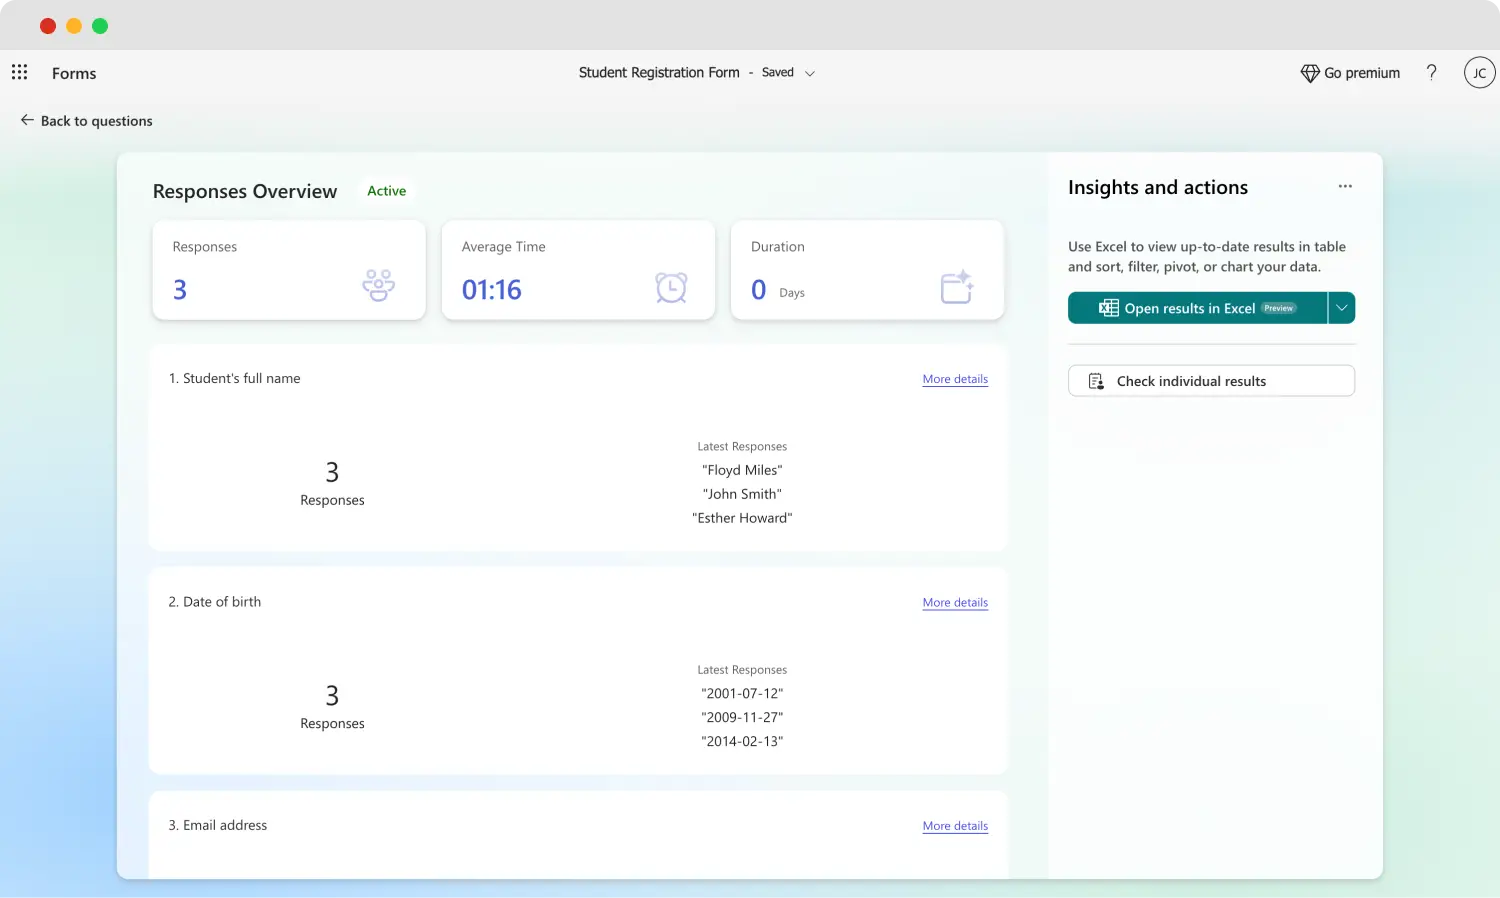
Start collecting responses
After you have completed the creative process of your form, you can then click on Collect responses to share your form with the world. The sharing menu also lets you change several settings or choose how you would like your form to be shared. You can even have the option of a QR code or a pre-made tweet for X.
💡 We also recommend giving the Preview and Settings menus a try.
You have a better option: forms.app
If you would like to experience the full potential of creating the best online forms possible, we at forms.app are here to help. With the help of numerous advanced features, you can take your online form game to the next level and create highly interactive forms to collect the utmost quality data possible with one of the best Microsoft Forms alternatives.
1. Choose a template, start from scratch, or use forms.app AI
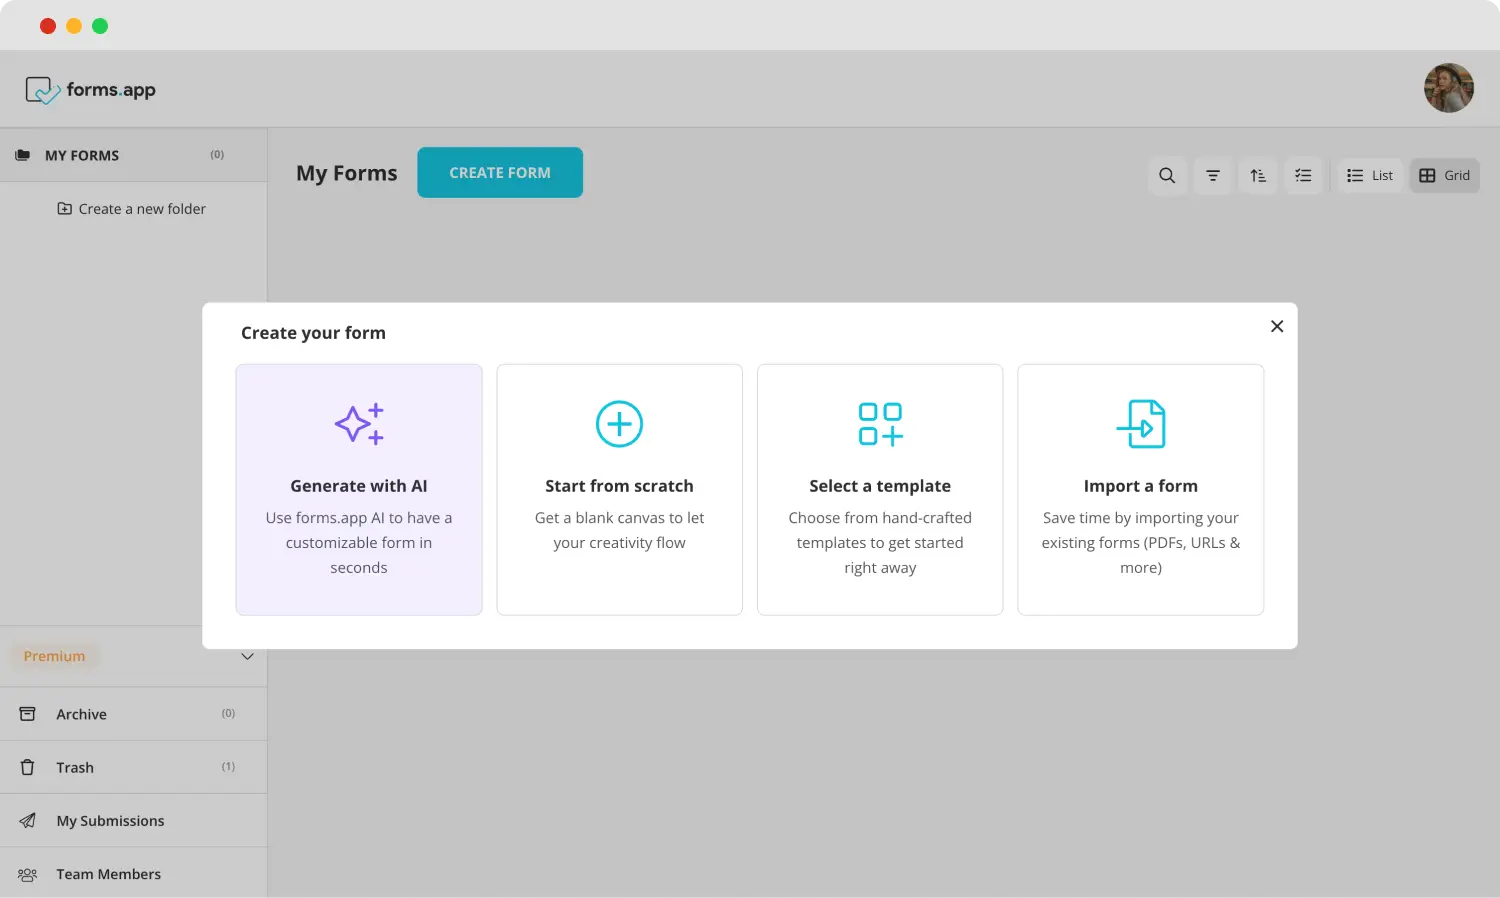
Choose a beginning option
When starting with your base at forms.app, you can choose between our many options of templates, starting from scratch, or using forms.app AI to create a personalized online form in seconds with just a sentence. All three of these options have their own unique advantages and give you enough room for customization.
2. Edit the questions or add your own
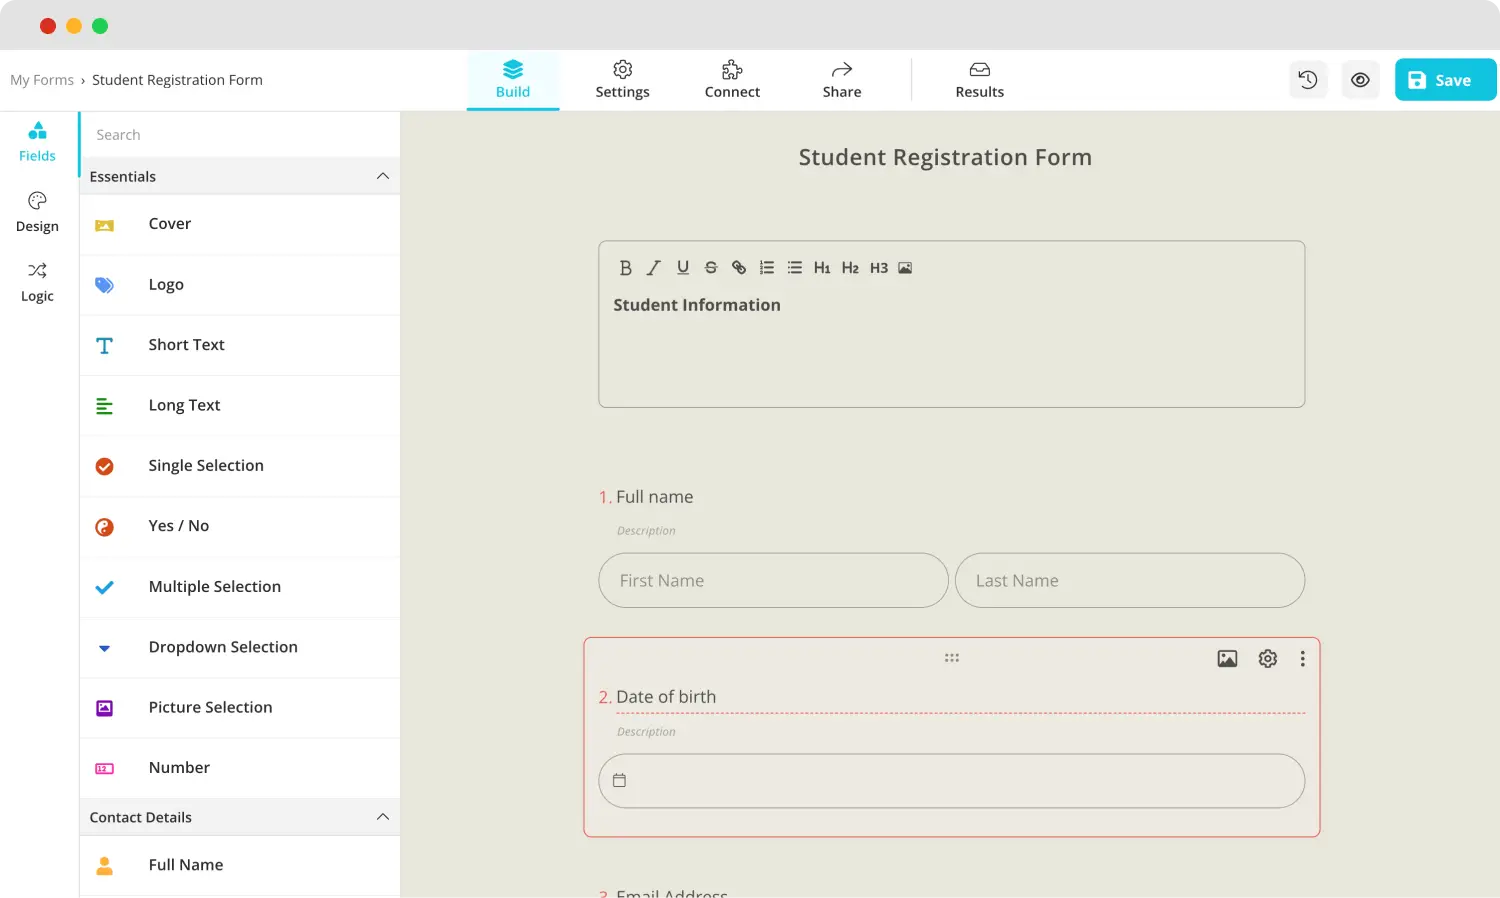
Edit your questions
After choosing which base you would like to begin with, you can add your own questions or edit the existing ones within the template. You can add your questions to the Fields tab within the Build section. To edit them, click on any question you would like and make changes.
💡 You can also rewrite questions with AI. Click the colorful icon next to your question title to edit your question using forms.app AI.
3. Try field options
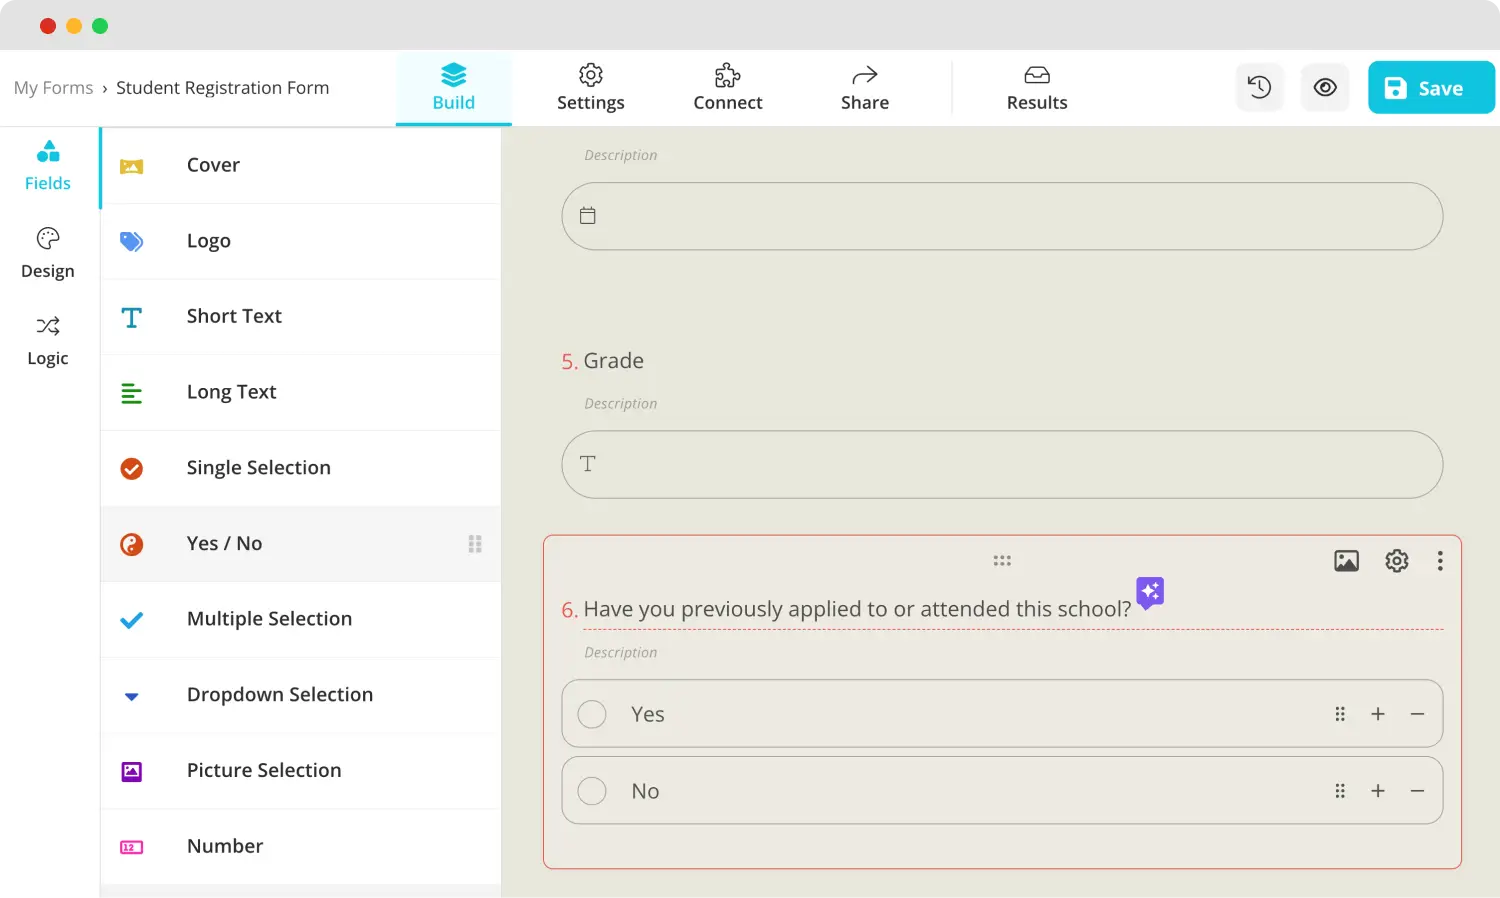
Check all the dedicated fields
We recommend experimenting with the advanced field options if you want to get ahead of other businesses regarding online forms. By heading to the Fields tab, you can see field options dedicated to unique scenarios, such as a ranking scale, a terms and conditions field, or even a product basket field.
4. Customize the form design
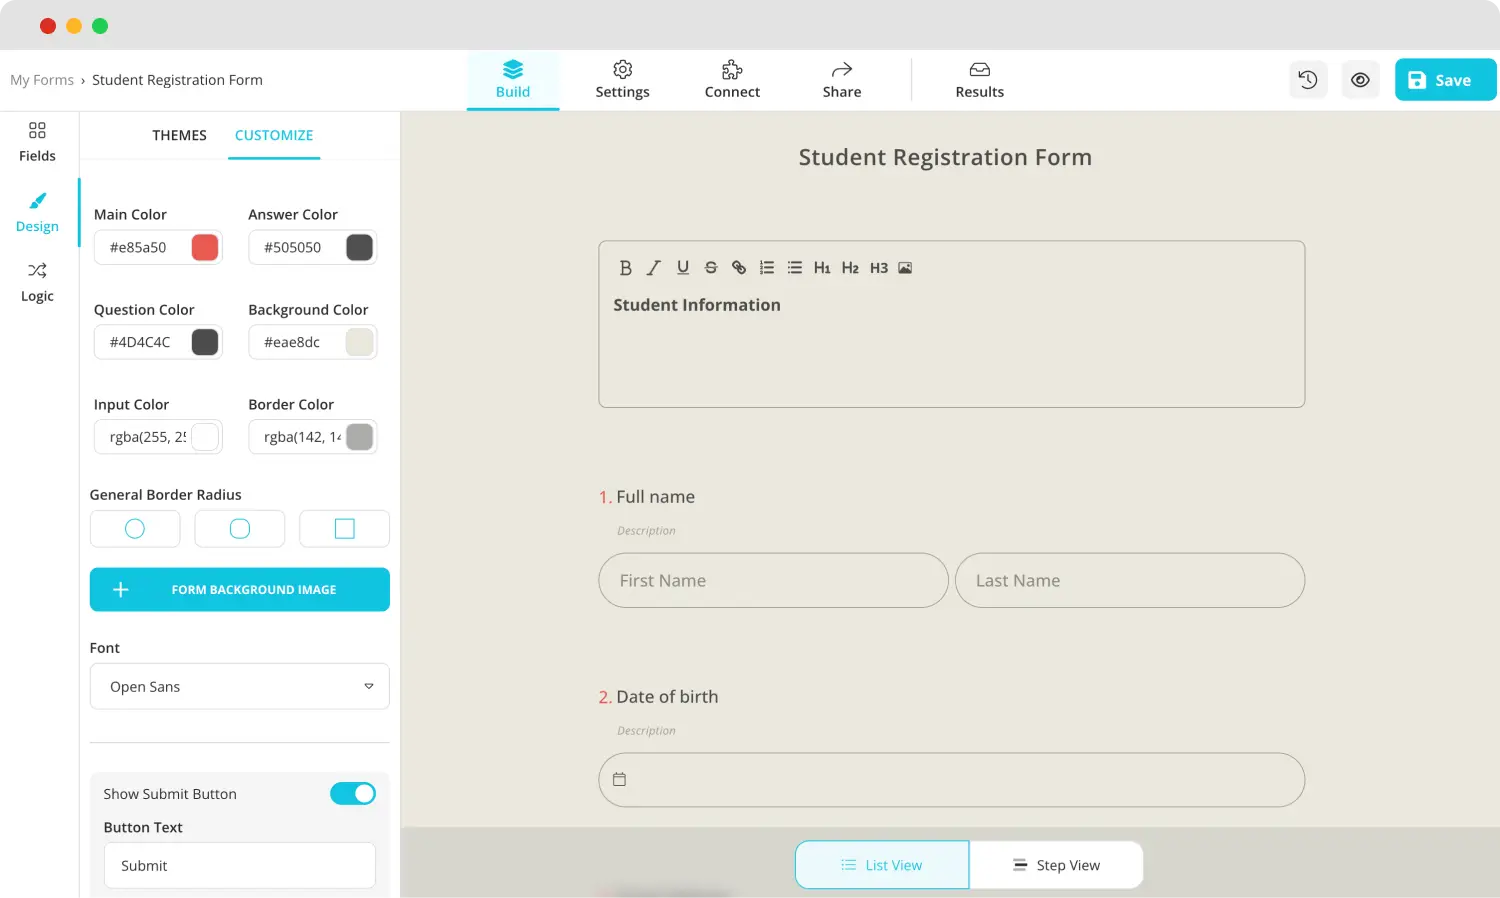
Style your form
forms.app can also help you get ahead regarding your form's visual aspects. Our Design tab within the Build section allows you to change themes, font colors, border radiuses, and many other settings. To see the details, such as font colors and border radiuses, click Customize within the Design tab.
💡 The design tab also allows you to have animated themes for your survey. Scroll down to the end of the design tab to choose an animated theme.
5. Preview and connect to databases
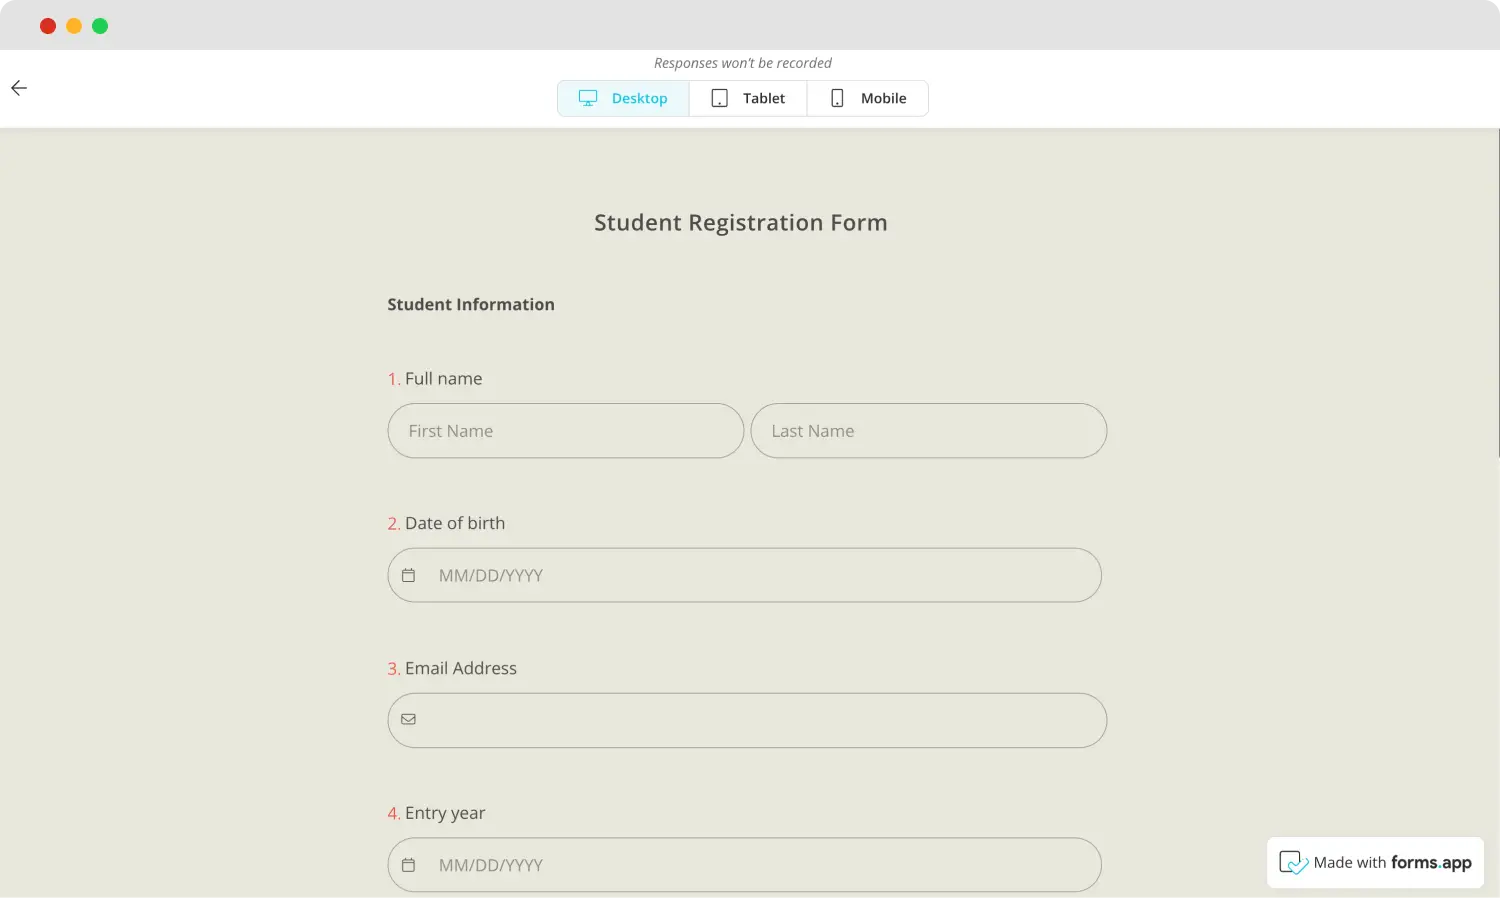
Check your form before publishing
Before you head to the Share section, we recommend you select Preview by clicking on the eye icon at the top right corner of the page. The Preview feature allows you to look for any mistakes you may need to fix or things you would like to add to your form.
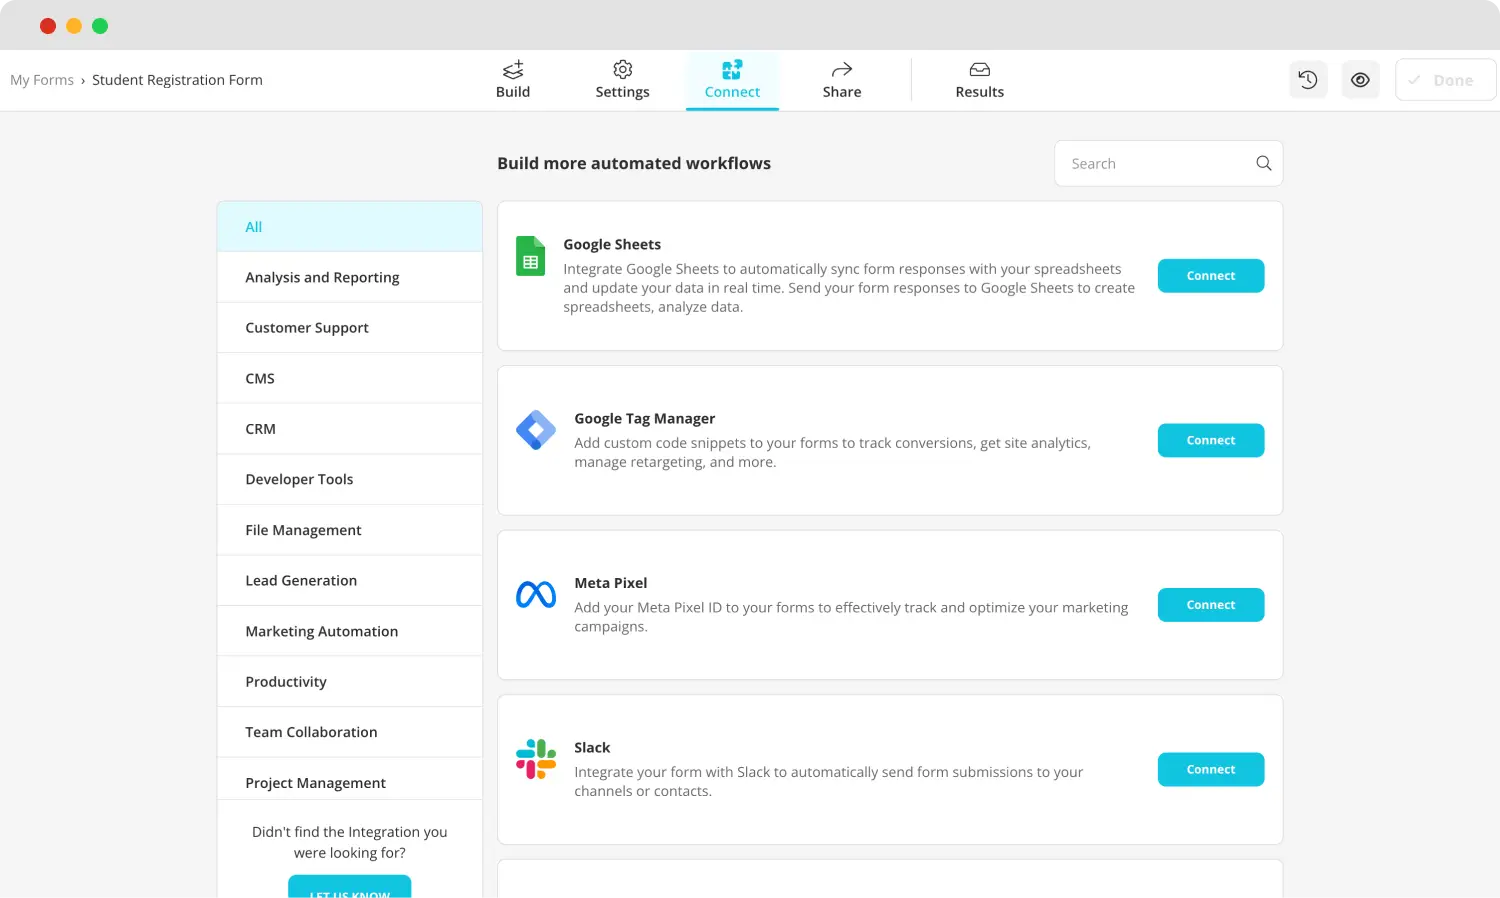
Use various integrations
Furthermore, you can head to the Connect section to see all the database options for connecting your form. The database to which you connect your form gets updated automatically, so when a participant submits a response, the platform you are connected with gets updated with the data.
6. Share your form and see the results
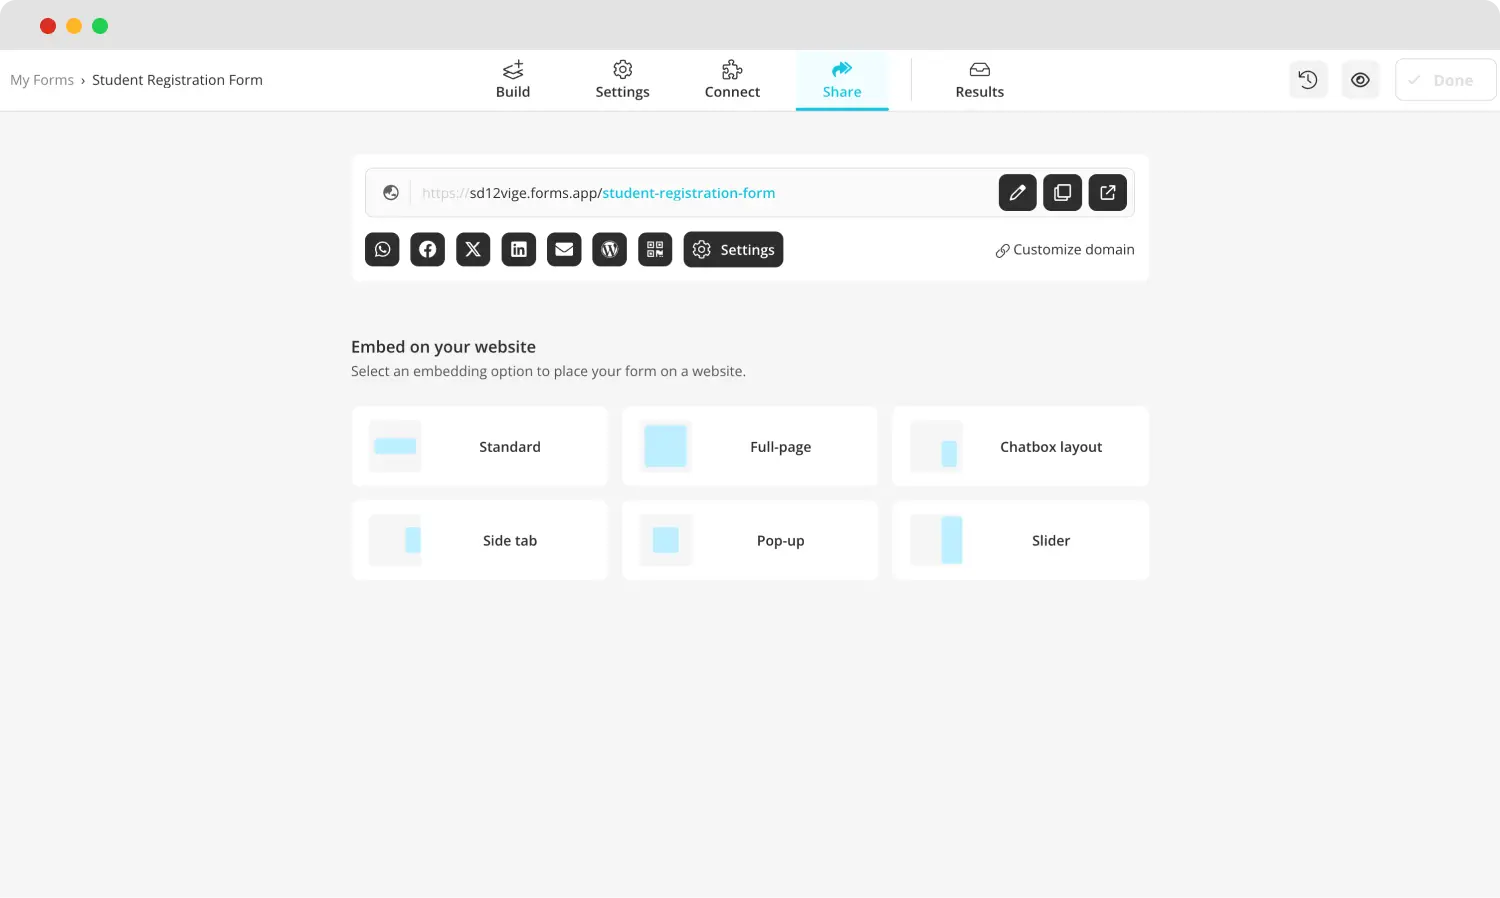
Share your form
The last step of creating your form with forms.app is the Share section. However, the share section is not just for sharing your form. You can customize your domain, select between one of the shortcuts for sharing, change the link settings, or customize the embedding settings for your form.
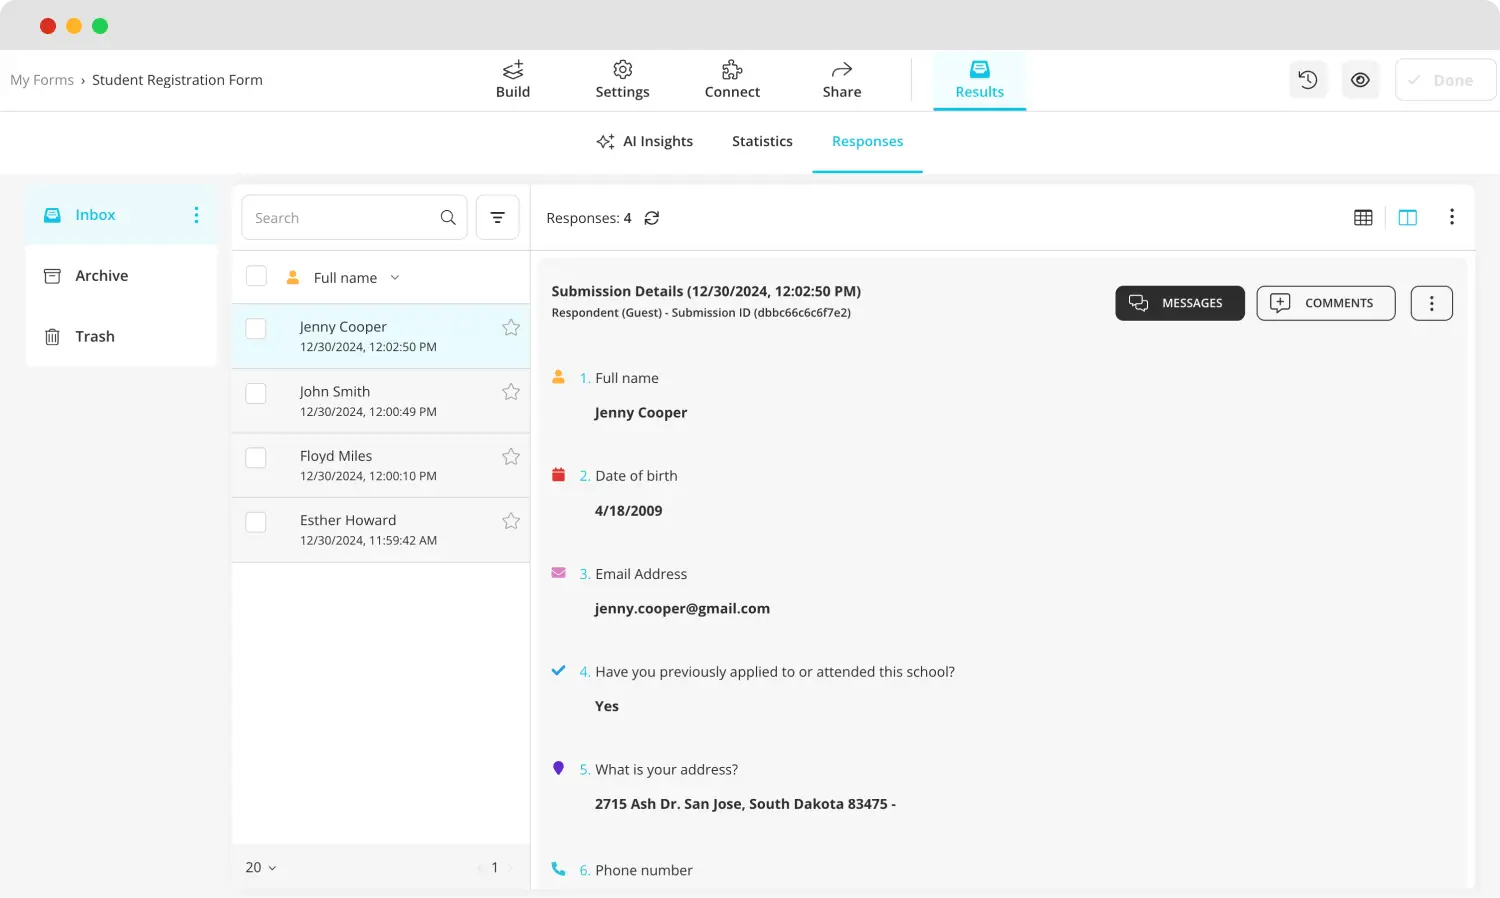
Check the form results
After you start collecting responses, you can head to the Results section to see all of the data that you have collected. If you head to the Statistics tab, you can see even more details, such as how many responses your form has or which devices they have used to submit your form, like a mobile device.
6 Expert tips to take away
When it comes to collecting data, details matter. That is why you need to be careful about the little things throughout the whole process. To help you in this data collection endeavor, we have selected 6 expert tips to take away and implement in your processes.
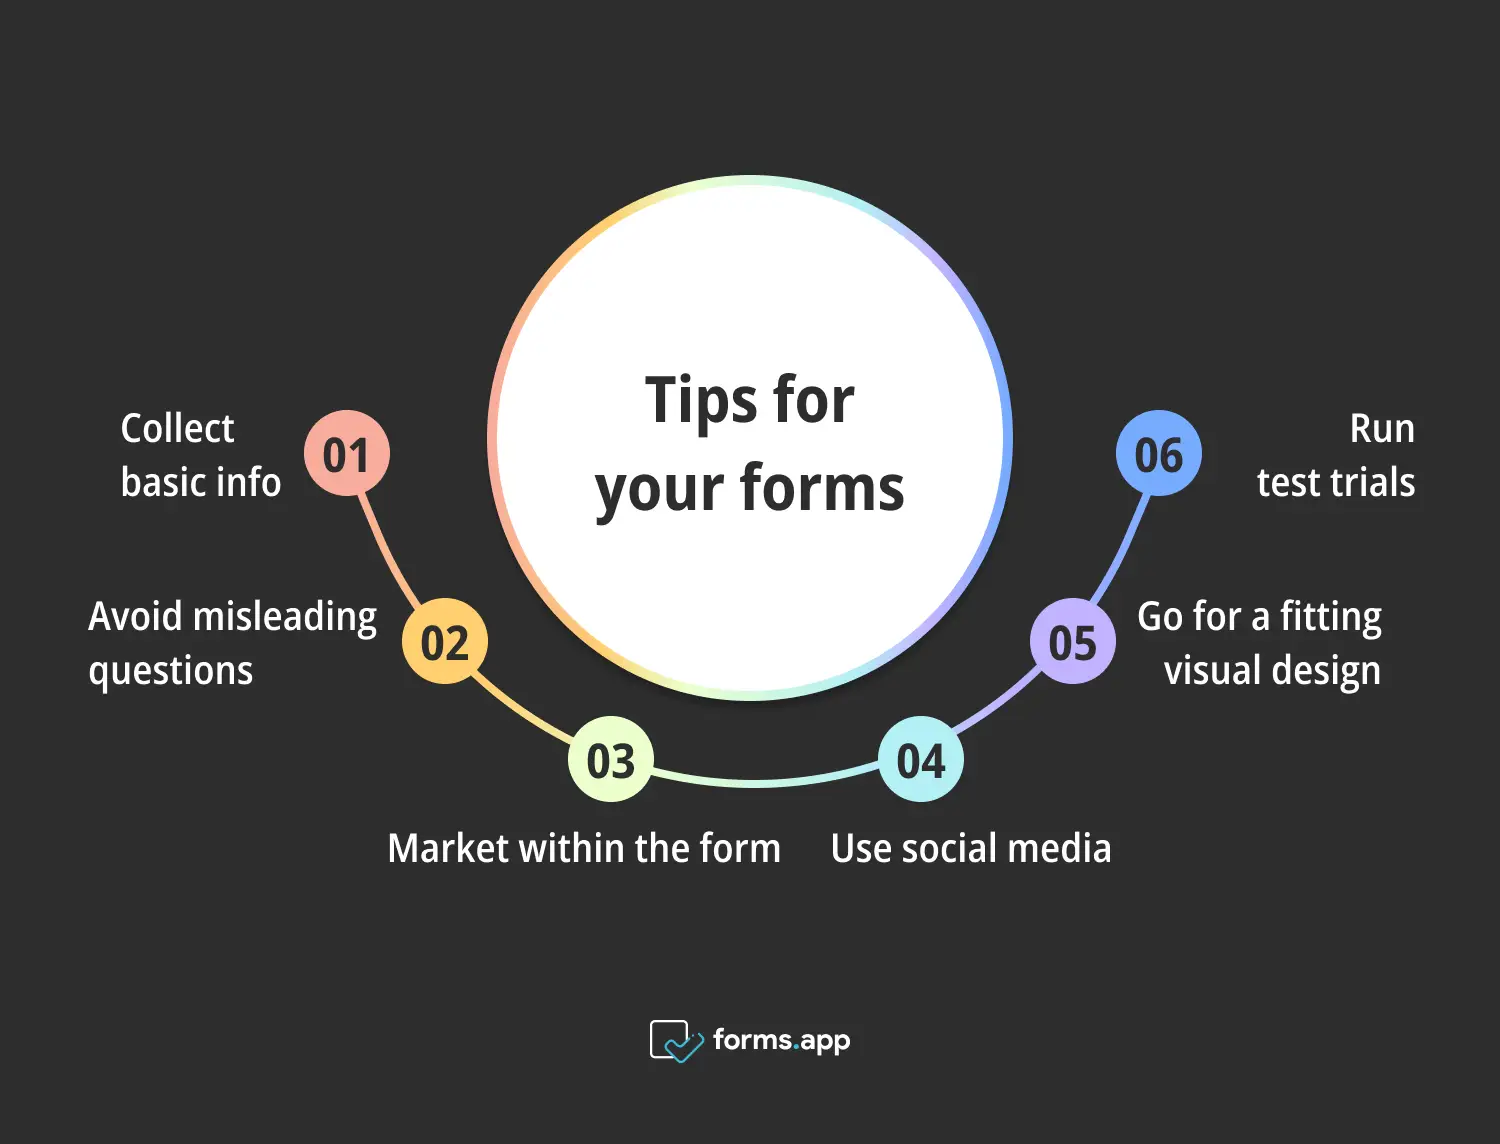
Pro tips for better online forms
1. Try to collect important information
The most important thing when it comes to online forms is recognizing potential clients. Therefore, you must collect simple contact information, such as an email address, from participants to analyze the results and reach out to the ones who can be potential customers.
2. Avoid distracting or misleading questions
The last problem you want when conducting surveys with online forms is the issue of faulty data. In order to eliminate this issue, avoid distracting or misleading questions. Be precise in your wording, and try to leave as little as possible to interpretation.
3. Market your business within the form
Online forms can also be amazing marketing tools. They are shared and seen by hundreds, if not thousands, of people and can be used to advertise your business. Try to add your business logo or slogan to appropriate places within the form. You can also add your business's contact information for potential customers.
4. Use social media
The best tactic to use to get your form to as many participants as possible is to share your form as much as possible. One particular platform that you should rely heavily on is social media. Try sharing your form on various social media platforms. You can also use the shortcut option of form creation platforms when sharing to speed up the process.
5. Go for a fitting visual design
As we have mentioned above, the visual design of the form is as important as the questions themselves. Therefore, it is vital for you to choose the right color scheme or theme when creating your form. Try to do research about the psychology of fonts and colors to have the best combination possible.
6. Run test trials
If you would like to eliminate the mistakes that you have made while creating your form, increase the success rate, and receive valuable criticism, we recommend running a few test trials with your form. The test trial can be run with people around you: Friends, employees, or coworkers.
Conclusion
In summary, online forms are a great data collection tool with great promise and potential. If you would like to collect, store, and analyze data, the first step is finding the right platform. You can head to Microsoft Forms for a professional form-creating experience and create a form suited to your business's needs.
In this article, we have looked at why it is important to create online forms, a guide on how to create a form using Microsoft Forms, and provided a better way to create forms with the advanced features of forms.app. We have also examined several expert tips to make sure that your data collection process is as successful as possible.
Be mindful of details, and create the best experience for your customers!
Yakup is a content writer at forms.app. He is also a skilled translator. His hobbies include reading, learning about different languages, and different branches of sports. Yakup's expertise lies in translation, NoCode tools, and Google Forms.
